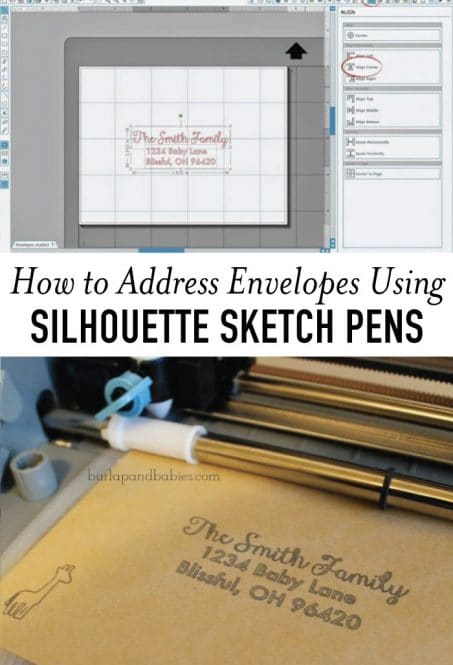
Learn how to address envelopes using Silhouette Cameo sketch pens with this simple tutorial! Save yourself time and make them look awesome!
Six months ago I begged my mom for some silhouette sketch pens for Christmas dreaming of the awesome things I could make….Now that I have my new craft room set up, I spent the weekend crafting away and decided to finally conquer my fears and learn how to use my sketch pens that have been sitting in a box. I have been super intimidated by the pens, worried that I wouldn’t be able to figure out how to use them. But boy was I wrong!! Let’s just say I’m in love!!!
I spent all weekend creating things and playing around with all the fun things I can make now. Today, however, I’m going to show you how to address envelopes using the Silhouette Cameo.
With my gender reveal party planning in full swing, I decided to go ahead and address all the envelopes using the sketch pens. It’s super easy and here’s how.
INSTRUCTIONS
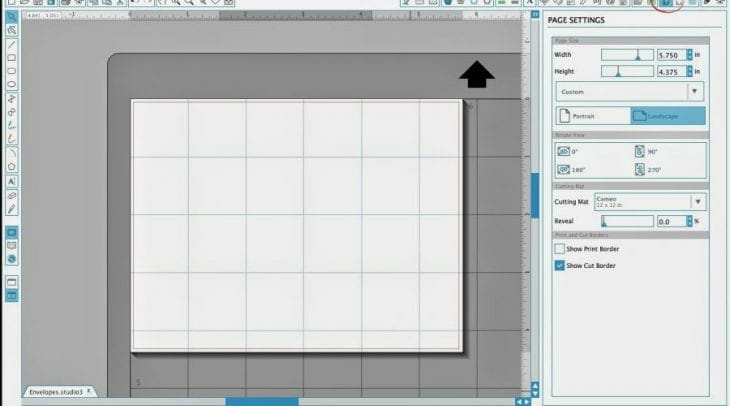
Start by opening a new document in Silhouette design and click on the page size button that you can see circled below. You’ll then want to either select the size of envelope you’re using in the drop down, or, if you’re like me, and using an envelope that isn’t listed (I used an A2) then you can just input the size of your envelope. This is an important step so that you can easily center your design elements later on.
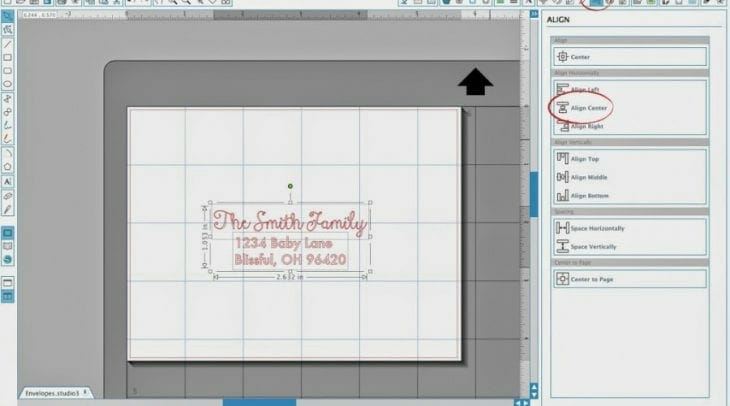
Once you have the font and size how you like it, select both elements and click the align palette which is highlighted and circled below. Then click align center. This will move your name and address to be centered within the envelope.
Once everything looks just the way you want it, time to place your envelope in the top left-hand corner. Go to your cut settings and select Silhouette Sketch Pen as your material type. For now, go ahead and stick with the default settings, but once you feel more comfortable with the sketch pens you can play with the speed and thickness of the cut depending on the intricacy of the fonts you’re using.
For my envelopes, I kept it at a speed of 5 and the thickness at 33 so that the text showed up strong. And then press Send to Silhouette to watch the magic happen!

And here’s the final product…
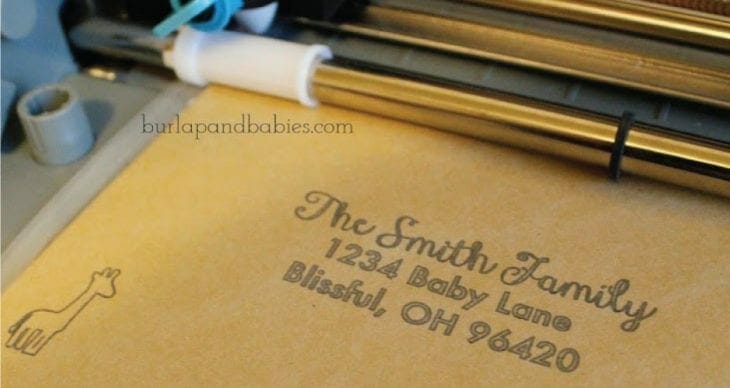
Now you’re all set to address some envelopes with Silhouette Sketch Pens!
You may also like these fun posts from our gender reveal…


Have you had any issue with your pens drawing random lines back to the top corner of the cutting mat? I can’t see the lines on my computer and i’ve tried different fonts. i even tried to skip the letter i thought was doing it, but then it happened on a different letter, so it’s not predictable. i’m using the brand name pens so i don’t think it’s a depth issue…
…i’m having the SAME issue. It starts sketching just fine and then it suddenly draws a line to the top left corner – twice – and then continues on. In over 5 hours of googling, this is only the 3rd instance I’ve seen mentioned. (Name brand pens, Studio DE v3, Mac)
My takes soooooo long to do one stinkin’ envelope. lots of tap tap tappin’. What’s up? What am I doing wrong?
It’s happened to me before! I figured out that when the pen tip is too far down it becomes too close to the paper as the machine is moving it around. When this happens long random lines are drawn. Just take the pen out, reposition and make sure just a little bit is peaking through the hole. I should also mention that this has only happened to me when using the adapter (black plastic piece with little screws to put your own pen in)