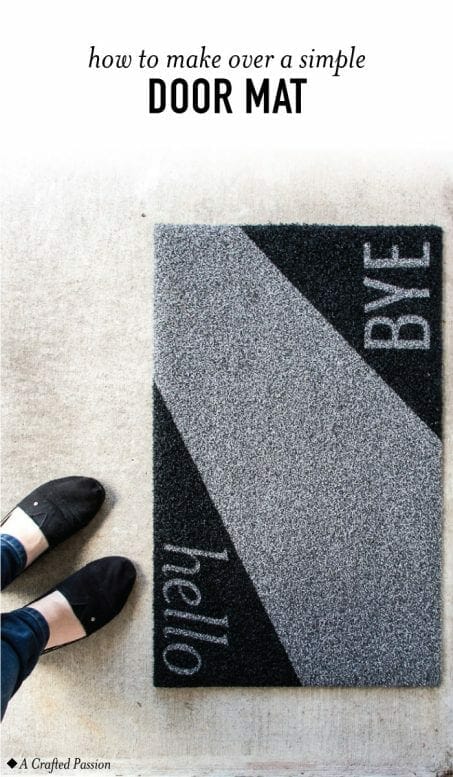
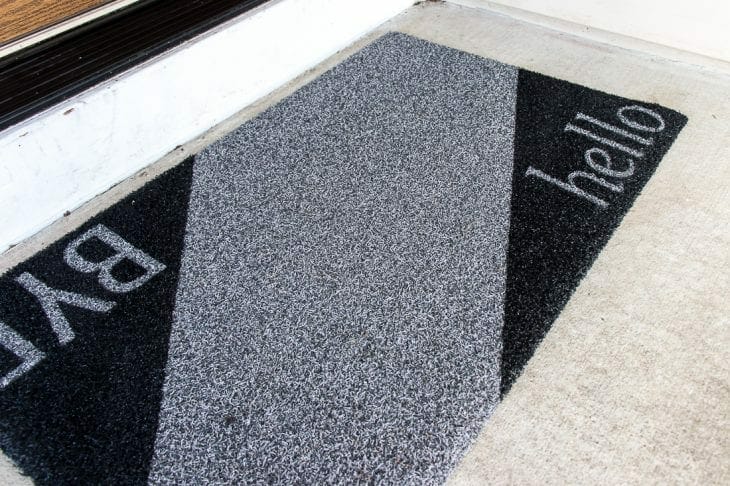
Create a modern hello and bye door mat with this geometric design. This simple painted DIY project is a great way to greet your guests!
A few months ago, we spent a Saturday morning wandering the aisles of IKEA buying way too many things that we “needed” for our home. One of those things was a simple, gray, synthetic rubber door mat. I had planned on adding a cute saying to it right away, but then life got busy and I couldn’t decide what I wanted it to say.
Well, yesterday I decided enough was enough and I made over the door mat in about 15 minutes. Let me show you how you can make your own modern door mat!
*This post contains some affiliate links for your convenience (which means if you make a purchase after clicking a link I may earn a small commission, but it won’t cost you a penny more)! Click here to read my full disclosure policy.
Craft Time: 15 minutes
Waiting Time: 2 hours
Skill Level: Easy
Cost: $8.99 (just for the door mat, I had everything else)
Materials to make your :
- Oplev door mat
- Vinyl/sticker letters
- Painter’s tape
- Matte black spray paint
- Scrap board
Here is what the door mat looked like before it got a transformation…

Looking to just buy a cute, modern door mat? I’m loving this one!
1. Clean Door Mat
Pound it out. Vacuum it. Sweep it. Do whatever you have to do to get it as clean as possible. Ours sat on our doorstep for months before I decided to personalize it, so it had quite the time to gather dirt and tree needles.
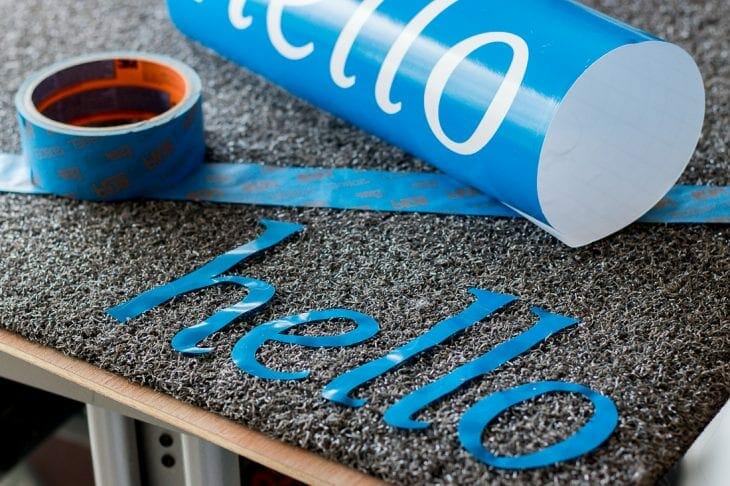
2. Cut Vinyl (or get stickers)
If you have a Silhouette Cameo or Cricut machine, now is the time to pull that out. I cut out “hello” in MrsEaves italics font and “bye” was cut in Oswald. I made sure both of the fonts were the same height tall.
These large letter stickers would work if you don’t have access to a cutting machine.
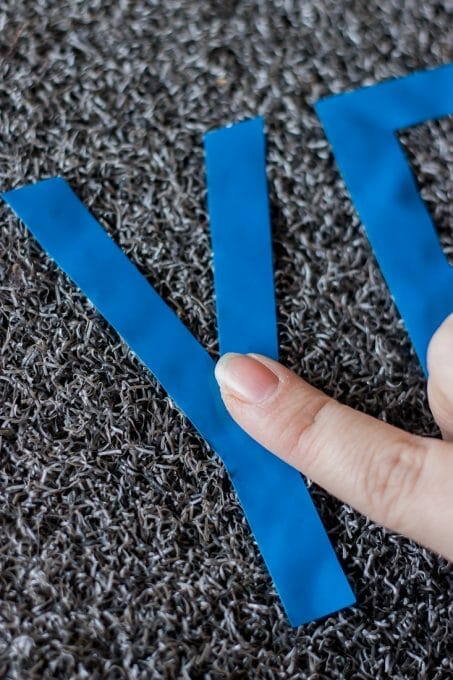
3. Place Letters
Put your letters down starting with the last one in the word about an inch from the side and bottom. Just watch your spacing and once all the letters are placed, then you can push them all better into the door mat.
4. Add Painter’s Tape
Use painter’s tape to create a clean edge for the black triangle in each corner.
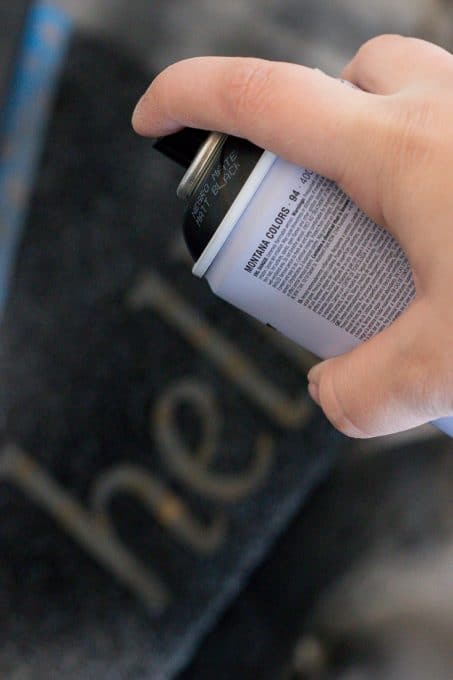
5. Paint
Push down on all your letters and tape one more time to make sure everything has adhered well to the door mat. Use a piece of scrap wood to cover up the middle section of the doormat in case of overspray.
Make sure and keep your spray can straight above where you’re painting so no paint sneaks under the sides.
The door mat I used from IKEA is made of rubber synthetic material and the letters aren’t able to adhere completely to the material.
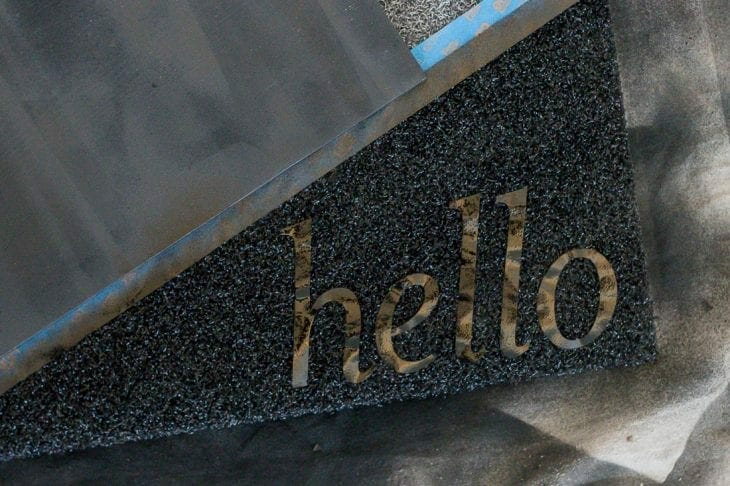
6. Remove
Once you’ve sprayed everything down, remove your tape and letters and then let it dry for a few hours before placing it outside at your front door.
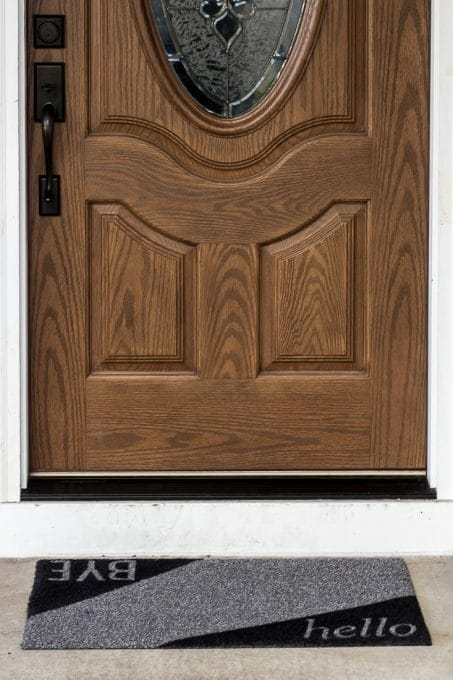
I love that this will greet my guests as they come and when they leave.
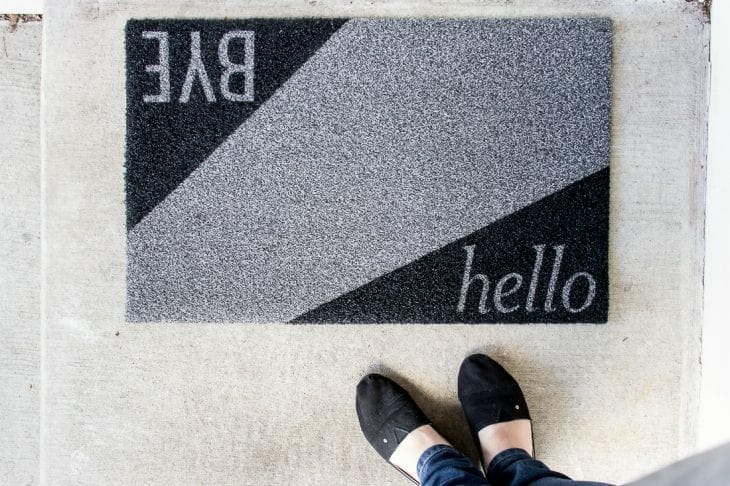
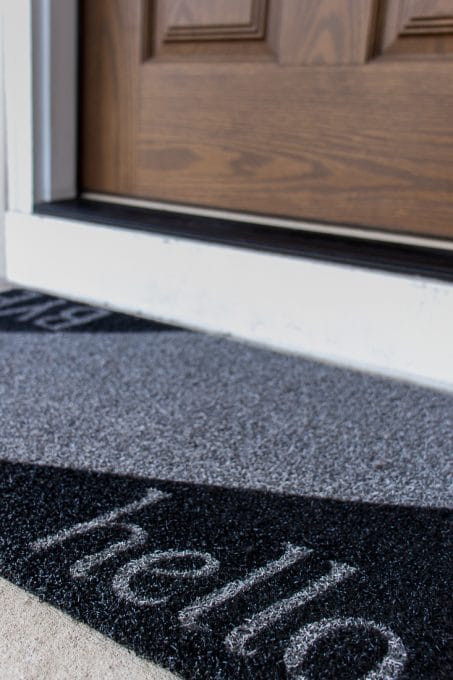
This really shouldn’t have taken me so long to do and I love how it turned out. Maybe hello and bye is too generic for you though? Here are some different things you could put on your door mat…
Alternative words:
Hello – hi, hey, aloha, welcome, bonjour
Bye – see ya, toodles, ciao, adieu, farewell, cheers
What would you write on your door mat?

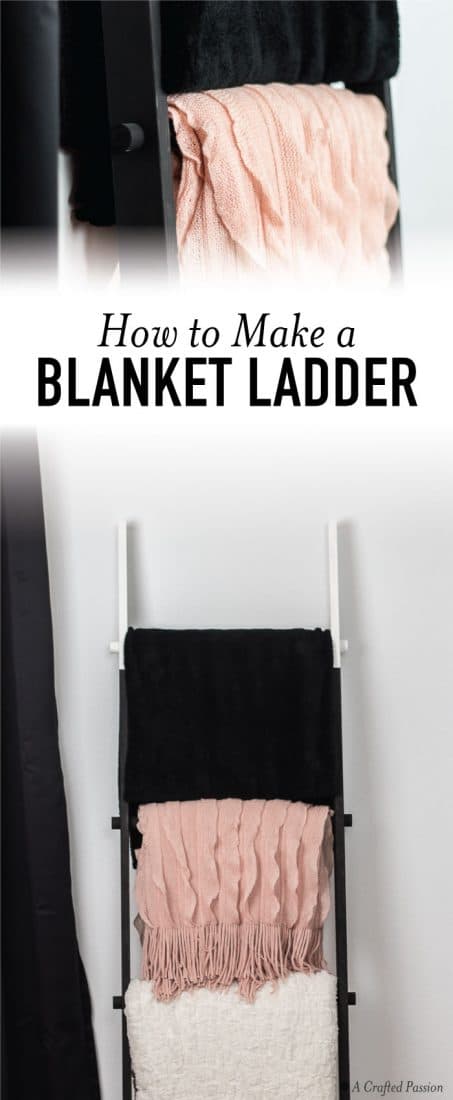
CHECK OUT this simple tutorial on how to make a wood blanket ladder. It looks great in your living room, bedroom, or even bathroom to hold towels. LOVE!!
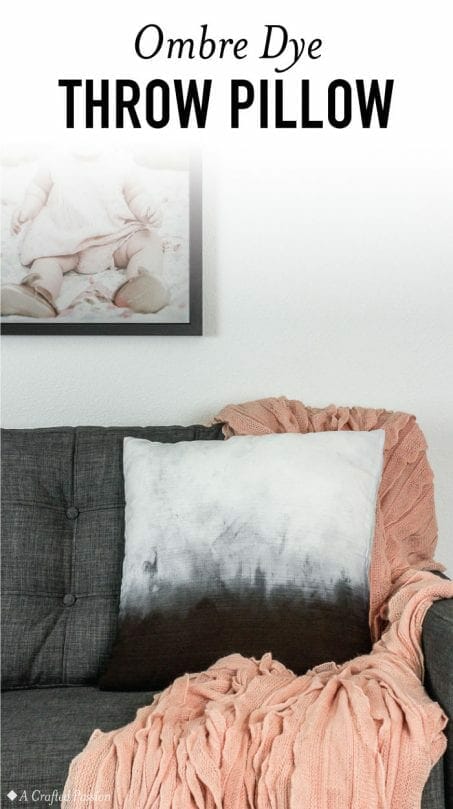
Make this ombre dye pillow to decorate in your living room. This dip dye method is perfect for easy DIY home decor.
For more related topic, click here.