Learn how to attach a cornice board with this DIY tutorial to make an impact in your home. This fabric window treatment idea hides the curtain rod and adds a bit of warmth to the space.
Have you ever been working on a room makeover and thought to yourself, “Self, we need to add a little pizazz to that window, but how?!” Well, I have the answer!
Here’s the truth…
My family owns a large senior living facility and I grew up with my mom making new curtains and cornice boards for all the windows in the building every few months it seemed. So in my head, I always imagined cornice boards are for old ladies. That was the only place I ever saw them.
Well, I’m here to tell you otherwise.
When we started designing Clara’s bedroom makeover I knew we needed to dress up the window a bit since it is the focal point in the room and right in the middle. I started searching cornice boards on Pinterest and realized they weren’t just for old ladies.
So I’m here to show you today how to build and hang a cornice board.

This post contains some affiliate links for your convenience. For more information, see my disclosure policy here.
What you need to build your cornice board:
- Wood
- Screws
- Spray adhesive – not necessary but definitely helpful to have (this is the one I use)
- Batting
- Fabric
- Staple Gun
- Scissors
What you need to attach your cornice board:
- Drywall screws
- Heavy duty 2-hole d-rings
- Block of scrap wood
Don’t forget to grab a cheapo curtain rod like this one for once your cornice board is up. This thing doesn’t need to be pretty since it’ll be hidden, it just needs to be functional.
So, let’s get it started and I’ll show you how to make your own…
1 | MEASURE
First, you need to measure your window from the outside of the molding to see the minimum width you’ll need. From there decide how where you want the curtains to hang.
Tip: Plan on the inside edge of each curtain to lay at the edge of the window to make the window appear larger and let in more light just like you see in this article.
We made the edge of the cornice board sit about 6 inches from the edge of the molding. I suggest doing minimum 6″ on each side because once it all got put together it was a little tight.
Decide how tall you want your cornice board. This depends on the size of your window and also how tall your ceiling is. We did 12″ tall.
Once you have your measurements it’s time to cut your board.
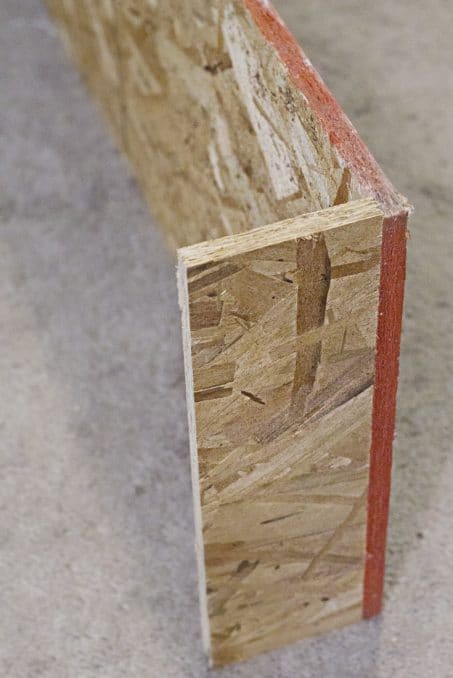
You can use any type of sturdy base to build your cornice board. I happened to have some fiber board in my garage that we used but I’ve seen cornice boards made with any type of lighter weight wood, foam board, or plywood.
2 | CUT YOUR BOARDS
Cut one board the width of your cornice board by the height. Then, cut two pieces 4″ by the height. These are for your end pieces.
3 | ASSEMBLE
Now, take your boards and attach the end boards to the long board with screws, as shown. I used three screws on each side to make sure it would be secure.
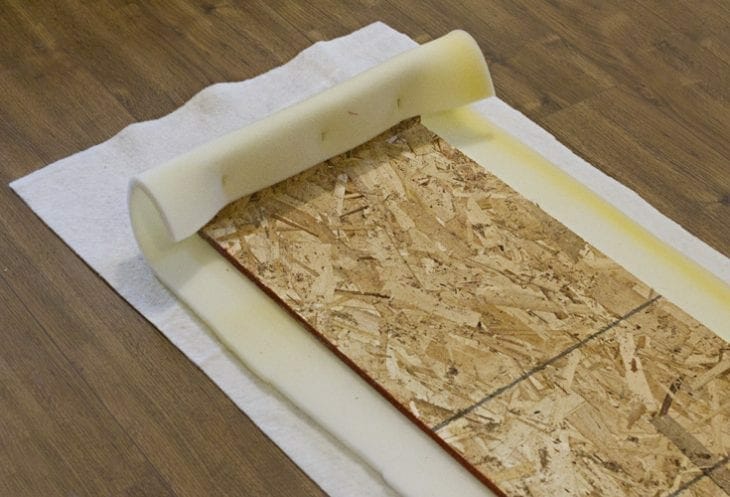
4 | CUT BATTING
Lay out your batting on the ground or other flat surface and lay your wood base on top of it as shown below. Rough cut around your batting leaving about 3-4″ on each side to make sure it’ll wrap around fully and have enough pull to tighten and staple.
As you can see in the picture, I actually used two types of material: foam and batting.
This 1/2″ foam was to give it the depth and make the cornice board appear 3D. This polyester batting helps to soften the edges of the wood.
4 | CUT FABRIC
Next, lay your fabric down and cut it out. Again, make sure it’s a little larger cut than the foam. This makes it easier for the next step.
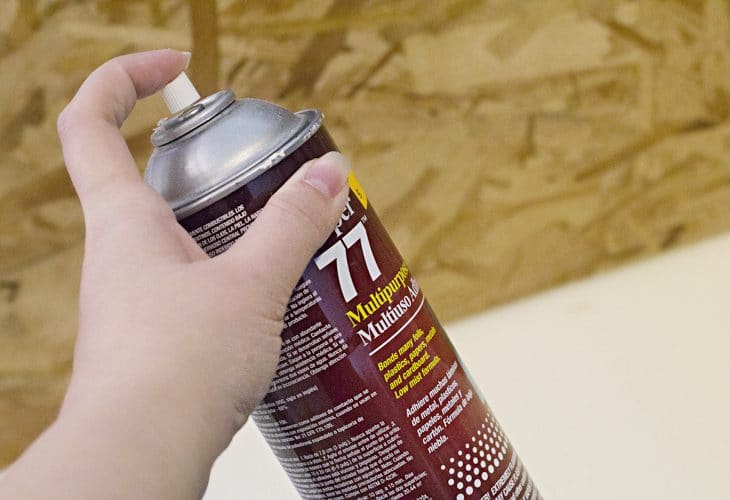
5 | ADHERE
So now that your cornice board is laying on your cornice board fabric and padding, lift up your cornice board and spray it with a good spray adhesive. This 3M super 77 adhesive is my favorite and holds really well!
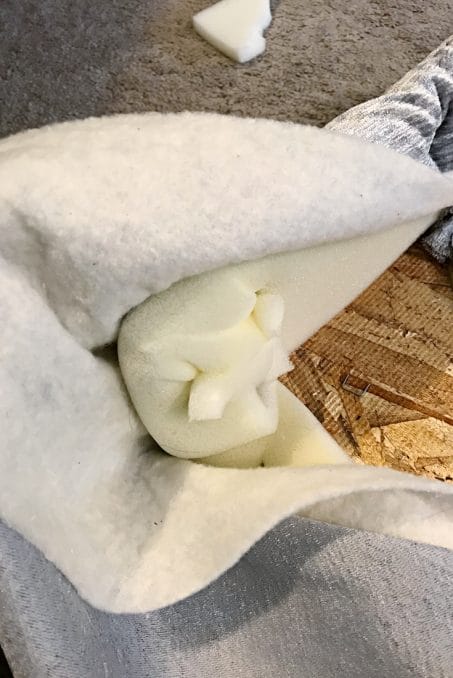
6 | TIGHTEN & STAPLE
Now, start on one edge and pull all your fabric and staple with your staple gun. Be sure you get all the layers and don’t pull too tight or else you’ll have bumps in your edges.
Work your way around the cornice board stapling as you go and then fold and staple your corners. You can see on my corners I found it was easier to staple the padding, cut off the excess, and then staple the fabric once the bottom layer was attached well.
Now, your cornice board is done. As you can see I didn’t worry about covering the back of the board in its entirety because honestly, no one is ever going to see it unless they stand with their back forced against the window and I figured it was safer to save the money on fabric.
Now, it’s time to prepare your cornice board to be hung.
7 | PRE-DRILL HOLES
Start by pre-drilling a block of wood that is about 3″ by 3″ with a hole in each corner. This will make it easier to attach it to the cornice board since all the fabric and padding is there.
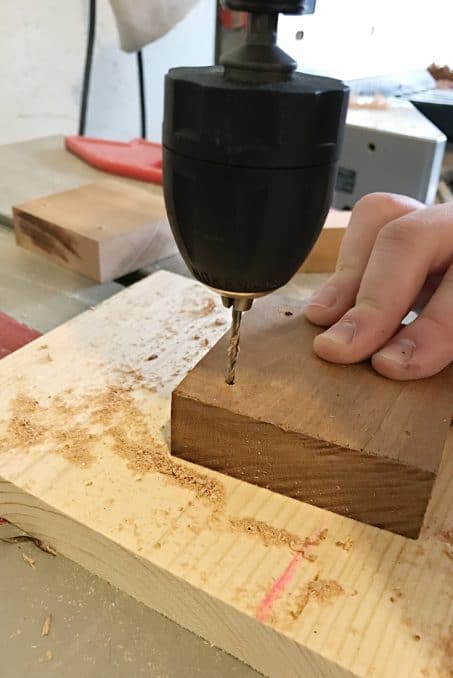
Tip: If I were to make another cornice board I would attach the block of wood after step #3 and screw through the outside of the cornice board.
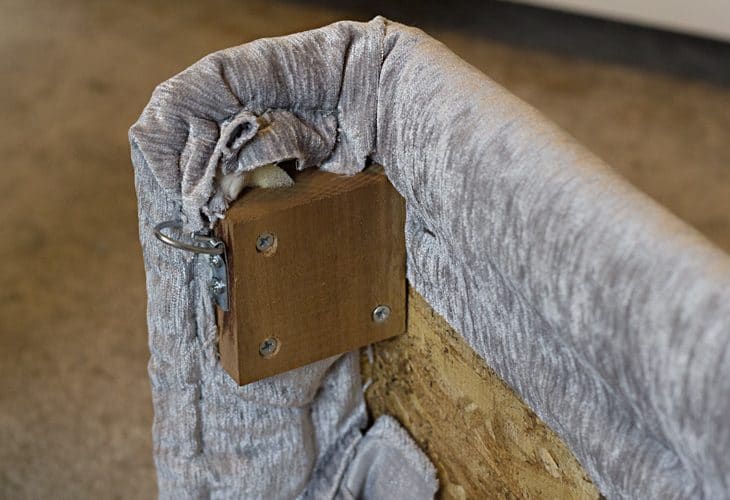
8 | ATTACH D-HOOKS
Now attach a d-hook on the edge of each anchor block. These are the d-hooks I used and work great. Make sure you get the heavy duty ones to make sure it holds the weight with no problem.
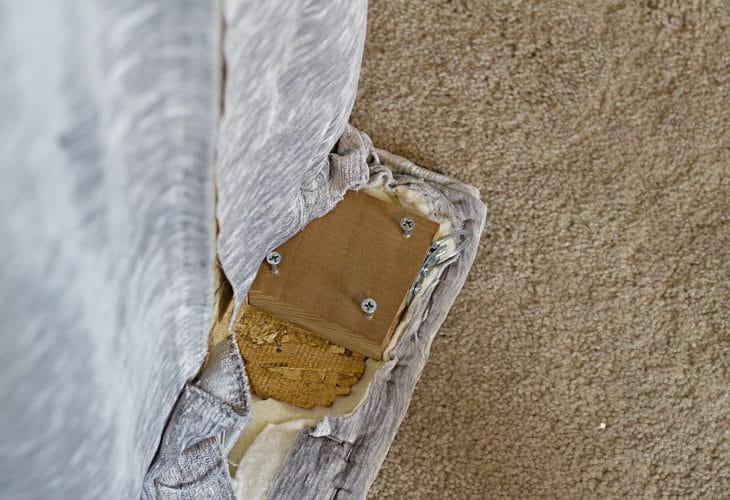
9 | ATTACH ANCHOR BLOCK
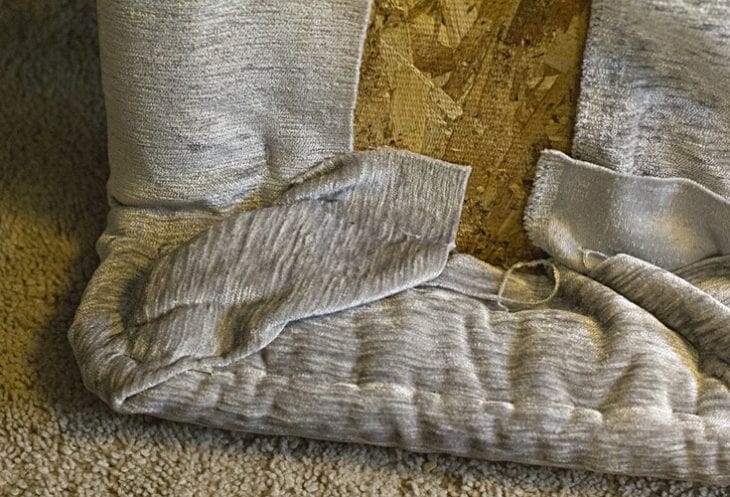
Next, it’s time to attach your anchor block to the inside of the cornice board. As you can see we had to cut out some of the fabric in order to get a good hold
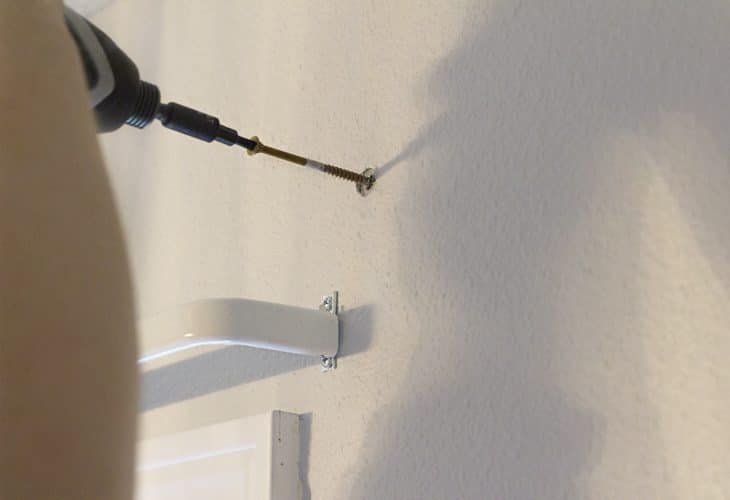
10 | SECURE
Next, it’s time to decide where you want your cornice board to sit in relation to the window. This was easiest with two people. Have one person hold the cornice board up to decide the height and then mark where the d-hooks need to be hung.
Unless you happen to be screwing into a stud, use drywall anchors and then put in your screws.
As you can see, we hung the standard curtain rod at this point too and put the curtains on.
11 | HANG & ENJOY!
Hang up your cornice board on these screws and step back and enjoy! I love how it turned out and helps add a little flair to this toddler chic room. Go here to see the full room makeover if you haven’t yet.

Now you know how to attach cornice board!
Let me know how you do when you make your own.

How do you attach the d hooks to the wall? Did you put some kind of hook on the wall to hang the dhook onto? I am confused!
Awesome post.
Hi Amanda. Are just having D Rings on the ends strong enough to hold a 7 ft cornice board?