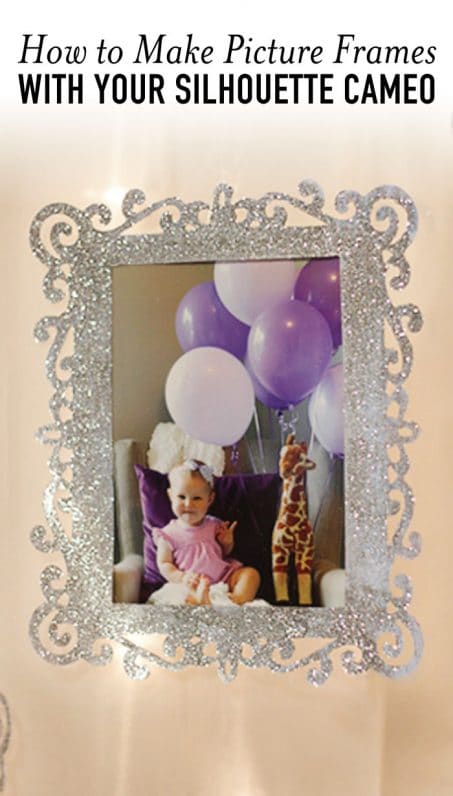
Make these simple whimsical picture frames with your Silhouette Cameo for your next party picture display! FREE cut file included! Perfect for a first birthday party picture display!
One of my absolute favorite crafting tools, besides power tools of course, is my Silhouette Cameo. Ladies, that machine is a beast and you can do so much with it! Today I’m excited to show you how to make DIY whimsical picture frames with your Silhouette Cameo.
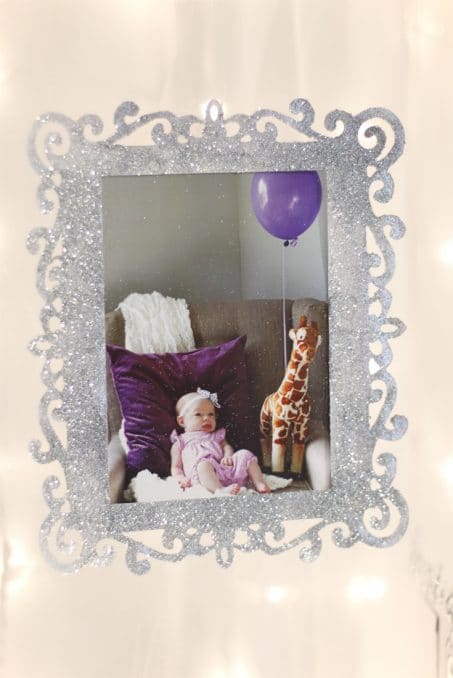
Every month for Clara’s first year of life I did a mini photoshoot and always took a picture of her on the same chair, with Geoffrey the giraffe, and the number of purple balloons corresponding to how old she was. You can see all of those pictures of Clara’s first year here in case you missed it. I think they’re pretty precious but I might be just a little bias.
When I was planning Clara’s first birthday party I knew I wanted to showcase those photos in some fun way but I really didn’t want to spend the money to buy 12 matching picture frames. So what’s a good diy-er to do? Make my own. And here’s how you can do it too!
How to make your own picture frames with your silhouette:
Here’s what you’ll need:
- Cardstock
- Mod Podge
- Paint brush or one of those cheap foam brushes
- Glitter
- Fishline
- Thumbtacks
- Cute 4×6 pictures you want to show off
- Tape or glue to attach your pictures to the frames
- Silhouette Cameo (or other cutting machine)
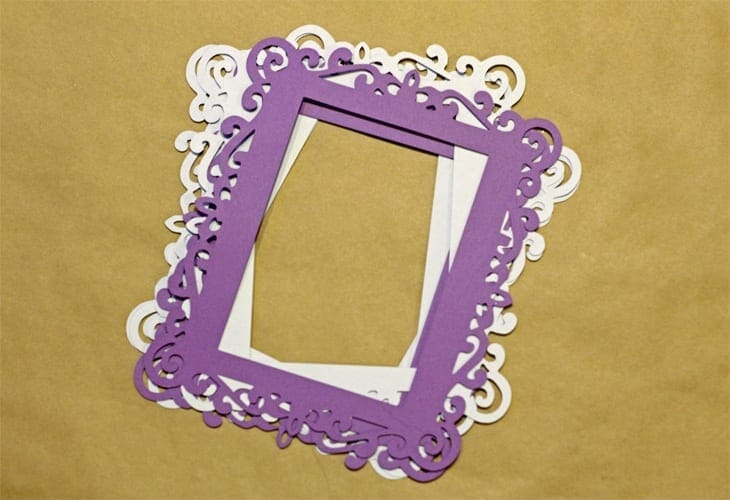
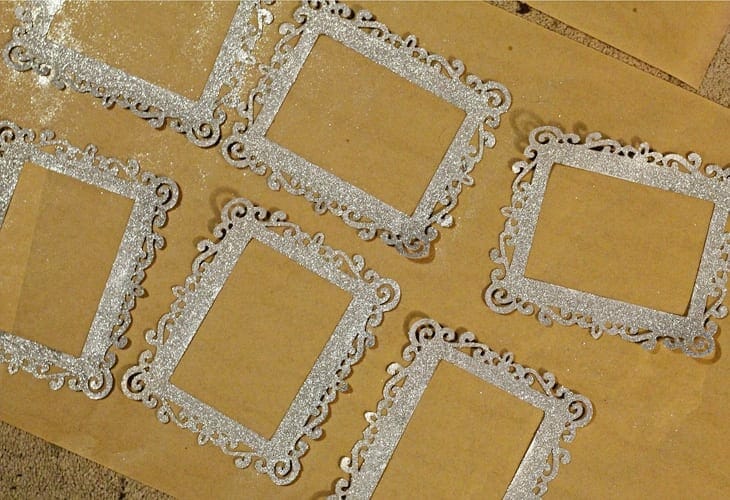
1. Cut Your Frames
First, you’ll need to download this whimsical picture frame cut file. Depending on what program you’re using I’ve provided you with both a PDF and a SVG. For this situation I’m going to show you how to do it using the Designer Edition using your Silhouette Cameo since that’s what I use.
How to Cut Your Frame
Launch Silhouette Studio and select File > Open > and select your SVG file you’ve already downloaded. Make sure you’re working on a 8.5 x 11 page size and you’ll be using the cutting mat.
Next, take your trace tool and trace over the frame. Move your high pass filter to the right and your scale all the way to the left. Click on Trace and you’re done. Adjust your cut settings for the cardstock you’re using and cut.
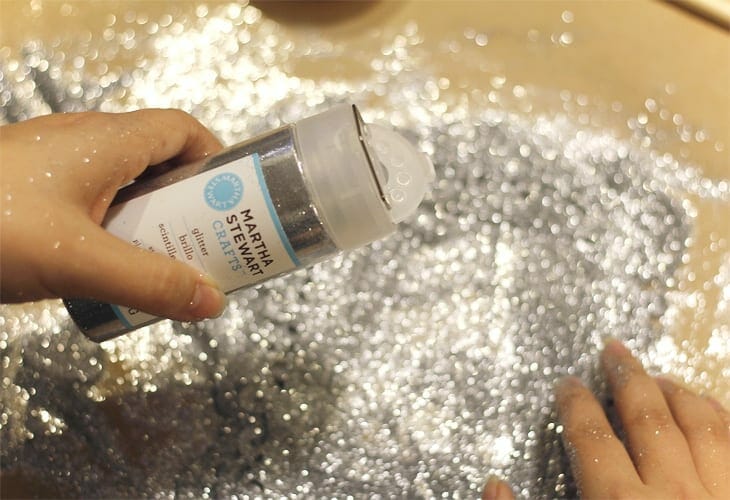
2. Make It Pretty
Now that you have your cardstock frames cut out it’s time to make them pretty. Before you get started, I highly recommend covering your workspace in butcher paper or painters paper (like this stuff that I use all the time for so many different types of projects). I promise you, you’ll thank me later. This glitter kind of takes over!
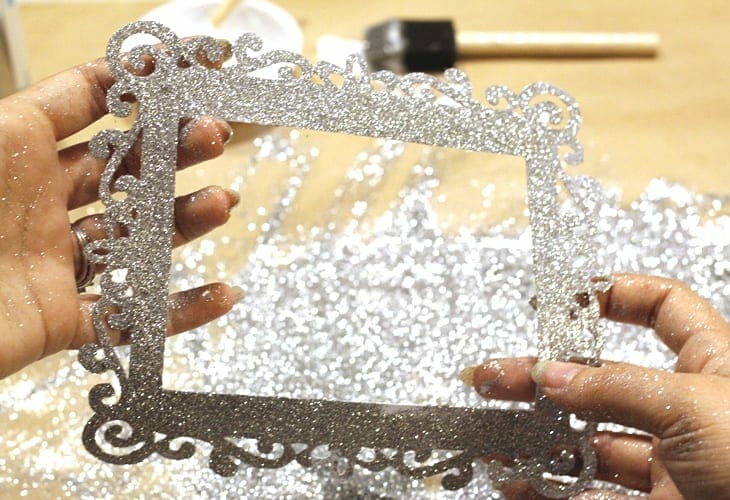
Take your mod podge and paint a thin layer over the whole frame. Sprinkle your glitter all over the frame and lightly press down on the glitter to make sure it adheres. Do one frame at a time since it tends to dry fairly quickly. Once it’s fully glitterfied, shake off your frame to get as much excess glitter off as you can and lay it down somewhere safe to try.
I tried a few different types of glitter before choosing this Martha Stewart one. They have so many different options of glitter: extra fine, fine glitter, chunky, a mix of shades…the list was endless. This was my favorite glitter though and the one I used for the picture frames and her birthday invitations.
3. Assemble
Once they are all dry, tape your pictures to the back of the frames, tie fishline through the top, and hang them from the ceiling using thumbtacks.
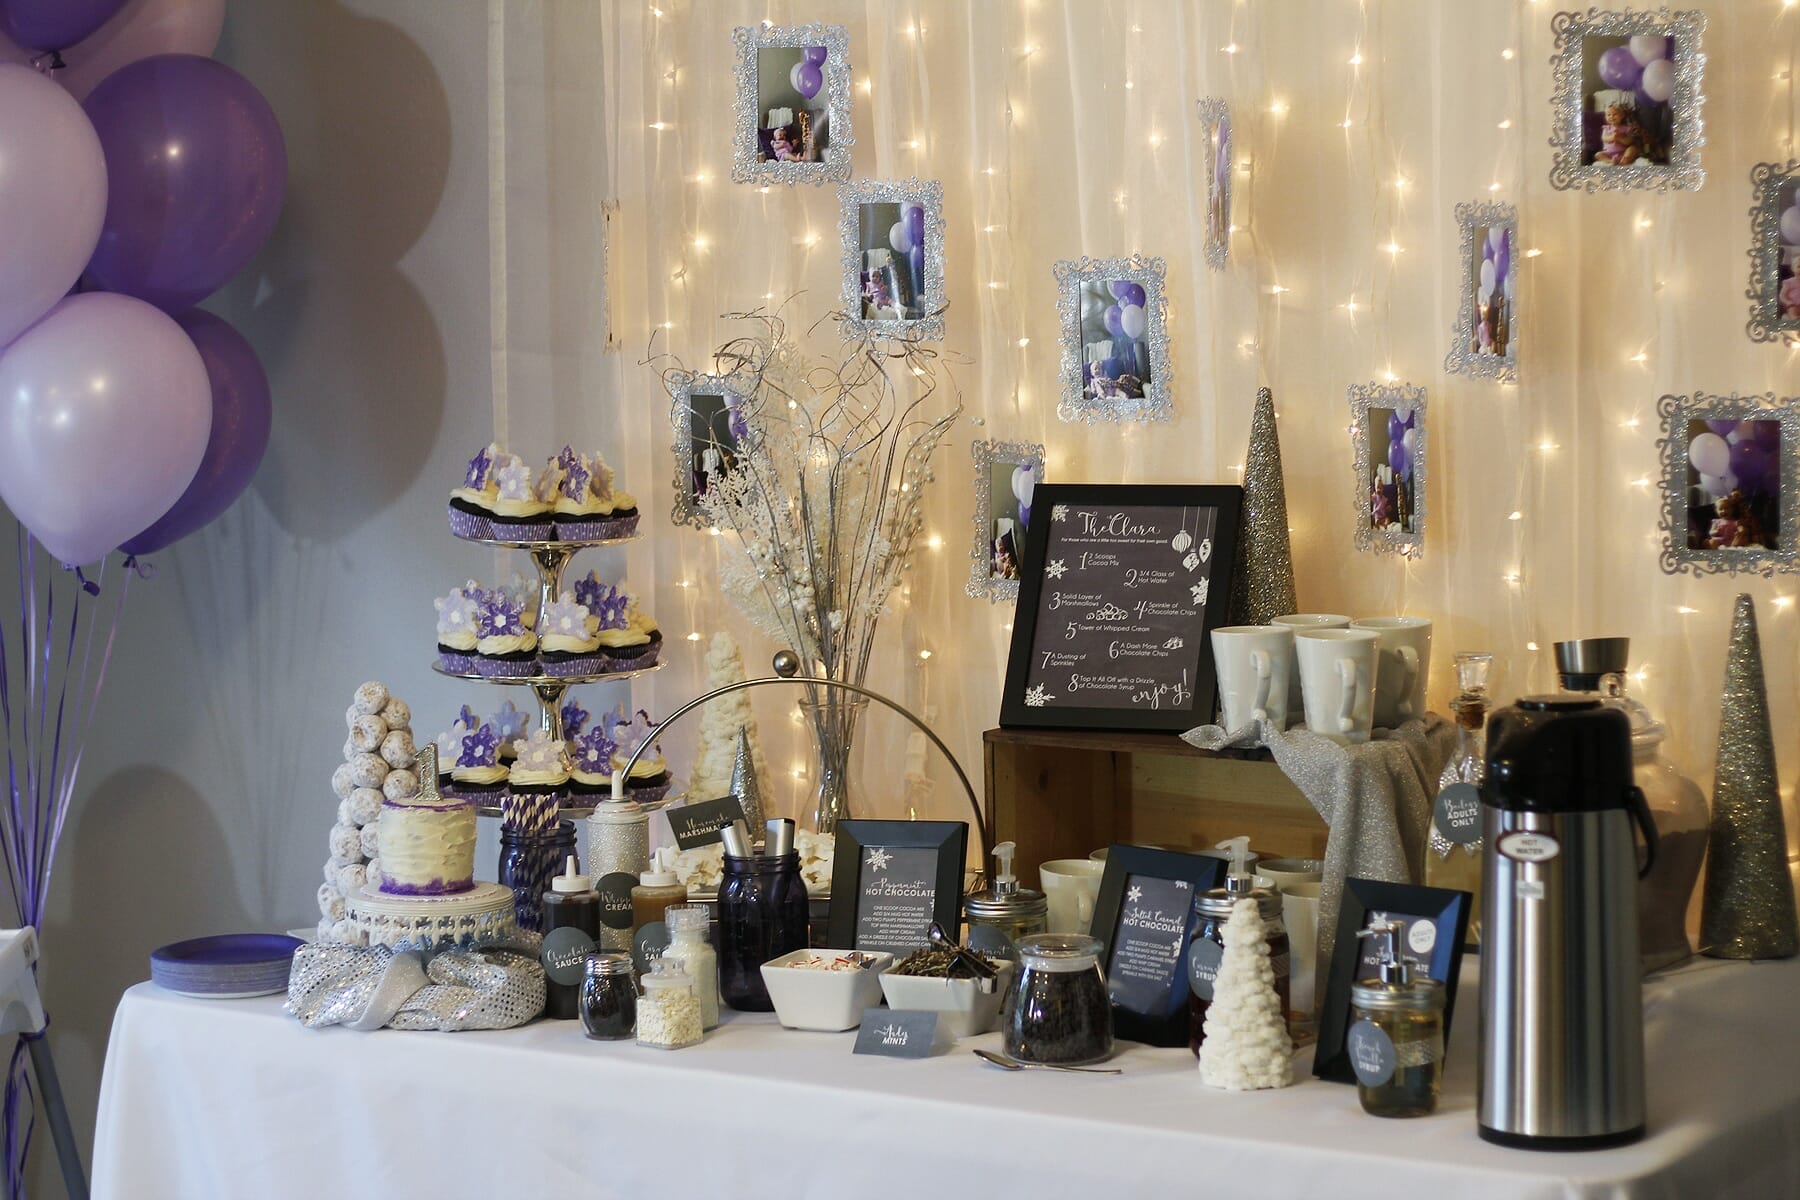
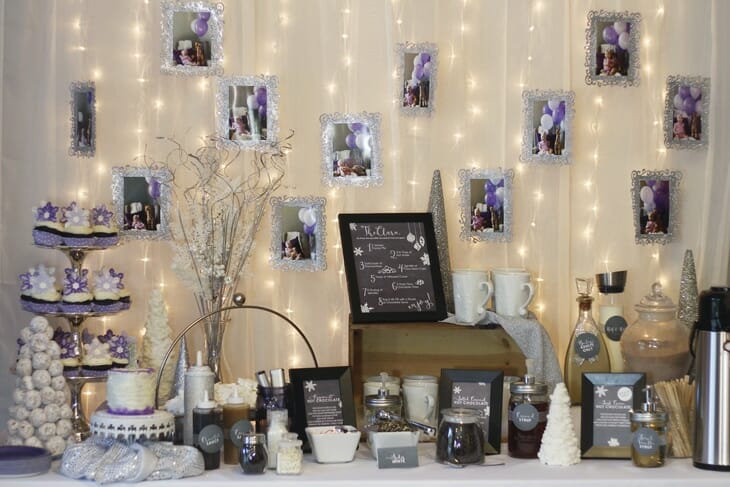
And you’re done! For Clara’s party, we strung white lights and then hung a sheer curtain from our bedroom window to make a soft backdrop for our hot chocolate bar table just using thumbtacks. I love how it all turned out and showcased our sweet girl growing up in the first year of her life!
The really fun thing about this project, is that you can personalize the frames to work for any sort of occassion or party. Use different colors of glitter or paint for a whole different look every time.
Michael’s has similar whimsical style wood frames that cost $2 per frame. Instead of costing $24+ for the picture display all 12 of these adorable DIY frames cost me just the price of the glitter. Now, that’s a budget-friendly DIY project.
So now it’s your turn!
What type of party would you make these frames for?
Want to see more DIY projects from Clara’s hot chocolate bar birthday party? Click the image below to see all the birthday party related posts.
*This post contains affiliate links. For more information, see my disclosure policy.


Hi! I am in love with these frames, but don’t have a machine to make them. Any suggestions? Do you know of anywhere I can purchase them?
Thanks!