Learn how to make an industrial pallet picture frame using an old pallet and sheet metal. Add some photos from a little photoshoot with your kids and you have the perfect gift!
You ever see those pallets on the side of the road and wonder what would I do with those? Me too! A few weeks ago I got my hands on a stack of pallets and the wheels have been spinning of all the possibilities of things I could make with them. Today, I am excited to show you how I made this pallet to industrial picture frame.
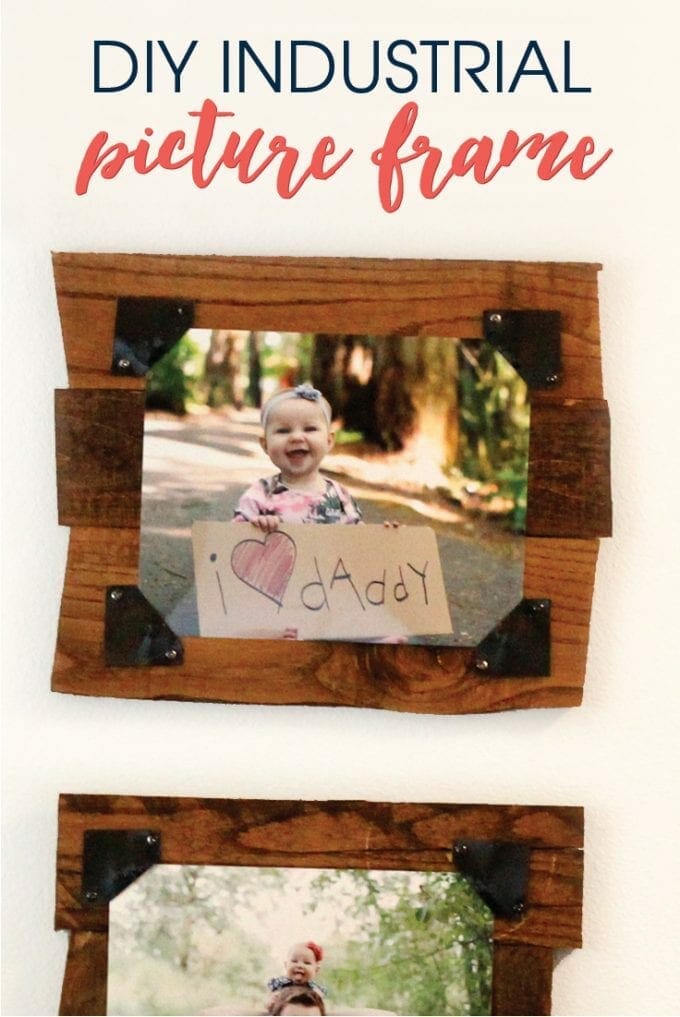
With Father’s Day just around the corner I knew this frame would be the perfect addition to Justin’s industrial office. I love how his industrial light turned out a few weeks ago and he needed some cute pictures of him and his little lady to keep him company during work everyday. Plus, I saw the cardboard “I Love Daddy” sign on Pinterest and knew Clara needed to make her daddy a sign.

*This post contains affiliate links. For more information, see my disclosure here.
To make your own industrial picture frame, here’s what you’ll need.
MATERIALS
- Pallet
- Sheet Metal
- Sheet Metal Screws
- Wood Stain
- Rag
- Black hammered spray paint
- Sawtooth hanger
TOOLS
- Planer
- Metal Snips
- Circular Saw
- Drill
- Pinner
- Ball Ping Hammer
INSTRUCTIONS
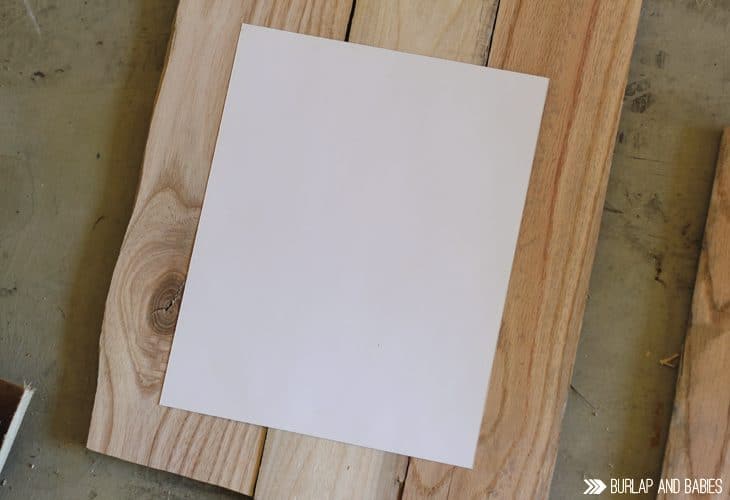
1. First, you have to channel your inner-strength and deconstruct the pallet. If you are okay not salvaging all of the wood, take your circular saw and cut out the inside pieces of the pallet. so you are just left with the three support pieces. If you’d rather not waste precious wood, you’ll need a crowbar and a hammer to take it apart. If you cut the inside pieces like I did, these turn out the perfect size to fit a 8×10 picture.
2. Next you either need to sand the wood down or put them through a planer. If you like the rough look, by all means leave it as is. I just wanted to match the look of the rest of his office with the clean look. Besides, the planer is my new favorite tool so I needed an excuse to use it!
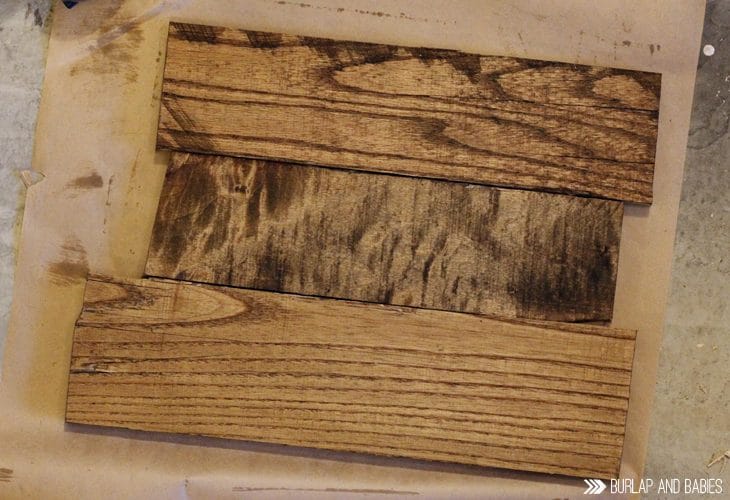
3. Once your boards are cut to the size you want, use a dry rag to stain them including the edges. I used English Chestnut to match the stain of his industrial light.
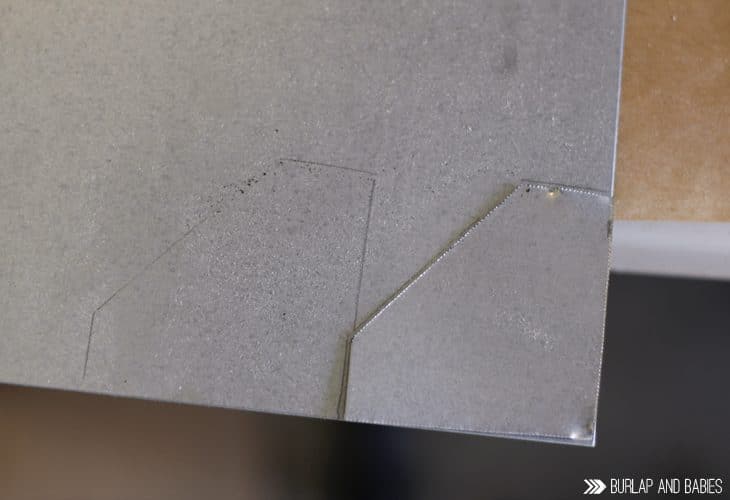
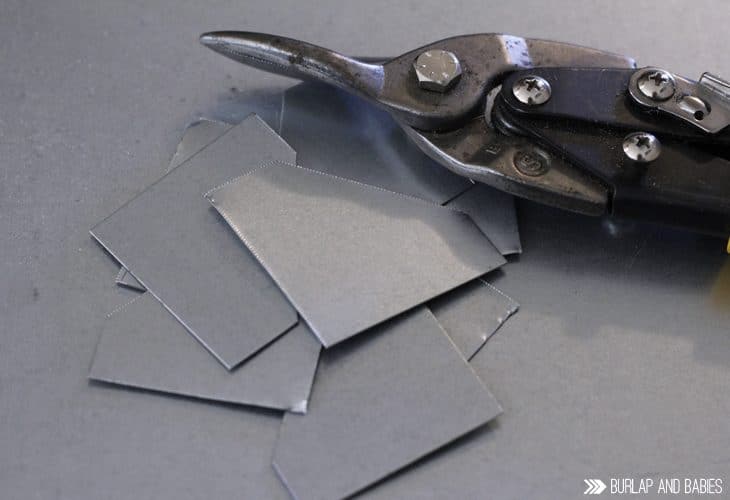
4. While your stain dries, take your sheet metal that you can pick up from any hardware store and draw out the general shape you want. Take your metal snips and cut out the corners that will hold your picture onto the frame. Once you have one done then just trace the shape onto the sheet metal and cut the rest out.
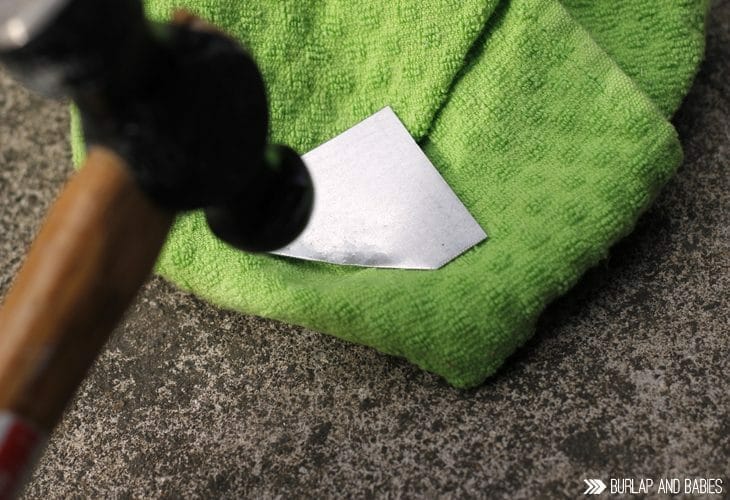
5. Now, take a rag and fold it over a few times to make a little cushion. Lay your sheet metal corner on it and hammer the part where the corner of your picture goes into. If you use a ball ping hammer this will give a more rounded shape and works great.
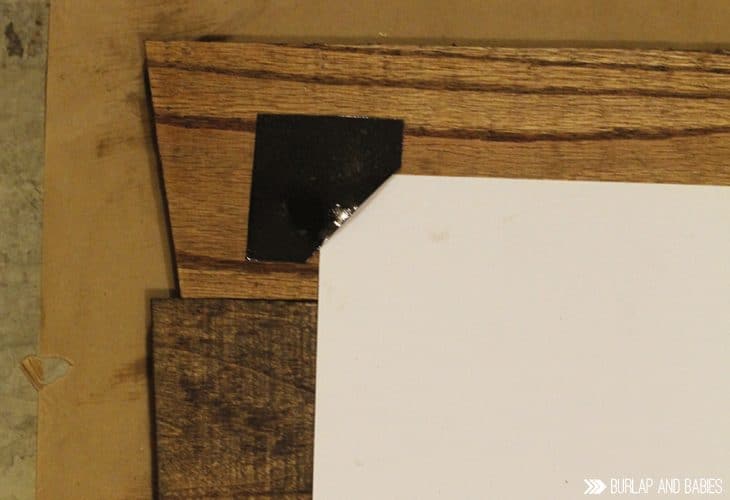
6. Next, lay all your metal corners out and spray paint them with the black hammered spray paint. While you’re at it, paint the sheet metal screws as well. Now set all that aside to dry and go back to your boards.
7. Once the stain is dry then attach the boards together using a pinner. I chose to nail three boards together to fit a 8×10 photograph. You could easily have done four boards at a shorter length though to have a different look.
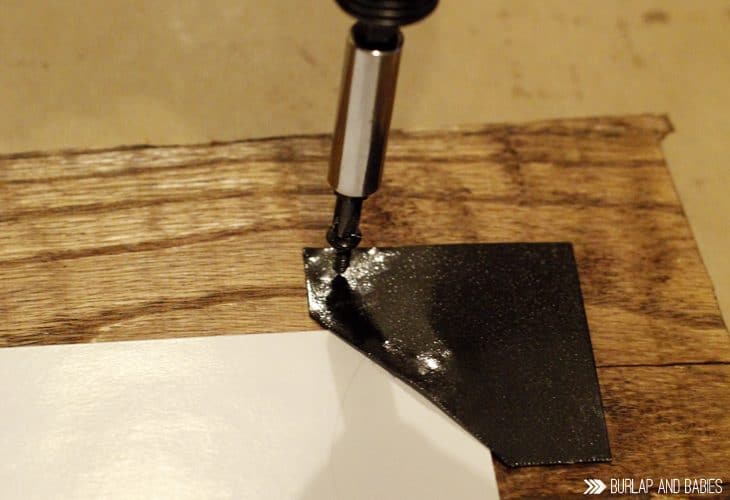
8. Now that your boards have created the frame, take your corners and screw them into the boards. I used two screws per corner only because I accidentally didn’t buy enough. If you have it, I suggest screwing down all three corners of the metal corners. Don’t be afraid to put your weight into it. Drilling through sheet metal is no easy business but I promise you’ll get through it eventually.
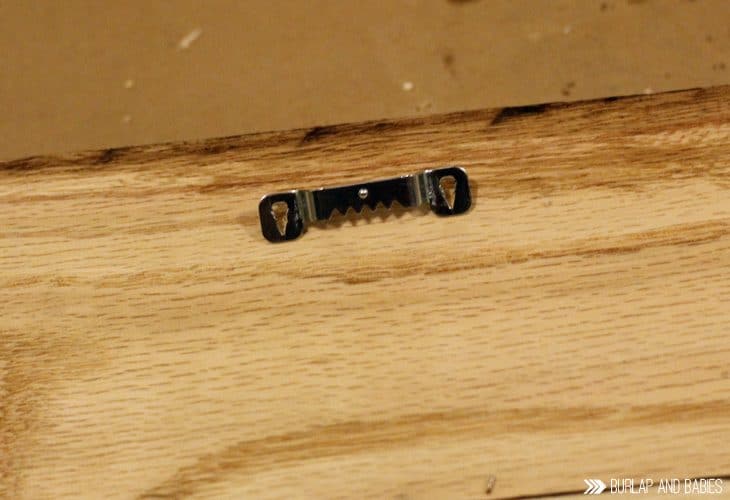
9. Lastly, take your sawtooth hanger and attach it to the back of your frame, and you’re done. My favorite to use are these soft wood hangers that don’t require those tiny little nails. They are easier to just push into the back of your wood rather than trying to hold those tiny nails and risk losing a finger while you’re at it.
And you’re done! Put in your picture and then hang them up on the wall to admire.
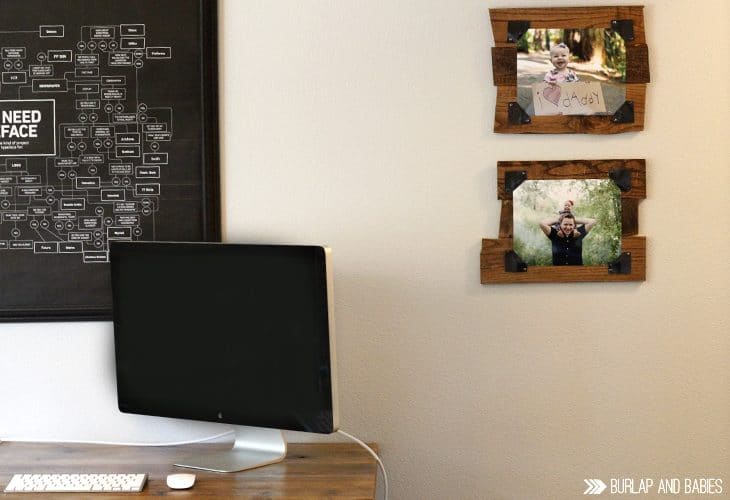

Father’s Day came a few days early in our home because I just couldn’t wait anymore. Once the picture frames were done I just had to give my husband his first Father’s Day present. Happy Father’s Day, babe! Clara is so lucky to have you as her daddy!!
Where would this industrial picture frame go in your home?
Like this post? You’ll also love these…
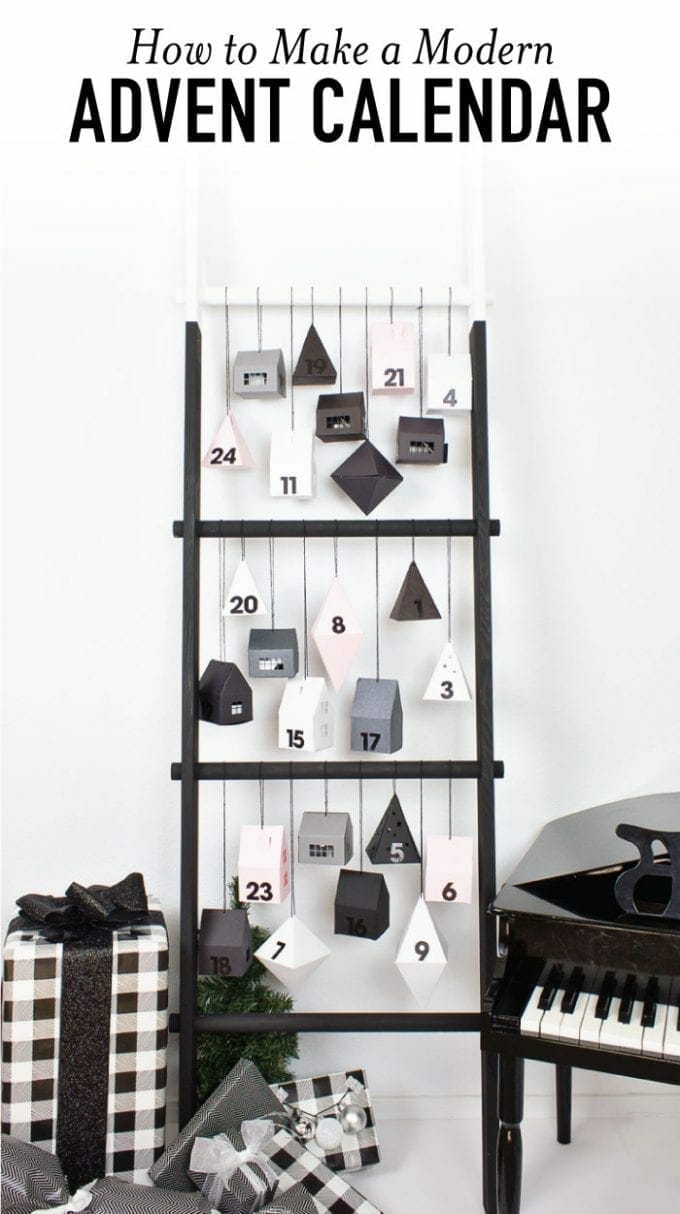
Make a modern advent calendar perfect for toddlers with this little paper village filled with activities and fun ideas for Christmas! Plus, this DIY ladder is the perfect way to display it all!
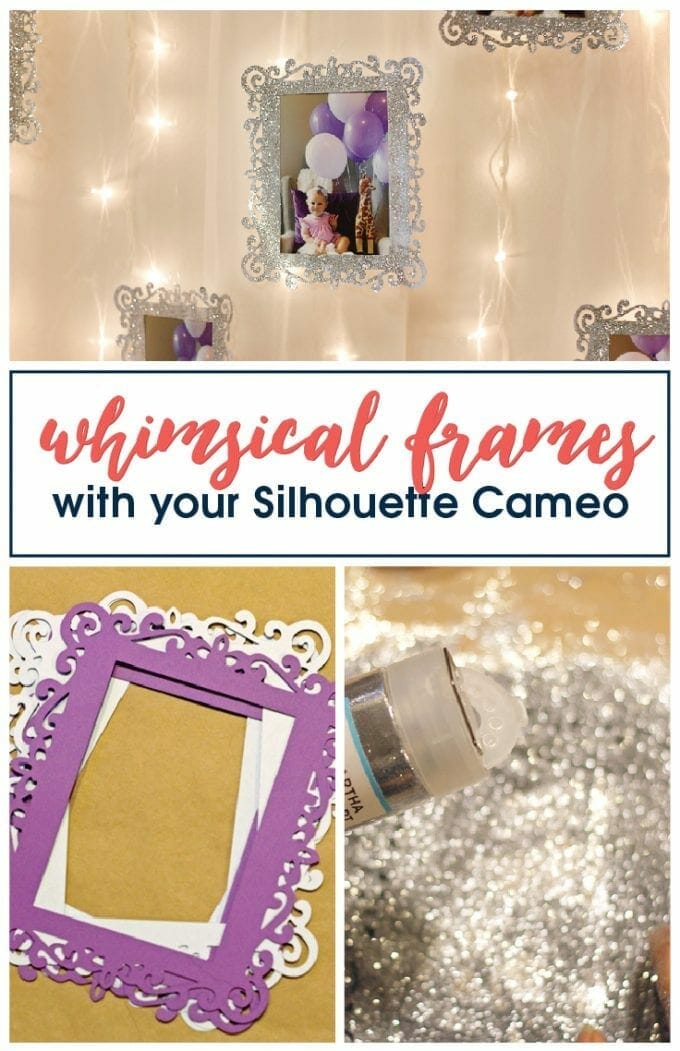
Make these simple whimsical picture frames with your Silhouette Cameo for your next party picture display! FREE cut file included! Perfect for a first birthday party picture display!


Love this so much. Just wish I was handier. So very cute.