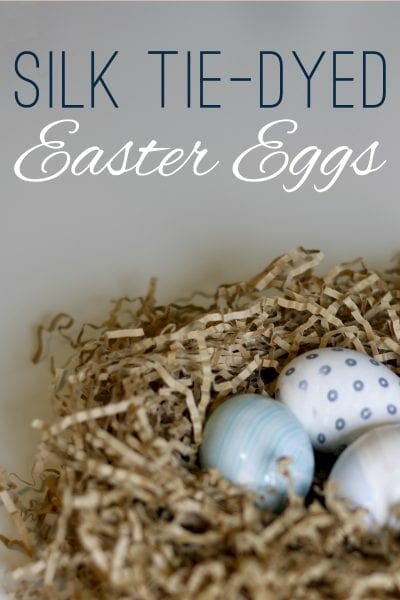
Years ago I raided my dad’s closet and made the most beautiful silk tie-dyed Easter eggs that everyone oohed and aahed over. And now that I have a 4 month old, I realize this very well may be my last Easter making gorgeous eggs for many years. So with that, I want to share with you this fantastic way to decorate your own Easter eggs to impress everyone in just a few simple steps.

Here’s what you need to start with.
Materials
- 100% silk ties
- Eggs
- Twist ties, string, or rubber bands
- A pot large enough to hold your eggs covered by water
- Water
- White Vinegar
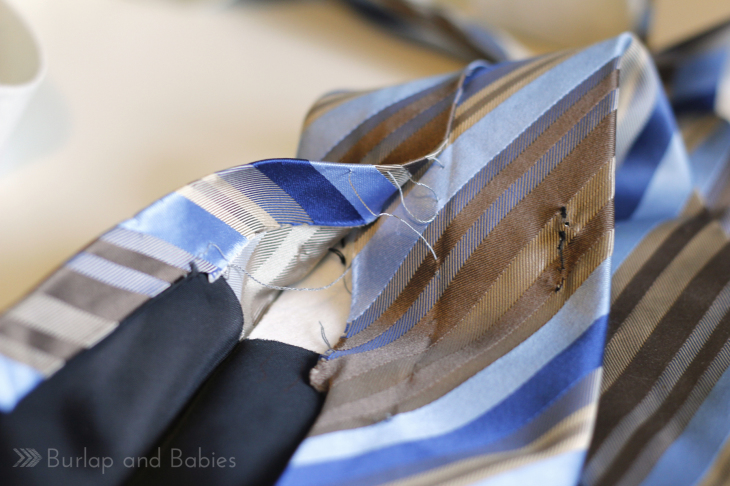
1. Collect 100% silk ties. The thrift store or your dad’s closet is probably the best options. Now you may want to find pretty ones, but honestly, the uglier, the better. I went with pretty this time around but they really do turn out gorgeous if they are really ugly.

2. Once you have your silk ties, grab your scissors and deconstruct them. You will need to pull out the liner and the coverings on each end of the tie.
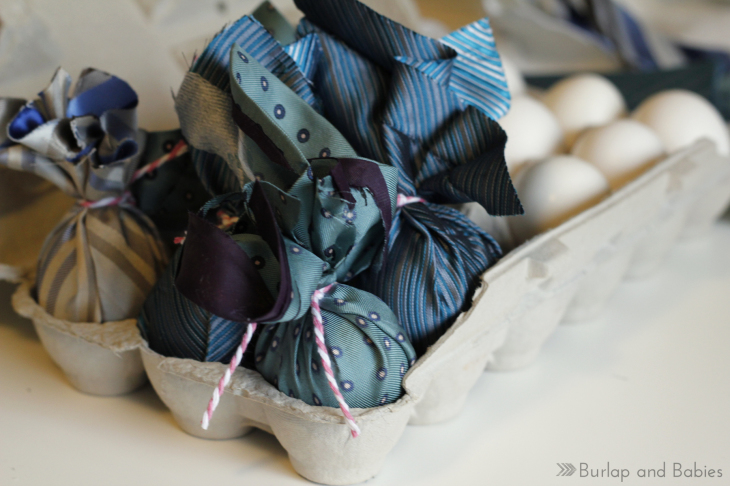
3. Once you have your silk separated, wrap this silk around your egg with the right side of the fabric against the egg pulling tight so that it can be as smooth as possible on the egg for the transfer. Tie it with a string or a twist tie.
Note: You can tie your egg either on an end or the side. Where it’s tied it will be more of a swirly color since the silk isn’t tight there.
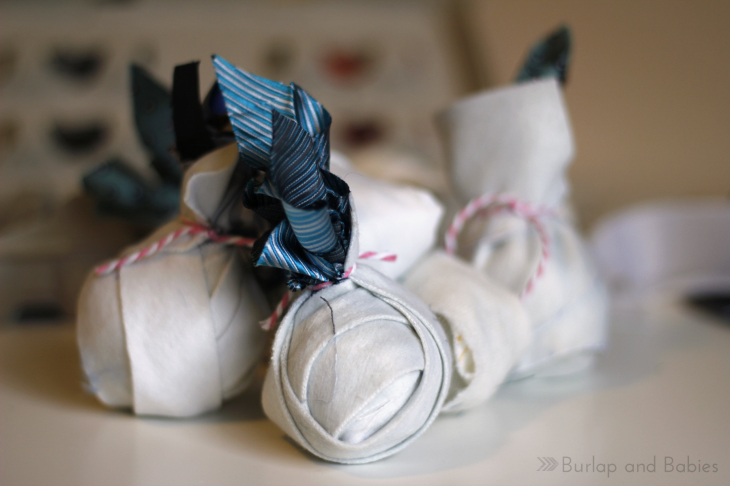
4. Once the silk is attached, take your tie liners and wrap them around the eggs to cover all the silk and tie them or use a twist tie.
5. Now comes the waiting game. Place all your eggs in a pot and make sure they are covered with water completely. Add 1/4 cup of vinegar and bring it all to a boil. Let the water boil for about 20 minutes and then remove your eggs from the water and place on a towel to dry.
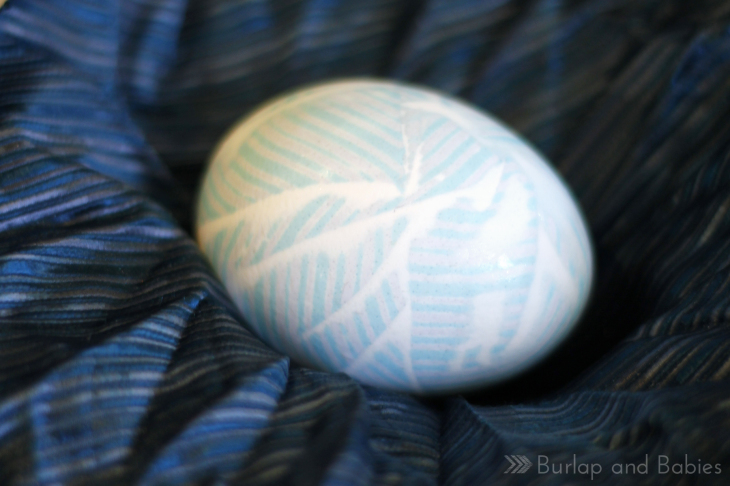
Once your eggs are cool to the touch you can remove the fabric and now it’s your turn to do the ooh and aah-ing!
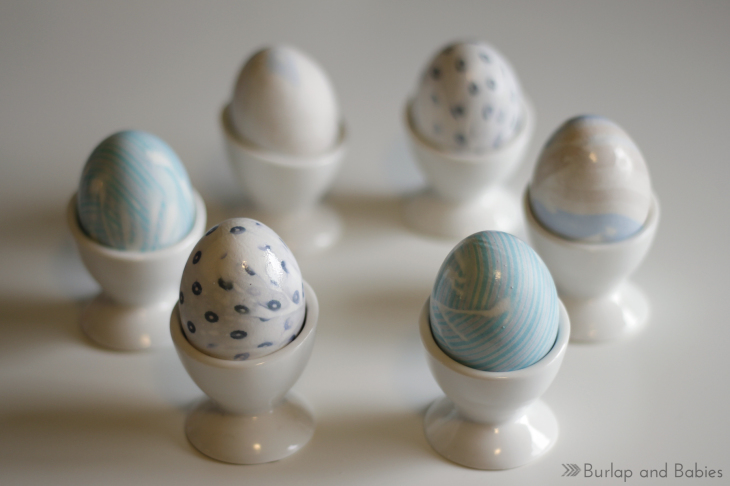
To get your eggs shiny looking, rub a little vegetable oil on them with a paper towel.
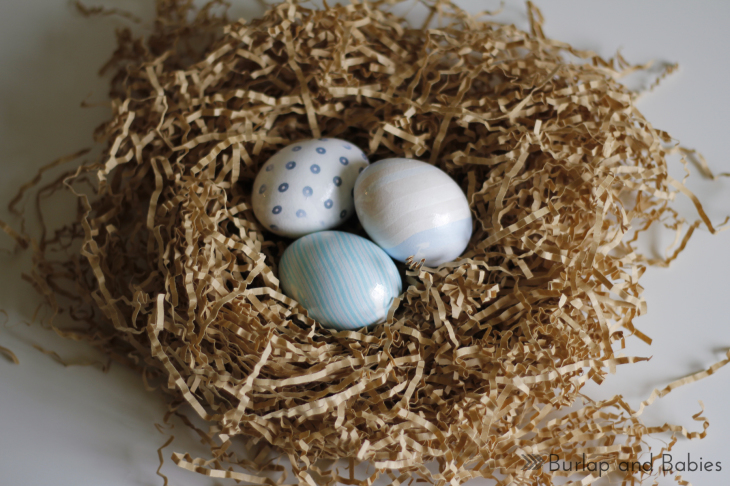
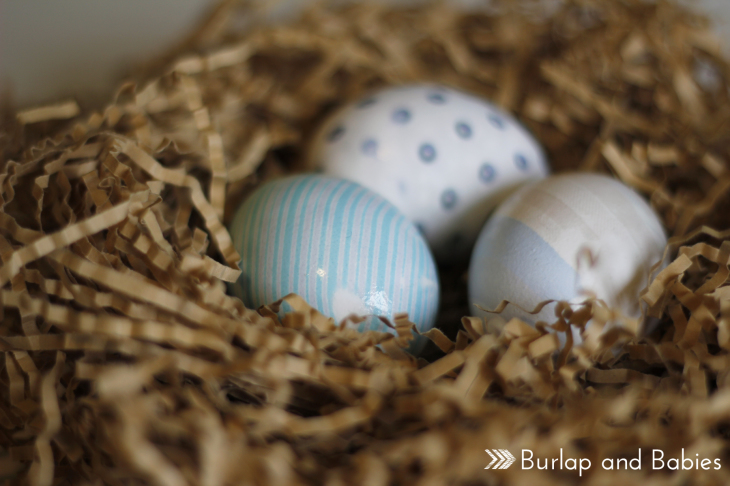
And there you have it! Beautiful, stunning silk tie-dyed Easter eggs.
What fun tricks do you use to dye your Easter eggs?
Need more ideas? Check out this comprehensive list of 70+ Easter Egg Decorating ideas.


Those are stunning! What a clever idea! What made you think of it? I had no idea a silk patterns could transfer.
Thanks Christine! I’m not sure where I originally saw it a few years back but I’ve always wanted to try it again. I can’t find my photos from the first time I did it (before I blogged) but they were just as great! You should give it a try. :)
Oh, I have been wanting to try this! They turned out so fun! Love your color choices too!
When I saw the title of this post I thought “what the heck?” but this is really cool! I have never heard of doing this, but may definitely need to try it next year. Thanks for sharing!
Lovely idea. I had NO idea you could do this!
Such a fun technique Amanda! I am getting excited to try some fun things for eggs this year!
I did this a few years back and was amazed at what I expected and what turned out….so different, wonderful and totally cool!! I still have them.
Goodness, these are soooo cute. I just made one and will be making it with my class on Friday. Happy Easter!!!
Do you know if this be done with the wooden Easter eggs that can be purchased at a craft store? Perhaps the white painted ones?
I tried this with a 100% silk tie. The patter came out so faint in most places and 2 really dark spots. Any suggestions? More vinegar?