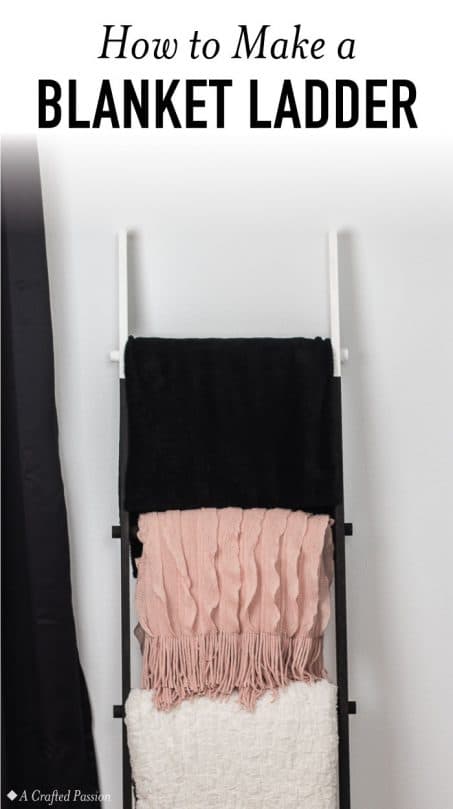
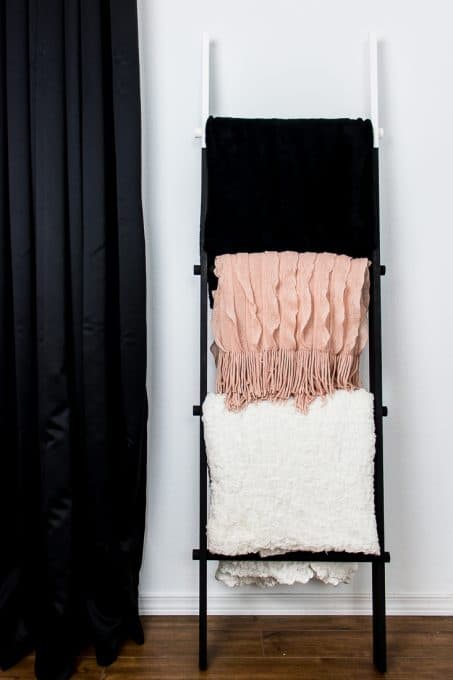
This tutorial on how to make a wood blanket ladder is so simple and looks great in your living room, bedroom, or even bathroom to hold towels.
Literally, for two years I have had on my to do list “make a blanket ladder”. Once I finally did it I was so mad at myself for about 2 seconds that I didn’t make it a few years ago, but then I just became determined to share it with you and hopefully inspire someone to make their own wood blanket ladder.
It’s literally so easy and I made it in an afternoon. Let me show you how to make your own!
*This post contains some affiliate links for your convenience (which means if you make a purchase after clicking a link I may earn a small commission, but it won’t cost you a penny more)! Click here to read my full disclosure policy.
Craft Time: 30 minutes
Waiting Time: 1 hour
Skill Level: Intermediate
Cost: ~$20

Materials to make your wood blanket ladder:
- 2 – 1×3 common boards at least cut to 62″ long each
- 77″ of 1″ dowel
- Measuring tape
- 1″ Forstner bit
- Pencil
- Sandpaper
- Hammer/mallet
- Scrap board
- Paint
- Blue tape
Cut List:
- 2 – 62″ side rails
- 4 – 19″ long dowels
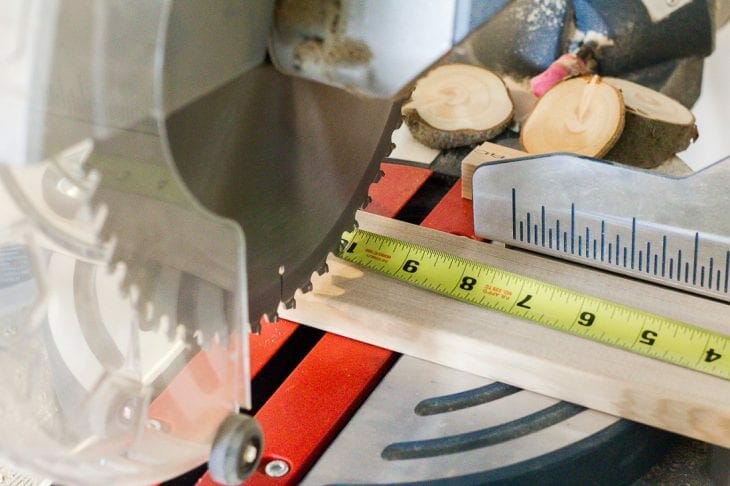
1. Cut Sides
Start by cutting your 1×3 common boards down to the height you want your ladder. Remember it will be leaning against a wall so it’ll look a few inches shorter. I cut ours down to 62″.
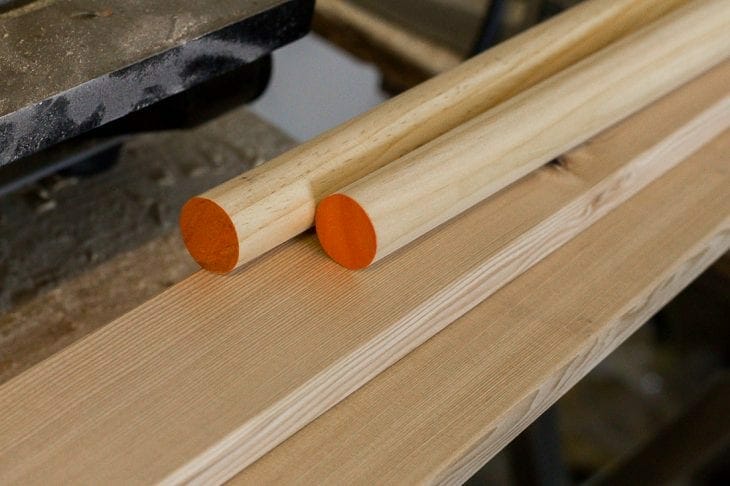
2. Cut Dowels
Next, cut your 1″ dowels down to 19″. I wanted about 1″ sticking out on either side of the ladder.
3. Mark Holes
Take your rails and measure out where your ladder rung holes need to go. The first rung was 10″ from the top and then each subsequent hole was 14″ away.
Measure going along the board starting at 10″ and then every 14″ and then measure the cross way to mark the center of the board going the other direction.
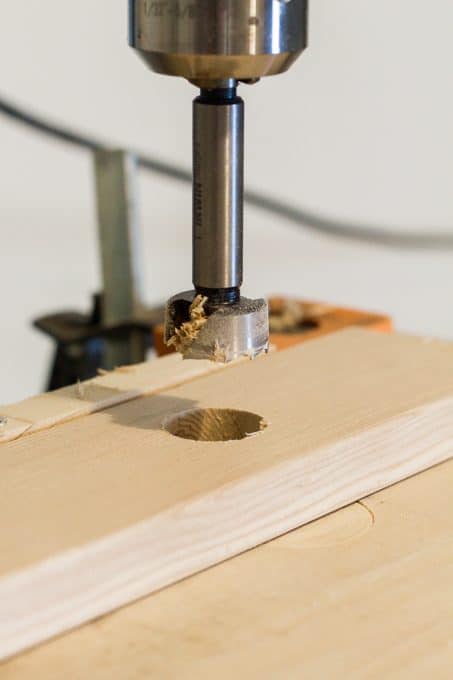
4. Drill
Nows the time to put your forstner bit to work. If you have a drill press, set up a jig with a board and clamps so that you can make sure all the boards get the hole at the same exact spot.
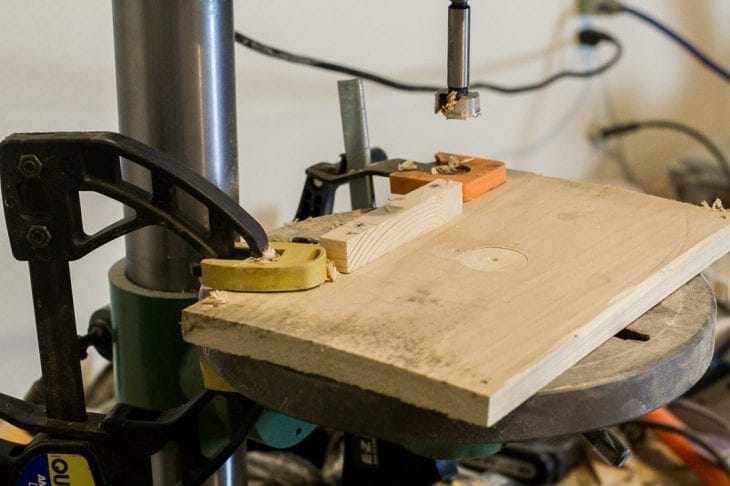
If you don’t have a drill press, no worries. Just use a drill with your bit to drill your holes.
Do this with just one of the side boards to begin.
Once you get the holes drilled, place the board you just drilled holes in on top of the other board. Take your pencil and trace around the hole.
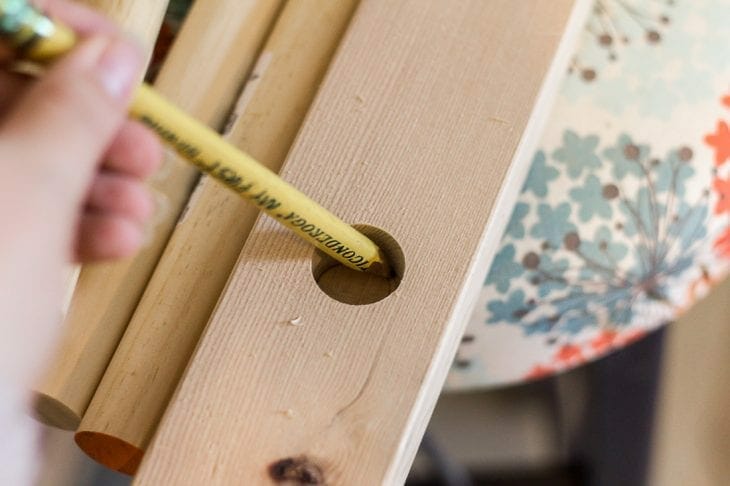
Even if you measure exactly the same as you did with the first board, you could have been off center by just a hair and make your ladder rungs a little crooked. This way they will be in the exact same spot as long as you’re great at matching up your bit with your penciled circle.
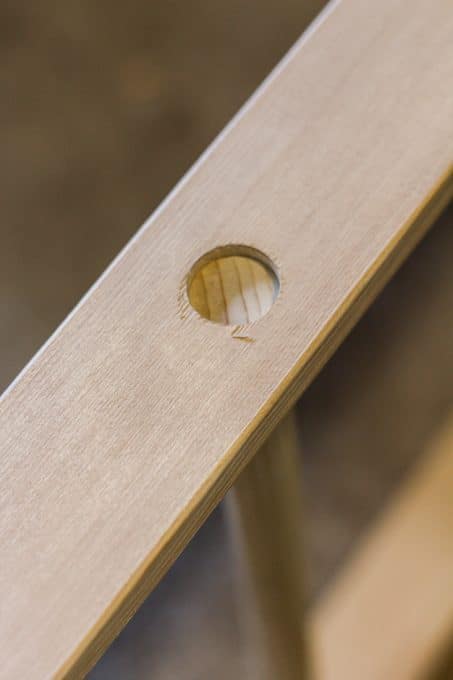
Once your circles are traced, drill out your second side board holes.

5. Hammer
Now you want to lay one of your boards on a flat surface, place your rungs on top the holes, and then place your second side board on top.
Place a scrap board on top your first rung hole and, using a soft mallet, hammer your board until the dowel rung is in the holes.
You can use the board and mallet to get the rungs flush with the boards and be done.
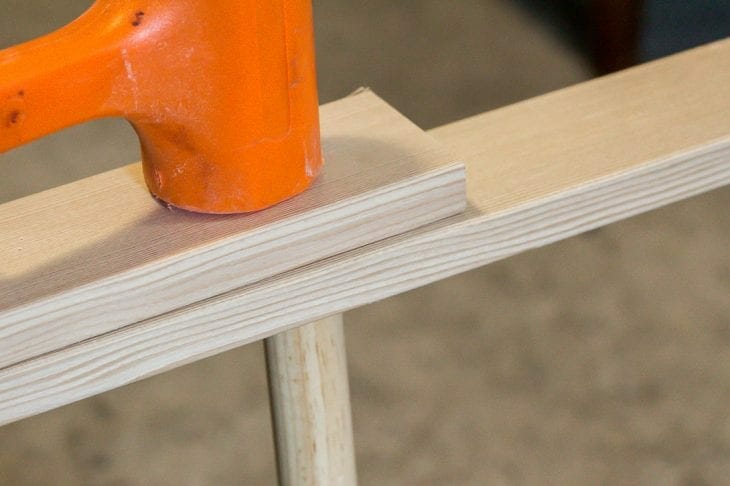
If you want to have an overlap likes the one I made, place your board on the side of one of the dowels on the outside of the board and hammer away.

This is just a process of flipping your ladder over and over again to hammer different areas until all the runs are in the right spot.
6. Sand
Once you get all your rungs in the correct spot, give your wood blanket ladder a sanding to smooth it all out.
7. Paint
Now, it’s time to paint it. I did 12″ of white paint on the top and then black for the rest. I painted white for about the top 13″ and then taped off and painted the bottom black.
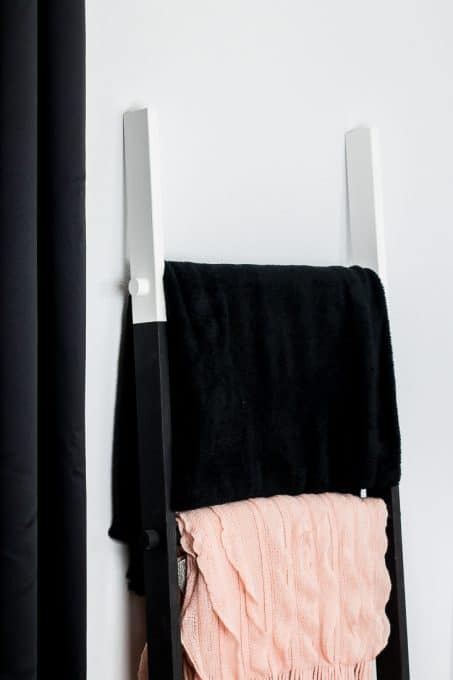
I love how this ladder turned out and is so versatile! We ended up using this ladder for Little Miss’s black and white birthday party photo display and our advent calendar village.
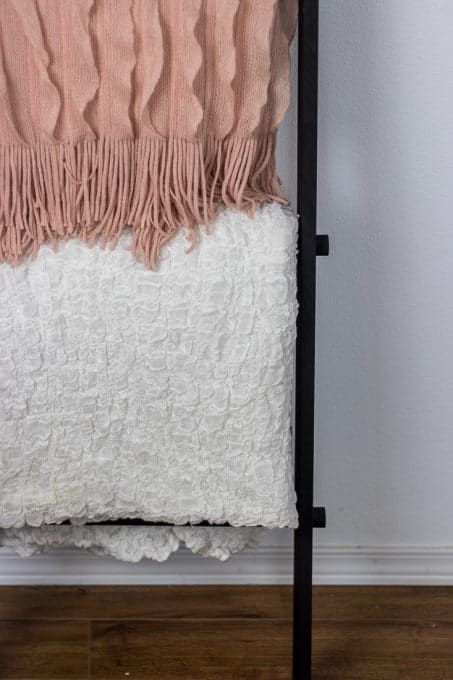
P.S. My new knit blush throw is amazing and for under $40 everyone needs one!! Get cozy with your own here.


Your projects are amazing! And attractive! Require some skills I don’t have!
This is such a great tutorial! I love how your ladder turned out, what a great idea to use it as an advent calendar too.