See how to make a DIY giant pegboard perfect to get your office organized. This modern oversized pegboard looks great and is super functional.
I’m not going to lie, I’ve been so tempted to drop sneak peeks left and right for this project because I was SO EXCITED. So let’s not wait anymore…
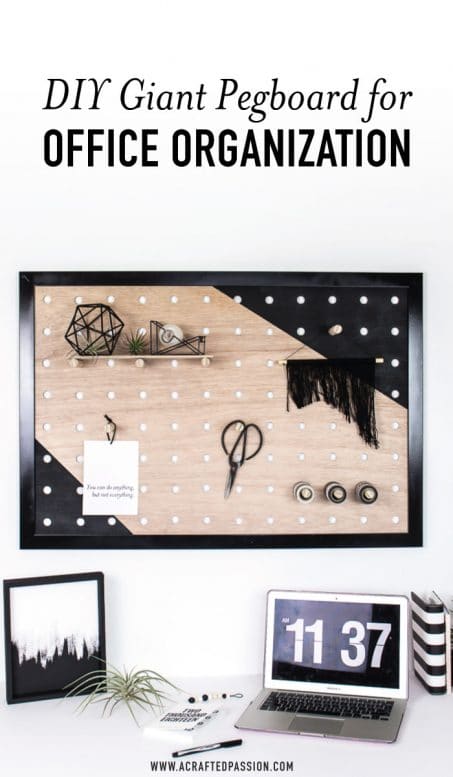
Ahhhh! I’m so obsessed with this giant pegboard!
In case you missed it, yesterday I launched a new series called 28 Days of Naptime Craft Time. The goal is to use that time when your kids are (hopefully) napping to be creative and do something for yourself.
Don’t have napping kiddos? No worries! Join in anyways with these simple DIY projects!
My craft room has been organized and clean approximately 16 minutes out of the past 5 years we’ve been in our home. I am on a mission to do better and make sure everything has a home and everything is in it’s home.
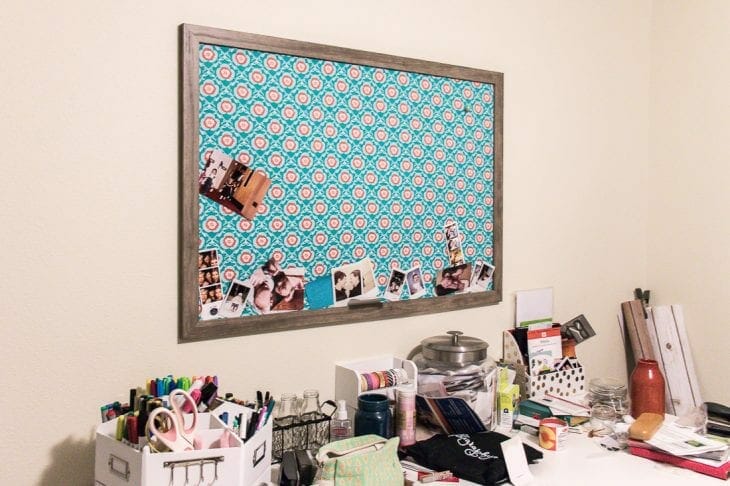
I knew the large framed corkboard I’ve had above my desk for years had to go. I needed a place to help organize, not hold more random papers and photos.
WARNING: Real life, messy photo of what my desk looked like before below.
*This post contains some affiliate links for your convenience (which means if you make a purchase after clicking a link I may earn a small commission, but it won’t cost you a penny more)! Click here to read my full disclosure policy.
I am on a mission to declutter, get organized, and create a space that I want to create in. I’ve seen giant pegboards on Pinterest and knew that would be the perfect solution to help get me on the path to getting my desk organized and looking good.
Let me show you how you can DIY a giant pegboard too! It’s really easier than it looks and looks so good!
Materials to create your DIY giant pegboard:
- 24″ x 36″ 1/4″ birch plywood
- Ruler and/or straightedge — I used our 18″ x 24″ self-healing cutting mat. This thing is so handy to have around and then I didn’t need both a ruler and straightedge.
- 3/4″ wood round dowel
- Paint
- 24″ x 36″ frame — I got mine from Michael’s with a 40% off coupon, but here’s a similar one you can get right now.
Tools
- 3/4″ Forstner Bit
- Drill and/or drill press — It’s handy to use a drill press if you have access to one, but definitely not necessary. This is a great beginner drill press.
- Saw to cut your plywood to size — If you know your measurements ahead of time, just have the lumber store cut your wood to size when you buy it.
- 80 & 220 grit sandpaper
- Mallet (or a board and hammer)
Craft Time: 1 hour
Waiting Time: ~3 hours
Skill Level: Intermediate
1. Cut Plywood to Size
First, you need to cut your plywood to size. I wanted the pegboard to be framed using the frame I had above my desk previously so I used the table saw to cut the wood down to 24″x36″ to fit inside the frame perfectly.
2. Mark Out Grid
Once your plywood is cut to size you need to decide how far apart your holes will be. Starting from the edge I measured 1.5″ and then started doing tick marks every 3″ along the long edge. I then did the same thing on the opposite side and then drew lines connecting the 3″ ticks.

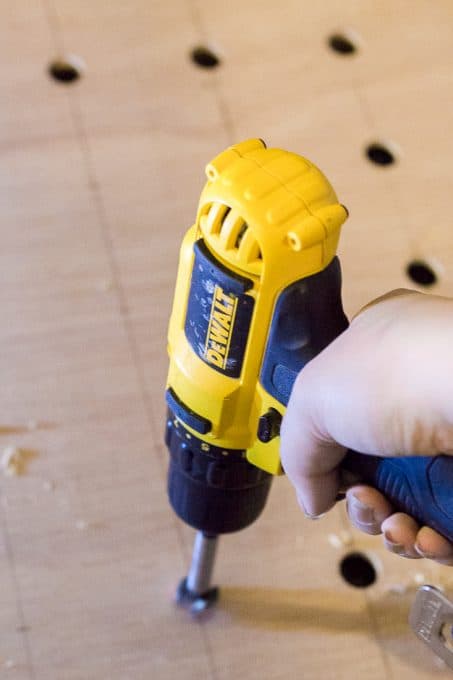
3. Drill Holes
Once you know where the holes are going then it’s time to drill the holes out.
If you have a drill press, it’s handy to use so that your holes are more precise, but not necessary. You can use the drill press to get the edge rows, but unfortunately, you will need to use a hand drill to get the middle holes.
If you’re just using a drill, be sure to place some scrap wood under your plywood and start drilling your holes. Be sure to hold your drill straight up and down so that your pegs don’t go in crooked. This forstner bit is key to getting those perfect looking holes. Grab one right here.
4. Sand
Next, you’ll want to take your sander and clean up the board and sand off the pencil markings. The forstner bit sometimes isn’t super clean so the 80 grit sandpaper will help get off those rough patches and then use a finer grit sandpaper to smooth it all out.
These sanding sponges are a serious lifesaver when it comes to working on wood projects! Grab them here.
5. Paint
If you want to paint your pegboard similar to mine, now’s the time to do that. I just taped off the two corners with 3M blue tape and painter’s paper inbetween where I wanted to keep the wood raw. I gave it a quick coat of matte black spray paint.
This is my favorite matte black spray paint that I use. I never knew there was such a difference in spray paints until I picked this up from a specialty art store one day. It’s what graffiti artists use and such a difference compared to spray paint you’d find at the hardware store.
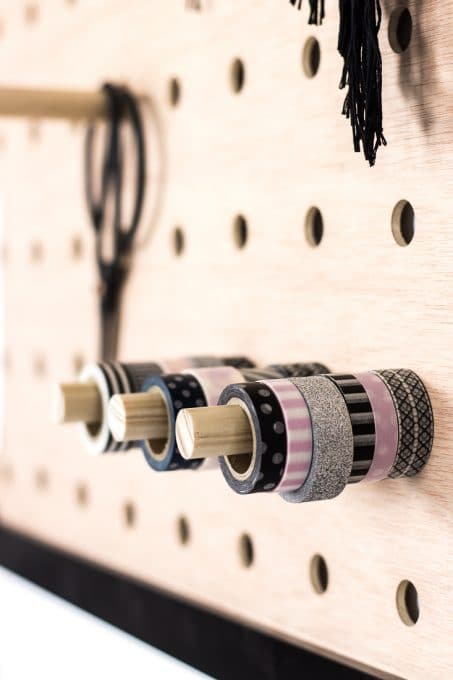
6. Cut Dowels
Time to make those pegs. Take your 3/4″ dowel and cut it into 4″ lengths. I used my compound miter saw, but you can also just use a miter box.
Just be sure you’re consistent with which side of the pencil mark you put your blade so that all the pegs come out relatively the same size.
Tip: Clamp a block 4″ away from your blade so then you can just slide your dowel to the block and cut them all the same size without needing to measure out each one.
7. Sand Pegs
Give your pegs a quick sanding to smooth out any rough areas and then wipe them down to remove any sawdust.
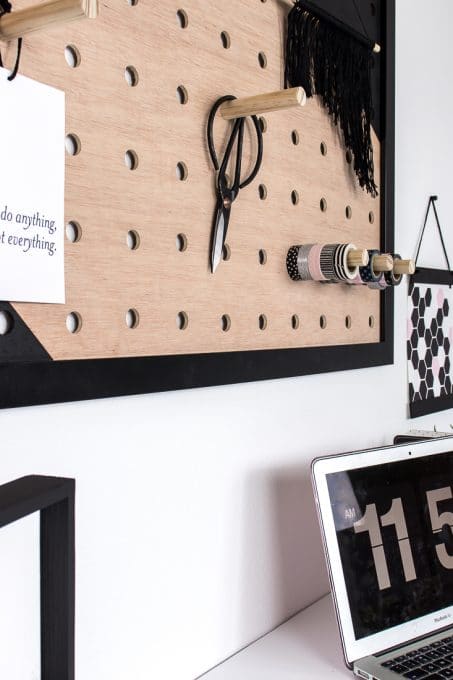
8. Add Pegs
Once you’ve decided where your pegs are going then you’ll need to use a mallet or a board and hammer to get them into your pegboard. Since the pegs and the peg holes are the same size they’ll need a little more help to get them into place. This makes it a little bit more of a chore to move your pegs around, but totally worth it when your gorgeous giant pegboard is hanging up on the wall.
If you don’t have a mallet, just hold your peg in the hole, put a scrap board on top of the peg and then hammer until the peg is flush with the back of the plywood. The scrap wood helps so that you don’t damage your peg.
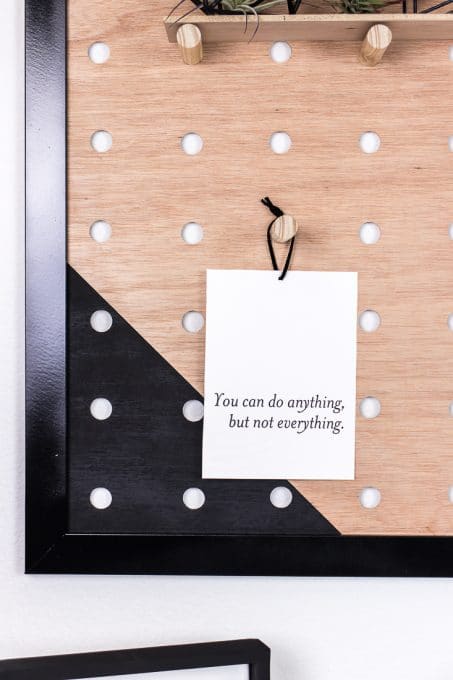
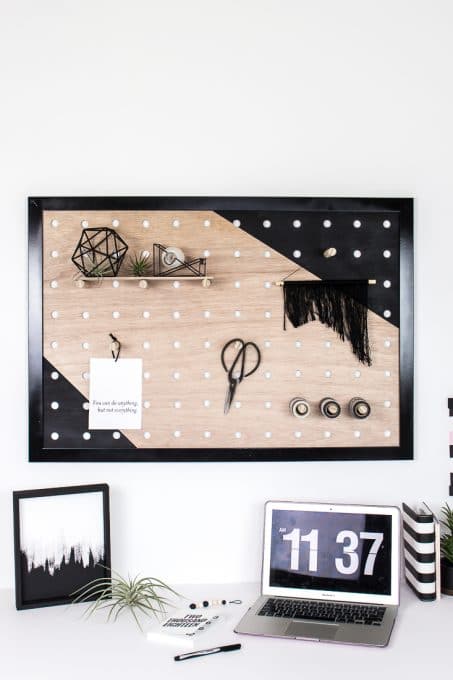
9. Hang
And then you’re done! Hang that puppy up and start organizing ALL THE THIIIINGS!
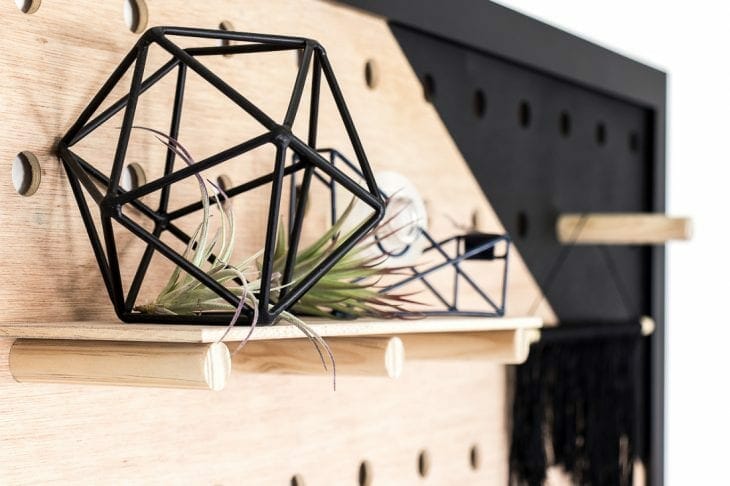
If you want to do a shelf, just use any scrap plywood you have cut to size. My shelf was about 12″ x 4″ and is just set on top of the three pegs.
These little air plants are the perfect touch of greenery since we all know I’ll kill anything else.
See how to make that simple easy abstract painting on canvas that’s sitting on the desk below right here! If you’re on Instagram and try out making your own giant pegboard, be sure to tag me #ACPnaptime and let’s be creative together!
Want to create a family-friendly modern home on a budget? ME TOO! Grab this free guide right here to get started!
If you love this project as much as I do, I’d love for you to pin it or share it with your friends!

Create a simple clothespin memo board to keep important notes or display your favorite pictures with this easy DIY idea. 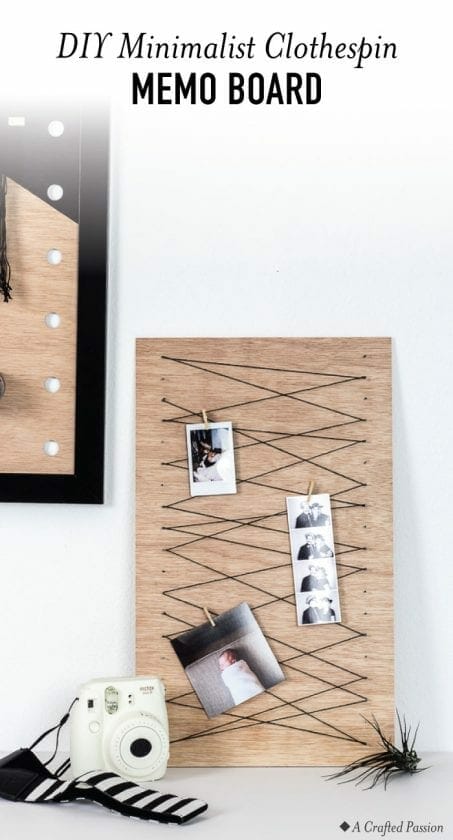
Make this DIY necklace holder to organize your jewelry. This modern industrial stand is the perfect display to have on your dresser. 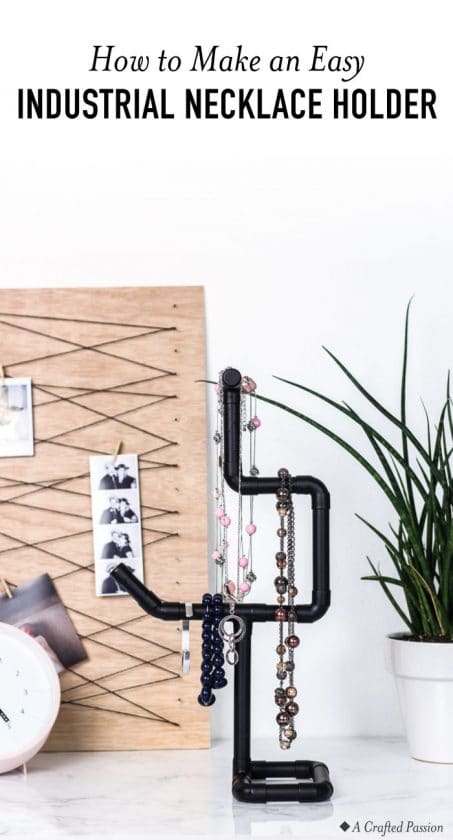


I LOVE this!! Great job! It looks so good in your space too :)
These are great ideas with excellent tutorials
Great ideas. Peg board is what I need…a really big one.
How much weight will these pegs hold and do the shelves/pegs sag over time? The 1/4 thickness of the pegboard seems really small to hold the peg straight especially if there’s any weight at all at the end of the peg.