*This post contains some affiliate links for your convenience (which means if you make a purchase after clicking a link I may earn a small commission, but it won’t cost you a penny more)! Click here to read my full disclosure policy.
Learn how to make DIY pipe shelves using copper pipes and this simple tutorial. This modern shelf is perfect to add in your home and budget-friendly!
Do you ever find yourself wandering the aisles of Target dreaming of your home or what outfit you’re going to wear this summer? Well, I wander the aisles of Home Depot dreaming up what projects I could make. This is one of those.
I found this 4×12 porcelain wall tile and knew I wanted to create a shelf of some sort with that tile. This is another of those projects (like the giant pegboard) that I’m super stoked about!!
Let me show you can make your own DIY pipe shelves…

Craft Time: 1.5 hours
Waiting Time: ~8 hours
Skill Level: Intermediate
Cost: ~$25
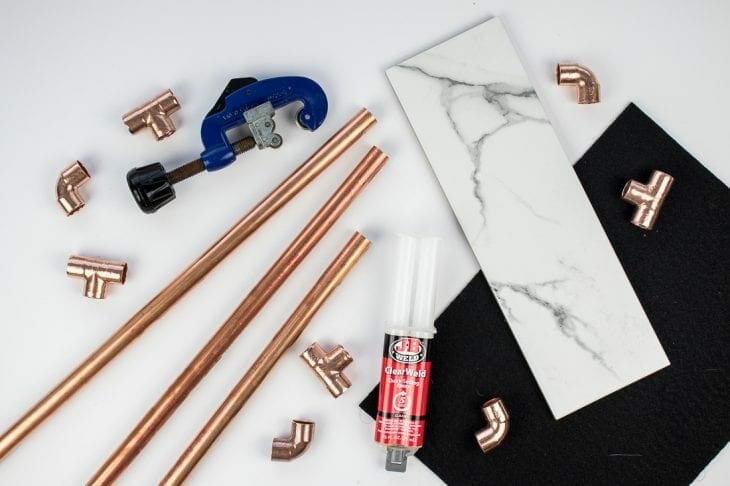
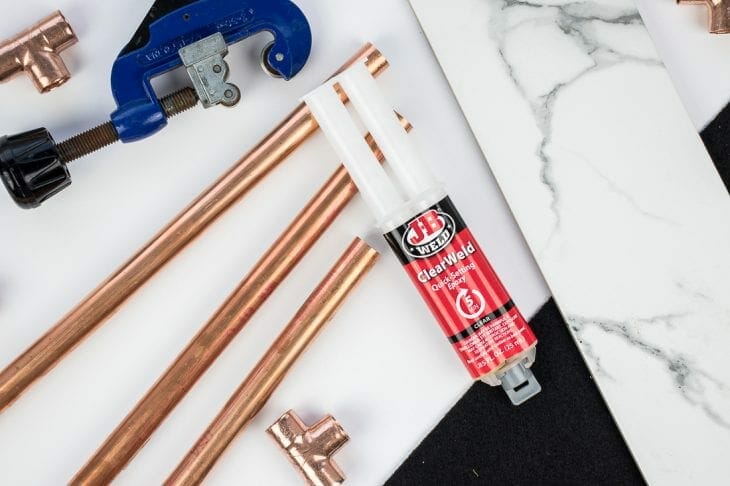
Materials you need to make your pipe shelf:
- 9.5′ of 1/2″ copper pipes
- 8 – 1/2” elbows
- 8 – 1/2” T’s
- Tube cutter
- JB Weld ClearWeld Epoxy Syringe
- Disposable container
- 3″x12″ tile
- 3″x12″ black felt
- Matte black spray paint — This is my favorite matte black spray paint and you can notice quite a difference between this brand of matte paint compared to other flat brands.
Cut List:
- 8 – 2”
- 8 – 2.5”
- 4 – 6.5”
- 4 – 11.75”
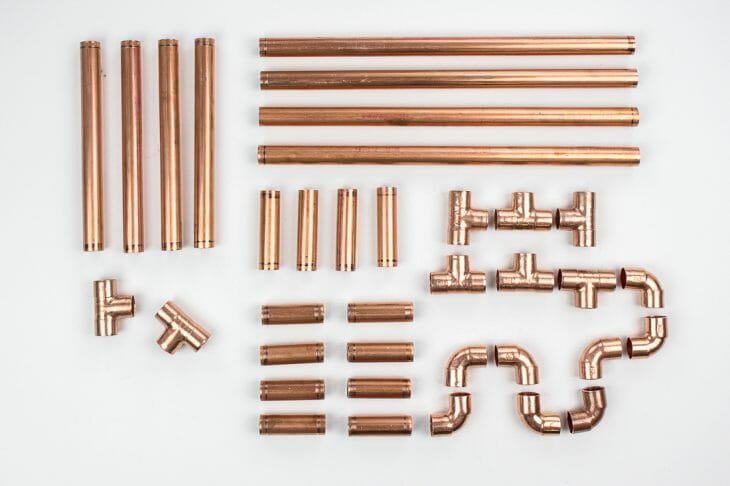
1. Cut Pipe
Start by cutting all your straight 1/2″ copper pipe pieces.
Depending on your store and location, you should be able to find 5′ copper pipes for around $7 so it’s cheapest to just buy two of those rather than the more common shorter copper pipes you usually see.
2. Layout
Just like with the copper pipe jewelry holder, it’s easiest to lay out all your pieces in the order you want to assemble it.
This ClearWeld Quick-Setting Epoxy is great to hold the pipes together, however, when they say “quick-setting” they really mean it. From the time you push that syringe and mix the epoxy you’ve got about 4-5 minutes before the epoxy hardens up and becomes very difficult to spread around.
I’m a very visual person so I drew up this rough diagram as I created my shelf to make sure the dimensions would all fit. Our 4×12 tile actually measured to about 11.75″ by 3.75″ and I wanted it to fit snug right inside the base of the shelf and for the shelf to look square.
With that in mind, here is the layout for how the pieces fit together.
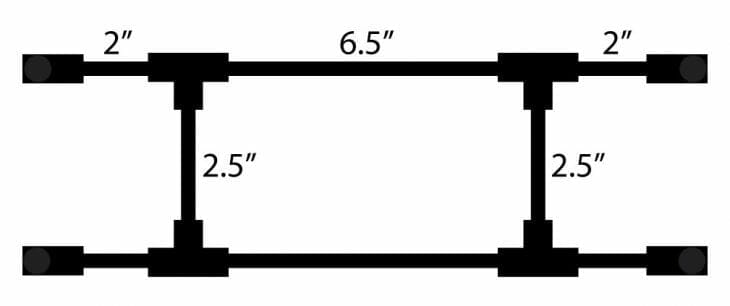
Just the bottom and tops had the T’s with 2.5″ crosspipes, but you could also do them on the sides if you wanted to.
I suggest building the whole shelf at least once without glue just to make sure you know how everything fits together. I think it’s easiest to assemble the top and bottom separately and then connect them with the 11.5″ sides.
3. Secure
Once you know how it all goes, push your syringe with the two-part ClearWeld epoxy into a disposable container and mix it together using the stick provided.
Now, working quickly, use the stick to spread the epoxy on the inside of the fitting rather than the outside of the pipe and build your shelf.
Once your base is put together, place your tile and push all the pipes to make sure everything fits snuggly around it.
Be sure to work in a well-ventilated area and dispose of the epoxy as soon as you’re done because the stuff stinnnnks. Also, make sure you’re working on a level surface so that it’s easier to tell if an angle is off.

Once you have all your pieces glued together, set it aside to dry overnight.
4. Paint Tile
While you’re waiting for the pipes to dry, you can take a small brush and paint the edge of your tile so that it blends in better with the shelf. This step isn’t necessary, but I like that it helped tie it all together.
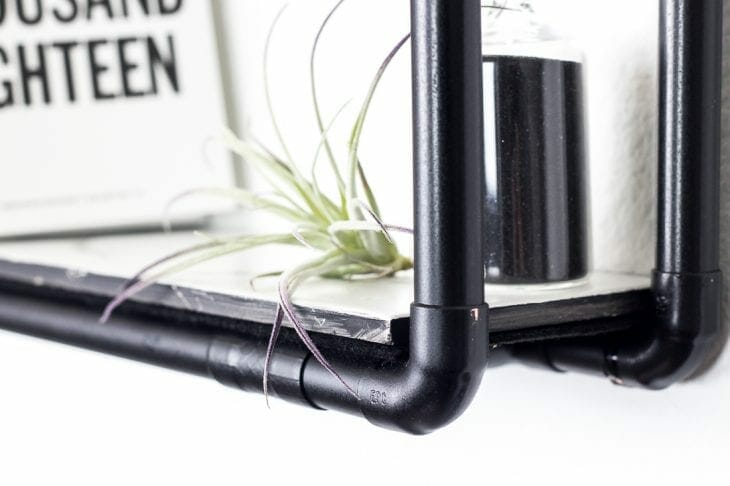
5. Add Tile
Cut a piece of black felt to fit the bottom of the tile and then attach it to the bottom of the tile either with gorilla glue or super glue. This is just a cosmetic thing, but helps the shelf look more complete if someone were to see the bottom of the shelf.
6. Paint Shelf
Once your pipes have had time to set, time to paint it.
Now, you can absolutely keep it raw. Personally, I’m not a huge copper fan so I chose to paint it, but you can definitely keep it as is if that fits your tastes better.
If you choose to paint it, grab a fine sanding block (maybe 220ish grit) and give it a rough sand so that the paint sticks to it better.
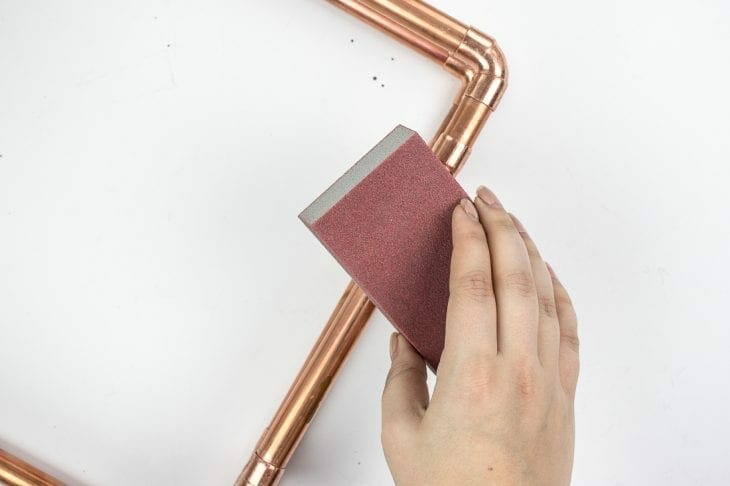
Clean off your copper pipes with a dry cloth and then give it a few coats of paint.
7. Hang
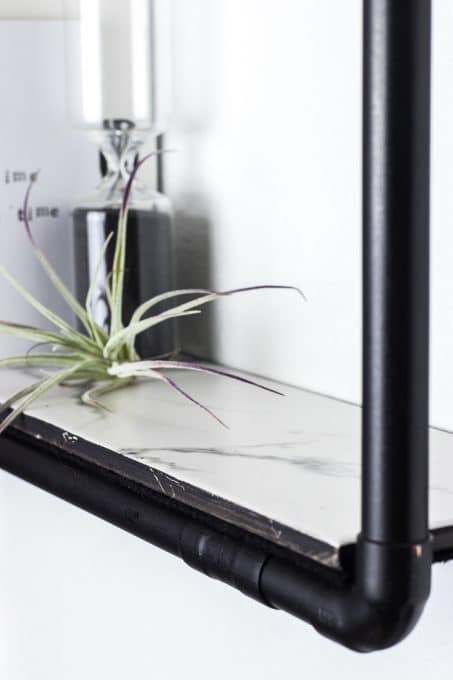
Once it’s dry, your tile should be able to just slip right inside the base of your shelf and rest on top of the crosspipes. If you’re concerned about it slipping, add some clear gorilla glue to the top of the T’s before placing your tile to secure it in place.
Depending on what you’re putting on your shelf, you can either use two small nails in the corners to hang your shelf on the wall or screws if you’re planning on putting heavier items on the pipe shelves.
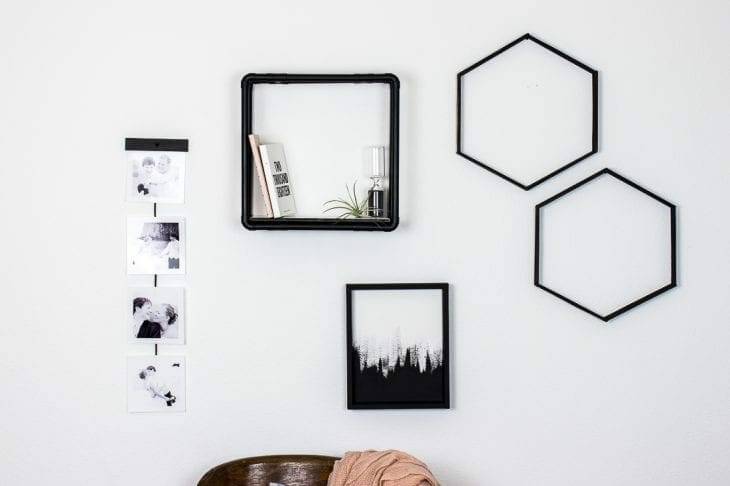
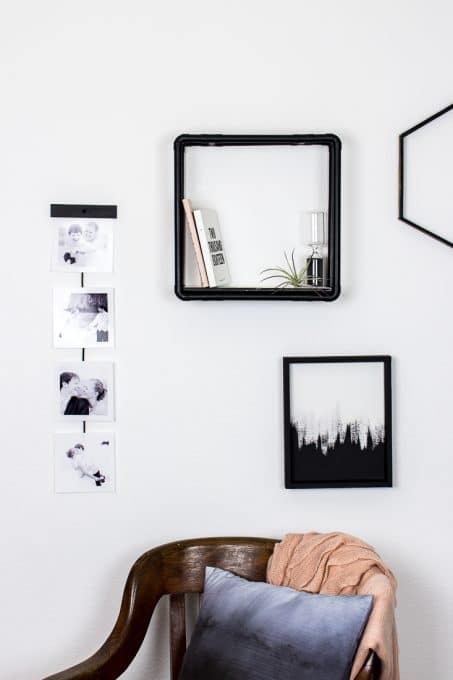
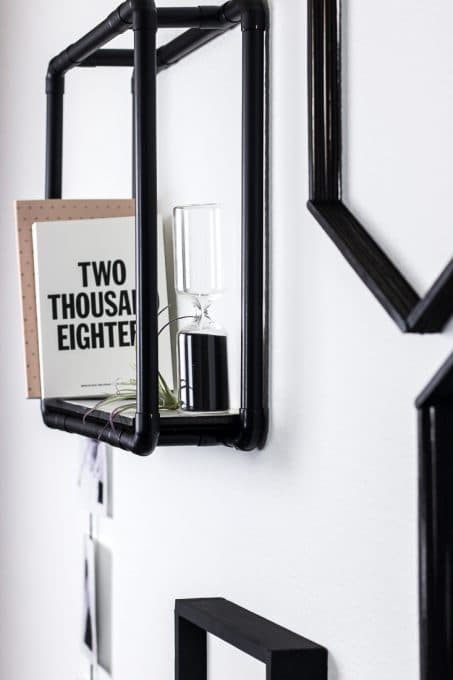
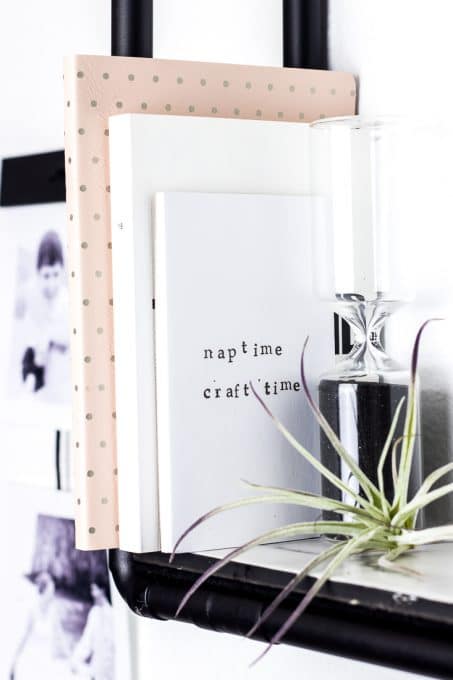
I love how this shelf turned out and it’s the perfect little display to hold a journal, planner, and some little decor items. It also happens to look great with the easy abstract painting I showed you how to make last week.
What do you think? I’d love to know if you’re a copper fan or not.
Stay tuned for more projects coming your way this week!
I think you might also love this…
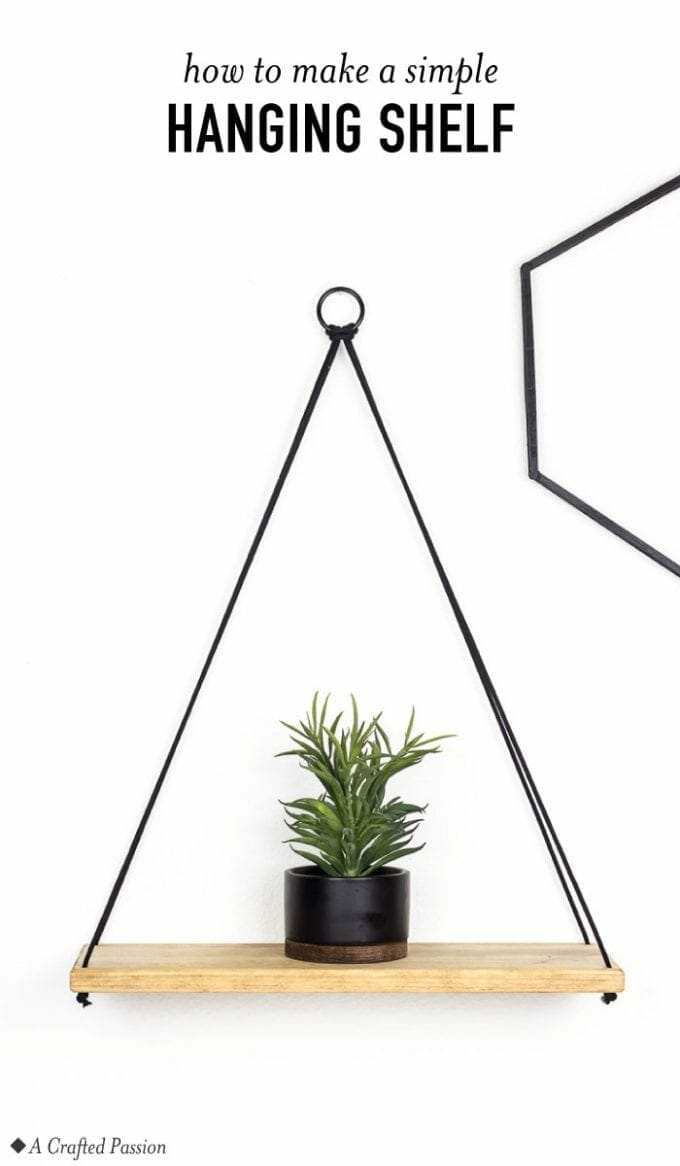
Make a simple hanging shelf out of wood. This easy DIY idea looks great on your wall for storing little decor items in your home.