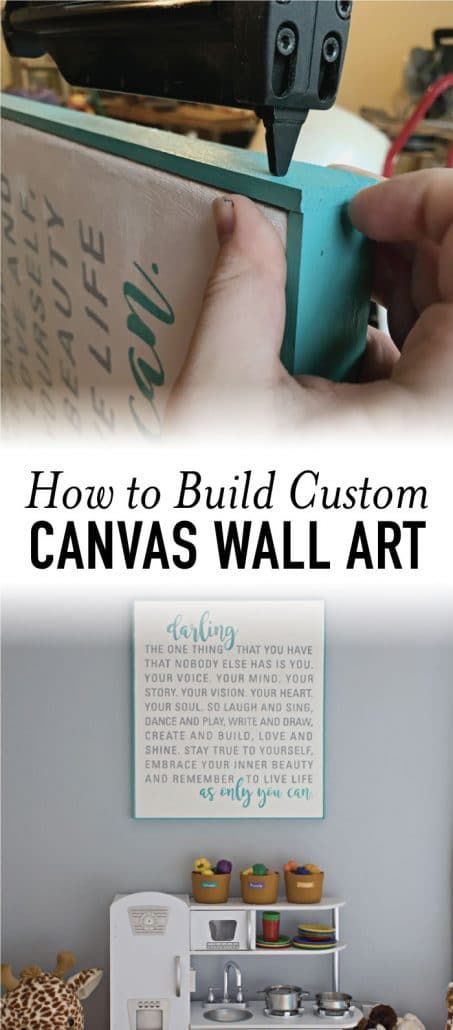
Want to decorate with your favorite quote? Learn how to create canvas wall art with these simple tips and tricks for less than $20!
And then there was that time you found the perfect quote for your future room makeover you’re planning in your head for a year and you just know it needs to be magical. But how do you do it?! Creating custom wall art doesn’t have to be difficult and it sure as heck does not have to cost you $100s! I’m here to show you some simple tips and tricks to create custom wall art with your favorite quote easily on your own.
What you need to create custom wall art:
- Canvas framing
- Canvas fabric
- Gesso
- Brush
- Base paint
- Quote paint
- Vinyl or stickers
- Trim wood
Making this custom canvas art is broken down into three parts: the canvas, quote, and frame.
Part 1: How to Make a Custom Canvas
So, first I’m going to show you how you can make your own canvas in any size for relatively cheap. Once you’ve decided where your art is going measure the size you want your art to be.
Tip: Cut a paper bag or butcher paper to the size and tape it to the wall. Step back. Is that the size you want? Is it proportionate to other items in the room?
Frame
Find a local art store or you can buy the frame pieces here on Amazon.
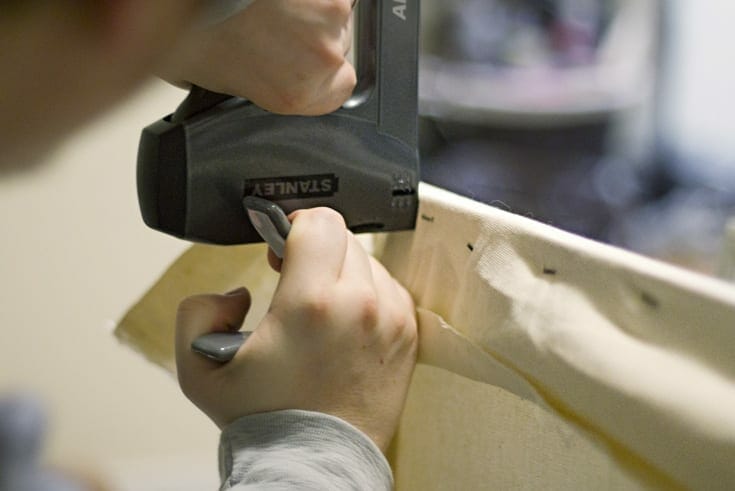
Stretch Canvas
Take your canvas fabric and, using a staple gun, attach your canvas to the backside of the frame. You will need to stretch and pull your canvas really tight. Don’t be afraid to staple and pull out the staples as needed to get the fabric perfectly stretched around the frame.
Do all the sides first and then do the corners last.
Related: Here’s a great video on how to fold canvas corners.

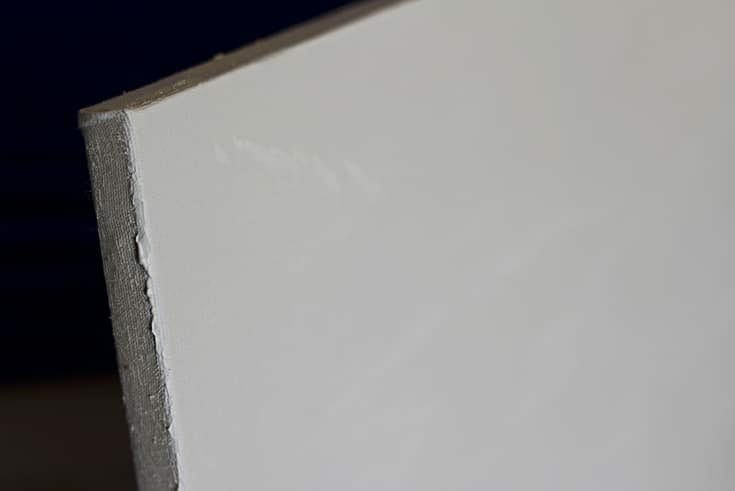
Gesso
Once your fabric is stretched, apply a few thin coats of gesso. This is the white gesso I used. As you can see, I just applied the gesso to the top of the canvas since the sides would be covered by the frame coming up in step 3.
Dry
Make sure and leave enough time for your gesso to dry before painting your base coat.
Paint
Once dry, paint your base coat. I used the same Benjamin Moore Simply White that I had leftover from this dresser makeover.
Part 2: How to Make the Quote Design
Next, comes the fun part of coming up with the quote you want to display. I chose this quote that is based off of a quote from author Neil Gaiman.
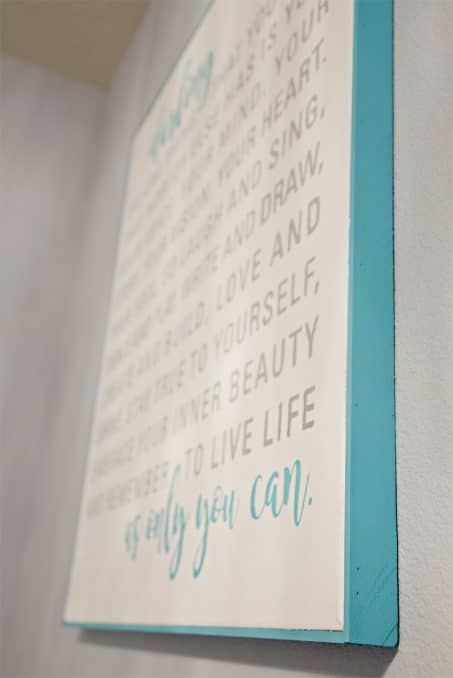
“The one thing that you have that nobody else has is you. Your voice. Your mind. Your story. Your vision. Your heart. Your soul. So laugh and sing, dance and play, write and draw, create and build, love and shine. Stay true to yourself, embrace your inner beauty and remember to live life as only you can.”
Love this quote and ready to buy the art? Get it here from House of Belonging who inspired my design.
Design
First, you need to design your quote to fit the canvas you’ve made. If you don’t have a design program like Adobe Illustrator, Canva is a great alternative. In Canva you can adjust your line spacing and character spacing to fit the full width if you want it to look similar to the one I created.
Cut Stencil
Once you have it designed, you’ll need to cut your stencil out of vinyl using your favorite cutting machine. My current favorite is the Silhouette Cameo, but I’ve been hearing great things about the newest Cricut machine that I can’t wait to try!
If you don’t have a cutting machine, no worries! You can find stickers here that would work as a stencil. All you would need to do is switch the colors on your canvas, so you would paint your canvas the color you want the words to be. Then draw straight lines with a pencil as a guide and, starting from the middle of each line, place each letter for your quote. Once your quote is placed you would then paint over the whole canvas and then remove the stickers.
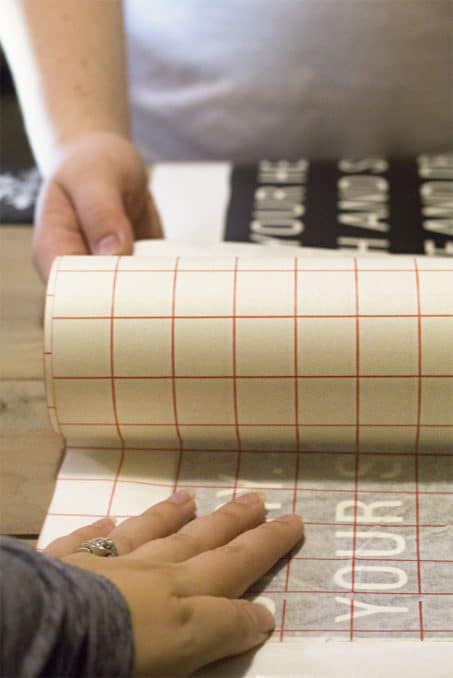
Adhere Stencil to Canvas
If you’re going the vinyl route, here are a few tips to make the stencil process a little easier.
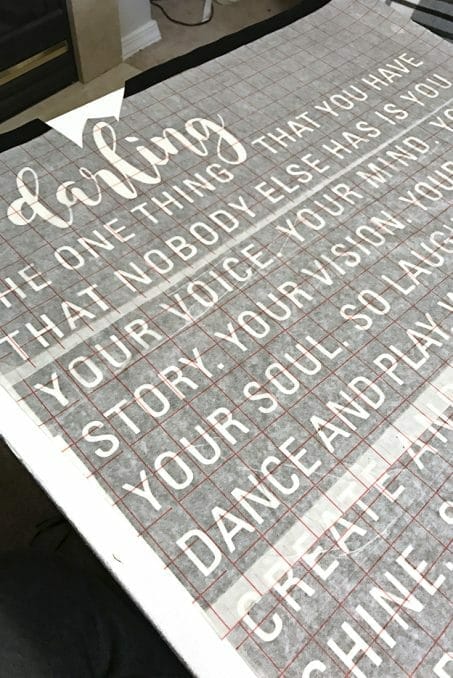
Tip #1: Break your quote into multiple sections. Have one letter on each end of your line of text on the next section of vinyl. This will help line up your vinyl blocks. See how the O in yOur and the C in Create is doubled up? Those were markers I used to line up the different sections.

Tip #2: If possible, have a second person help you place your large vinyl sections. It’s easiest to have one person pulling the transfer paper out and the other person making sure it all aligns and is smoothed out.
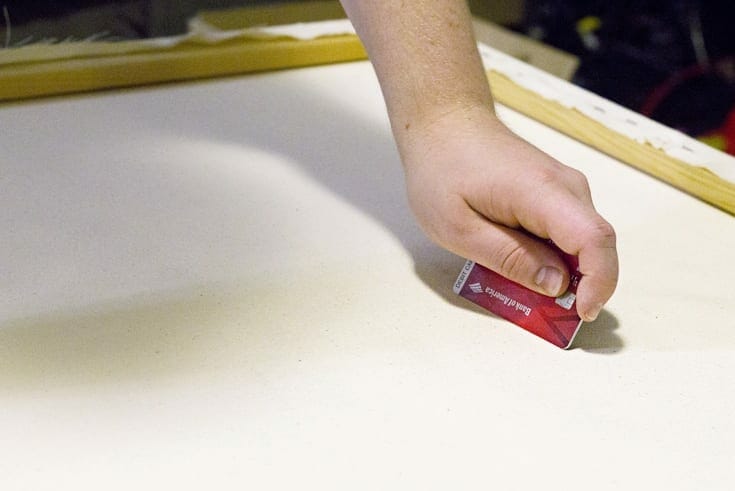
Tip #3: Make sure you adhere the vinyl to the painted canvas well. I’ve found it’s easiest to do this with canvas by flipping it upside down on a flat surface and then using a credit card or scraper to make sure it’s all adhered well.
Paint Stencil
Once your stencil is down and you’ve pulled up the transfer paper, time to paint your quote on. I’ve found for small letters, it’s easiest to use a round sponge pouncers to paint the letters. There’s less chance the paint will seep under the vinyl with these brushes as long as you don’t put much paint on the brush.

As soon as you’re happy with the paint coverage, pull up the vinyl before it dries.
As you can see above, my vinyl started pulling up pretty quick and didn’t have a good seal between the vinyl and the canvas. I realized, after the fact, that I used one of my cheap rolls of vinyl that doesn’t stick as well that I use for test projects. Oops!
Part 3: How to Make a Simple Canvas Frame
Now, it’s time to make the wall art frame. This is the finishing touch that pulls this canvas art all together.
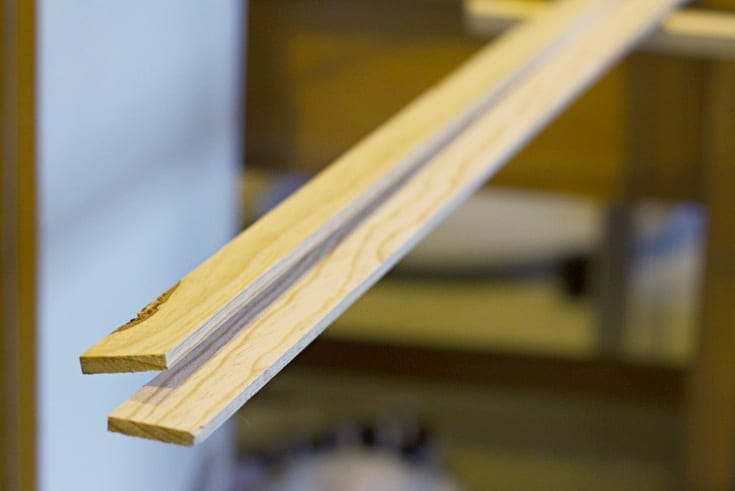
Cut
Take your trim wood and cut it to the correct size. I used 1″ pine trim found at my local Orchard Supply Hardware. Make sure to account for the additional 1/4 inch on each side for the top and bottom to align correctly.
Paint
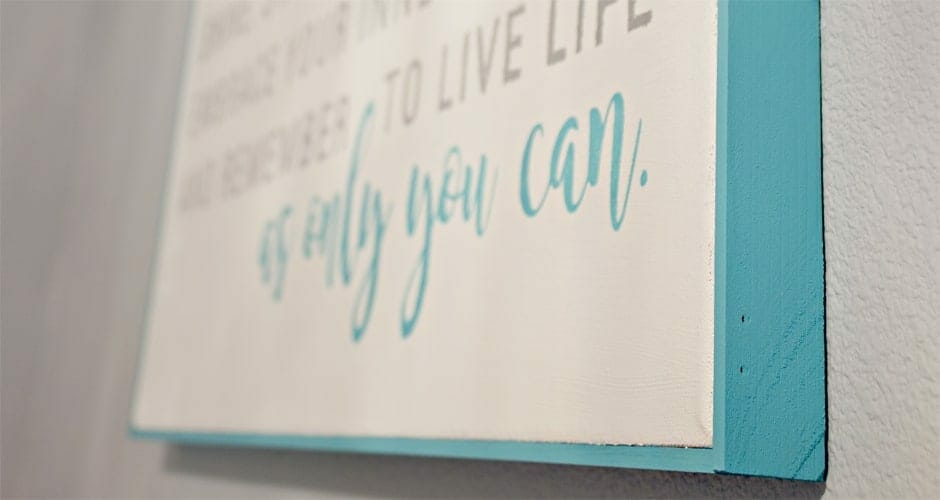
Once it’s cut to the correct lengths, paint your trim pieces. I used Benjamin Moore Poolside Blue that I used throughout Mini Me’s bedroom makeover.
Related: Have you seen the whole room makeover yet? Check out all the DIY details here.
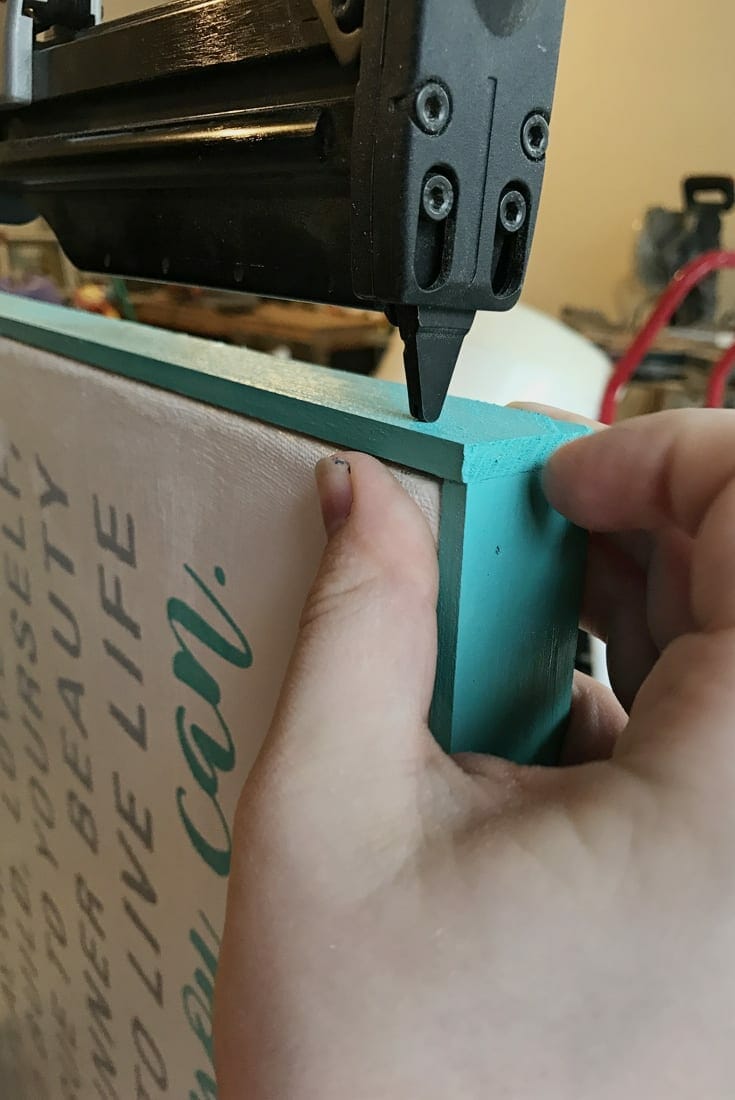
Attach
Last but not last, time to attach your trim to the canvas to make your frame. You can use wood glue or if you have a micro-pinner, just throw a few pins in each side. This is the wood glue we use in our home.
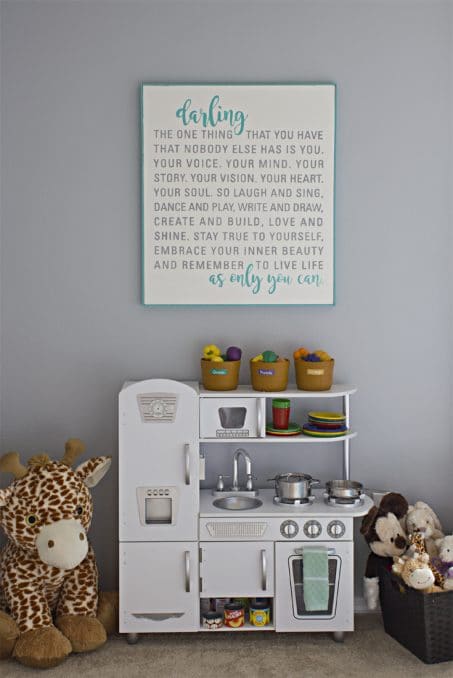
Now you’re done! Hang that puppy up and be impressed. I love how Mini Me’s custom wall art turned out and is the perfect typographic touch to her room.
So, now you know my favorite quote to inspire and encourage my little one, now it’s your turn.


I really liked your take on using wall decals on canvas instead of the wall itself to create a unique display. This seems like it would be really beneficial if you have a longer quote or if you want to move the quote to different spots in the home frequently. I know my wife likes to constantly re-arrange furniture and decorations, so this might be a great solution for her.
I love how personable you can make this. It is so cute and something like this would be a perfect addition to our play room. Now to find that perfect quote !Thanks for the inspiration.
Oooh yes! Love that idea for a playroom.
Cute! I’m confused though. Did you use vinyl lettering to create a stencil? Or vinyl plus stencil?