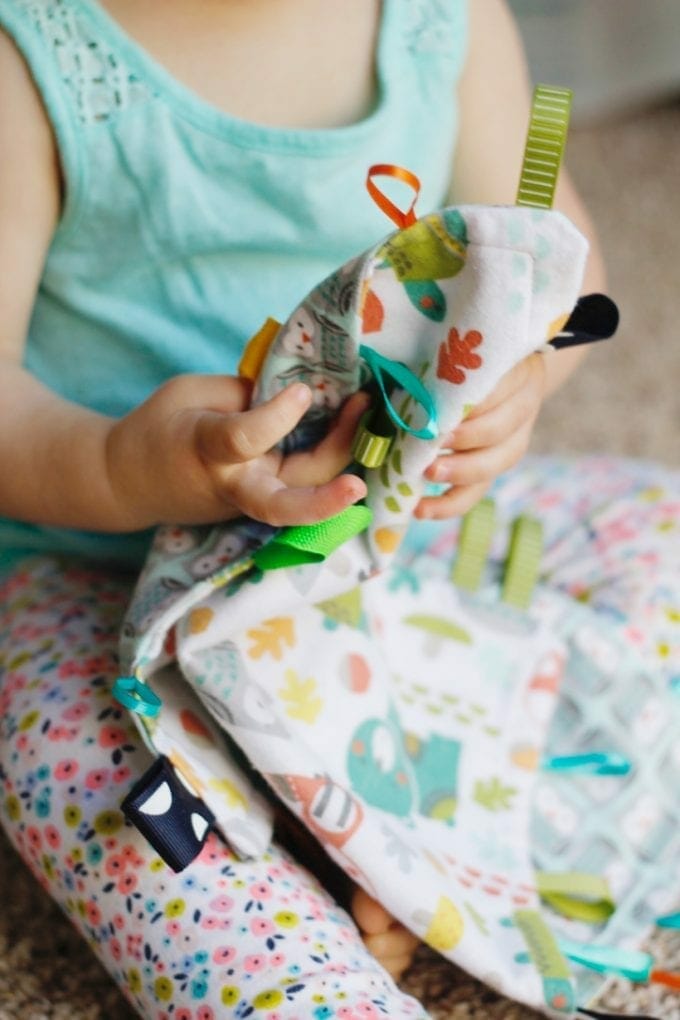
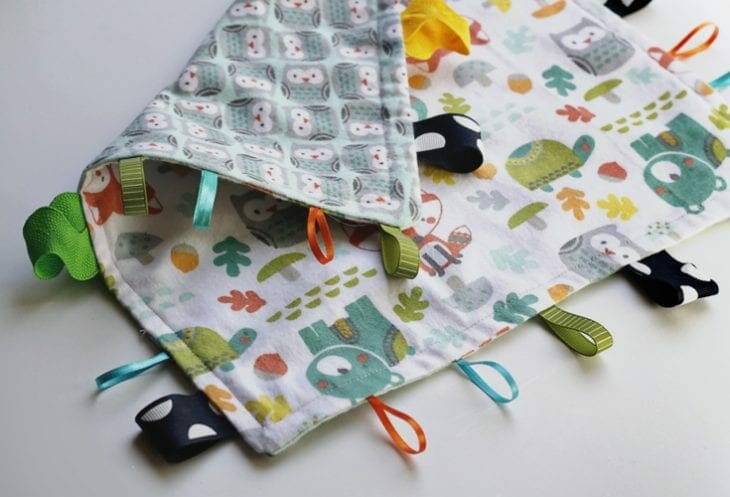
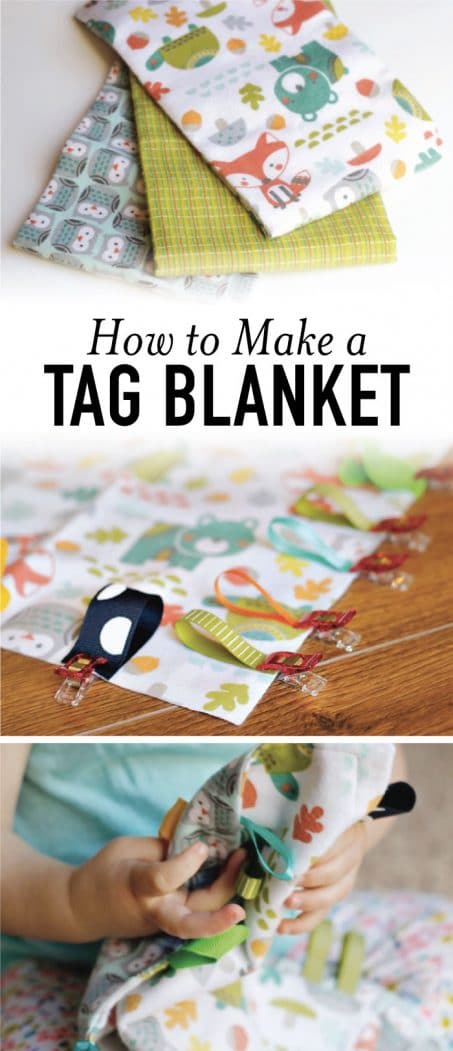
Learn how to make a tag blanket in less than 15 minutes. It’s a perfect DIY baby shower gift or gift for a new mom!
If you’ve had a child, you probably know babies love textures and tags on their stuffed animals. Why not combine those two things into one DIY sensory activity sure to entertain your little one for a little bit? As I was planning the ultimate baby shower gift for my sister I knew her little one would need a tag blanket. I had every intention of making Mini Me one, but that never happened so I knew I need to make one for my nephew…and it’s so easy!
I can’t believe I didn’t make one for Mini Me! Seriously, you can make a tag blanket from start to finish in less than 15 minutes. Plus, it’s a perfect DIY baby shower gift!
Once you make your first tag blanket, you’ll want to make one for every new mommy. It was so fun picking out all the ribbon and different textures thinking what my future nephew would want to play with. Here’s what you’ll need.
Materials
- 2 fabric squares 16″ x 16″
- Ribbon 4″ in length
- Wonder clips or sewing pins – Wonder clips are seriously amazing and anyone who sews needs them. You can pick up your own here for just a few bucks!
- Sewing machine & coordinating thread
- Scissors
- Iron
How to Make Your Own Tag Blanket
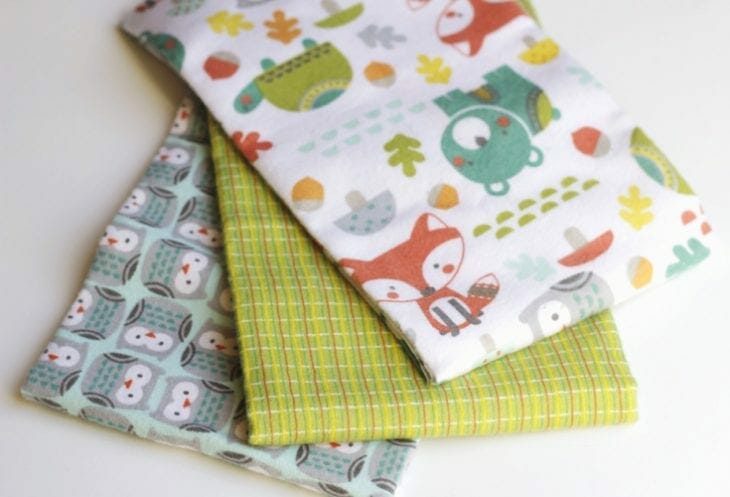
I found the cutest woodland fabric pack at Joann’s that was perfect for this tag blanket. You’ll also need coordinating ribbon. Depending on the fabric store, you can buy the ribbon by the inch or spool. I suggest 4″ ribbon pieces and use as much as you want. I used 6-7 ribbon loops on each side but it depends on your ribbon width and how full you want.
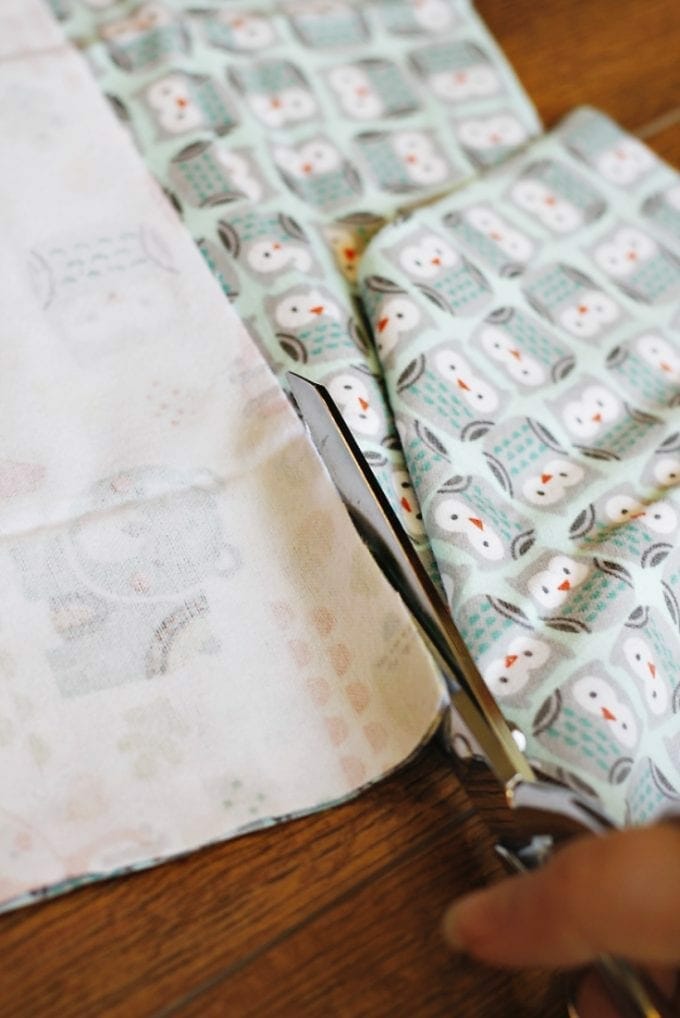
1. Using your coordinating fabric, cut 2 16″ x 16″ squares.
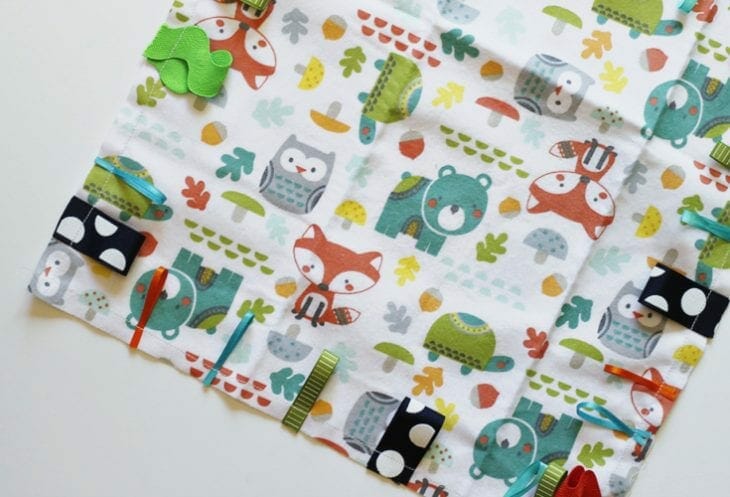
2. Then take your ribbon and lay it out on one side of the fabric in what ever order you think your little one will love the little textures. Make sure to leave about an inch free on each end since the end will disappear once you flip your fabric the right side out.
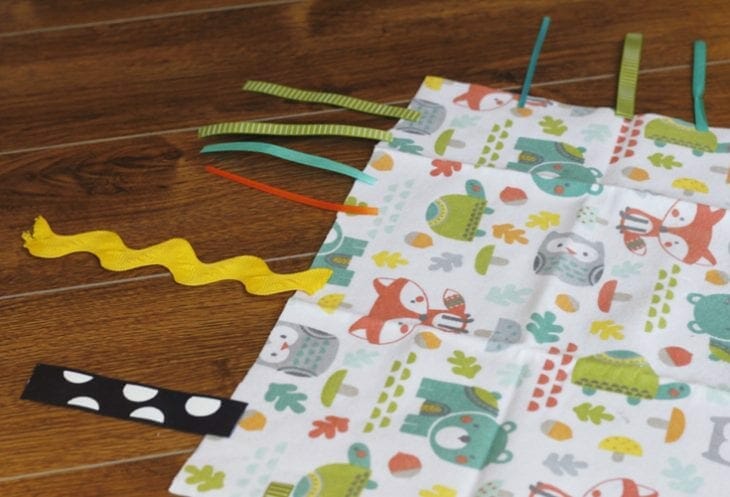
3. Once you have them generally placed, fold the ribbon in half and clip to your fabric using straight pins or these Wonder clips that I swear are the best kept sewing secret! Everyone needs them!
Note that the fabric is placed with the design up and the ribbon headed inwards. This will make sense once you do the next few steps.

4. Now, sew your ribbon on to your fabric about 1/4″ away from the edge removing the pins or clips as you go.

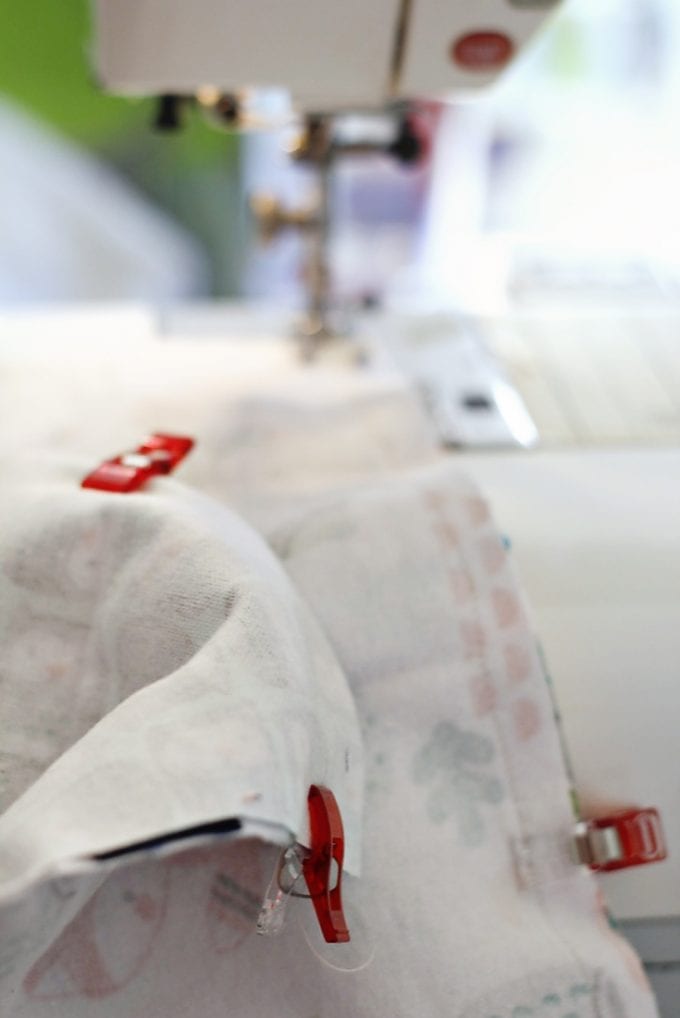
5. Next, take your second fabric square and place it right side down so that the ribbons are sandwiched in the middle.
6. Pin the two squares together and sew around the outside edge about 1/2″ from the edge leaving a 3″ gap in the middle of one of the sides where you will turn the blanket inside out.
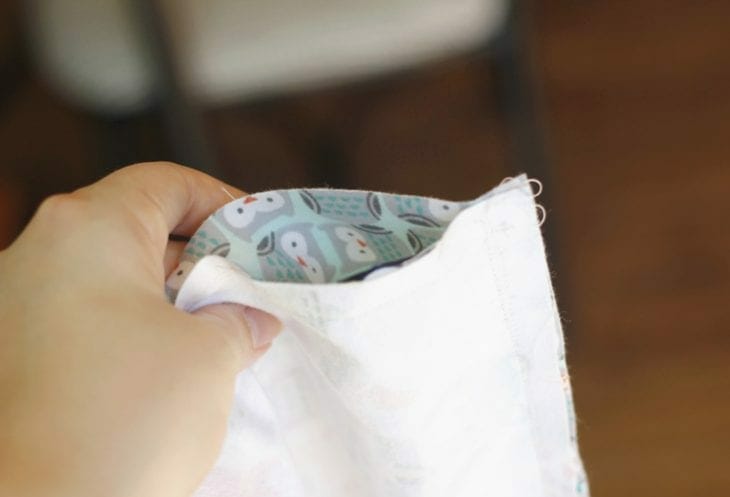
7. Using the gap, pull the blanket inside out so that all your ribbons are now on the outside.
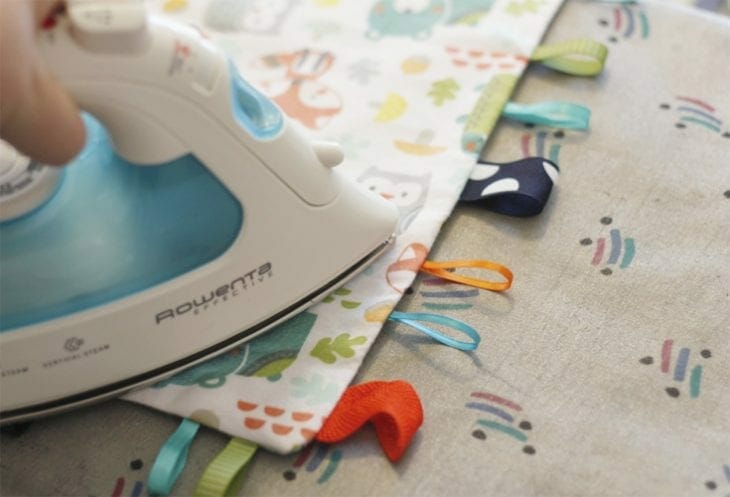
8. Iron your edges down, being careful to keep the gap closed together and pin it to hold.
9. Then, top stitch a 1/4″ from the edge of your tag blanket all the way around to hold all the ribbon in place and close the gap from turning the blanket inside out.
And you’re done! A simple tag blanket complete in less than 15 minutes!! If you know what theme or colors a new mom is doing for their baby, this would make the perfect DIY baby shower gift.
Are you going to make a tag blanket for a special baby?
Clara loved playing with the tag blanket I made for her new cousin. We can’t wait to meet you baby boy! You can hurry up and get here any time now!
Follow my blog with Bloglovin
Like this post? You’ll also love these…
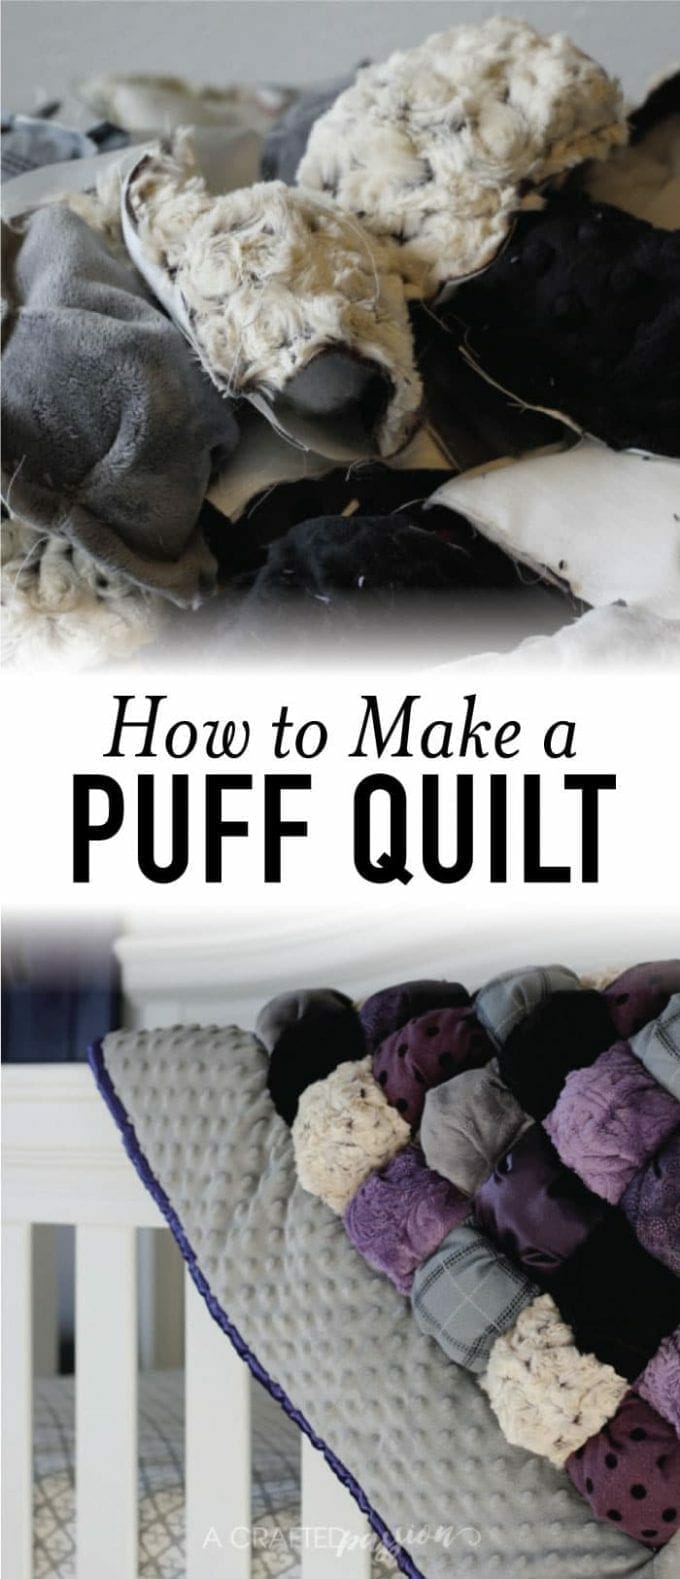
Learn how to create this DIY puff baby quilt and is perfect for even a beginner to make and is so cute for a baby’s nursery! This easy sewing project is a great baby shower gift or birthday present for a new baby and can be easily customized for a boy or girl.
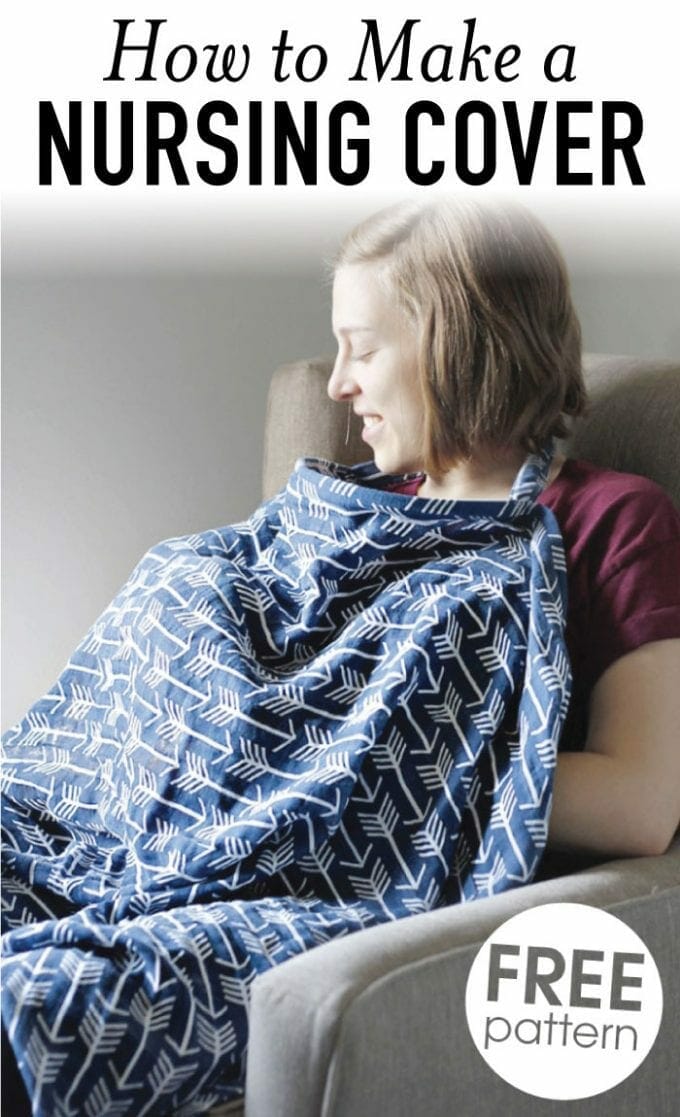
Learn how to sew a nursing cover with this simple DIY tutorial to make breastfeeding a breeze when you feel like you need to cover up. Free pattern included!

This is just adorable and such an easy DIY! I just love that fabric you used. I have a few friends who are expecting, and this is such a great gift idea, I might make a few myself!
Great project Amanda! I made a few similar things for Henry when he was little…a small round version was great for the car and shopping trips!
It’s SO cute!!!!!!!!!!!! I want to make a million now!!!!!!
I belong to a quilt guide who has a community outreach program. I just made 20 of these to donate to the guild. Great for babies – I also made about 20 flannel burp cloths and countless baby side quilts.
Wow, Katie! That’s awesome!
You can add a sound element by laying a crinkly plastic bag in the center & “X” stitching it in place. You may need to audition your plastic bag to get the most sound. Stiffer ones work best.
That’s such a great idea! Thanks for sharing!!
I used to use the plastic bags from baby wipes refill for this. They made the best crinkly sound in their play taggy, but I leave it out of the snuggle taggy.
I love the rubber polka dot ribbon. Where did you get it?
Thanks for the straight-forward tutorial! I always get in a muddle as to which direction and order to have different layers but had no trouble following this.
I even managed to add another layer of greaseproof paper to add a nice crinkle sound :-)
Where buy the animals fabric?
It is lovely ???
I bought it from JoAnn’s Fabric a couple years ago. :)
Your blanket is adorable!!! Great tutorial but I would make the ribbons longer and have allot longer tag rough edges inside so baby won’t pull them off and swallow them. Also some ribbons pull apart easily so please make sure you they don’t fray easily. Just for safety.
Again, great tutorial!!!!
Thanks, Michele, for your input!
I used a fine needlecord with a cute baby pattern on one side and soft fleece on the other. It’s nice to have the different textures. Minky would be great too but I already had the fleece left over from making the reverse of a baby play mat.
Love your tag blanket and tutorial, I’m making it for my grand daughter, I’m sure she will love it.
Thank you for your very clear tutorial. You have explained each step very well. Wish I had known about these when my grandchildren were young but at least I can sew one for my great-nephew and a few more to donate to St. Jude’s.
I can’t wait to get started on your baby items. Your directions are very clear and easy.
Thank You