This project is sponsored by Jeffrey Court, FrogTape, Elkay, Liberty Hardware, and Lamps Plus. As always, all thoughts and opinions are my own. See my disclosure policy here for more information.
Another week…another week of two steps forward 3-5 steps back. Haha. Isn’t that how all renos go? We’re praying we get it all done now.
I could rattle off all the unexpected things we ran into this week or I could just tell you we’re cruising right along and making progress. It’s kinda like a choose your own adventure type story. We’re having so much renovating our kitchen for the Jeffrey Court Renovation Challenge, but man it’s a rollercoaster!
Watch this week’s video diary here.
CHOOSE YOUR OWN ADVENTURE
>>> If you want to prepare yourself for the realities before jumping into a full on renovation, keep reading below. If not, skip down.
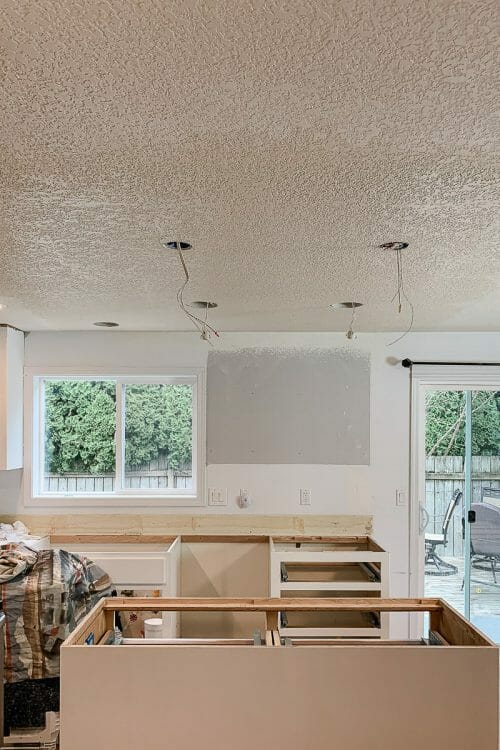
So, as I mentioned in last week’s update, we decided to pull down an 8’ by 5.5’ section of our ceiling so that we could rearrange light fixtures and get a second chance at hiring a professional to texture the ceiling to match so it wasn’t so obvious.
Well, by Wednesday night we still hadn’t heard from our neighbors’ friend so I started googling and contacted some guys through Home Depot’s professional referral thing. Well, Thursday morning they started calling and no one could do it. Well, they could, but everyone pretty much said the same thing…
“The texture is too hard to match. It wouldn’t look good and you wouldn’t be happy. You need to find someone who specializes in this type of texture.”
After the 3rd call that sounded pretty much the exact same, I talked with a guy who said he couldn’t do it but that he knew a guy who he thought could.
Luckily, I was able to get a hold of that guy and he agreed to do it, but couldn’t until the following Monday.
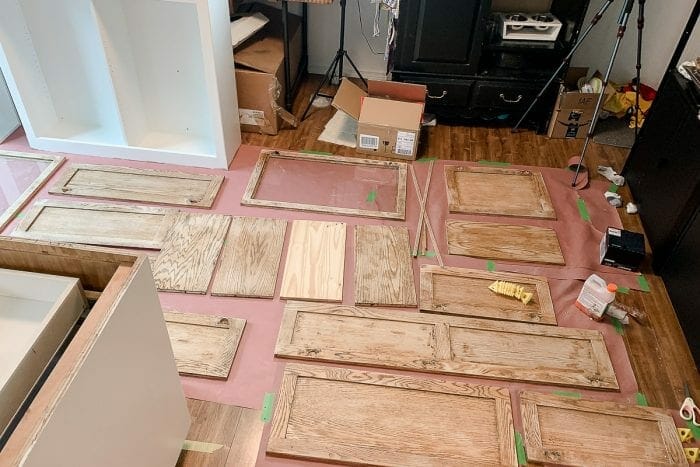
Painting got put on hold while we waited for the ceiling to be mudded because it is a real messy job and you have to be very clean when painting the cabinets.
Justin got sick and laid on the couch after work for several evenings so that put us back a bit.
We were finally ready to do the top coat on Saturday after cleaning the kitchen for what seemed like six hours only to then read the paint can that said it needed to be a full 12 hours after painting the last bond coat before painting the top coat. Nowhere in the instruction pamphlet it tells you to read did it say that. Well, I had done the 3rd coat of top coat earlier in the day so that was a no go.
The top coat is very sensitive so it needs to be done with no air movement and no children or pets running around. Let’s just say that is a challenge when your kids also are sick and need to stay in the house. We set up a blockade to keep children and pets out and I got to painting the top coat Sunday evening.
Apparently, our tiny black dog’s desire to get to the backyard was stronger than the blockade and my pristine white cabinets now had a couple dozen black hairs smeared into one corner.
The little girl who started out with a cough and a lazy day on the couch turned into vomit in the husband’s beard and a late night bath for the sad child. That’s okay though since the top coat was finally on and we could start to see how everything was going to come together.
We decided to put one of the butcher block slabs on the cabinet with our amazing backsplash to see if we needed to stain them and it was looking great! Until…we realized that the new countertops are thicker than the ones that were previously on and our wonderful, beautiful, glorious countertops were overlapping the bottom of two outlets by the oven.
That turned into ripping out more sheetrock and relocating the outlets. So as of today, the outlets are moved, sheetrock is back up, and there is a fresh coat of tape and mud on the wall. Thankfully that section is going to be covered by the backsplash so we don’t have to worry about putting on any more coats of mud or texturing it.
That’s gotta be it right? Nothing else could possibly go wrong? I’m gonna go knock on my wood countertops sitting in my living room now and dream of the beautiful kitchen that it will be when it’s all done. And let’s be honest, it’s great to eat out but we’re really starting to miss home cooked meals!
Your adventure is now over. Continue reading if you want to hear about the condensed trouble free version.
>>> Not interested in the reno hooplah? No prob! Continue reading here…
So, we finally got the top coat on the cabinets this week so we are starting to see how everything will come together! The backsplash, cabinets, and countertops look great together and I’m so excited for what it’s going to look like when it’s done!
We also found an amazing person through Home Depots experts that was able to come on short notice to texture the patch on our ceiling and he did an amazing job matching our terribly difficult texture. I’m stoked that things are getting done and we’re getting closer to putting it all back instead of pulling it all apart.
We’re going to get the countertops installed this week and finally get to install the backsplash. This should be a fun week putting all the pieces together that have been sitting in our garage, dining room, and living room.
Speaking of the tile backsplash going in this week…the tile we got from Jeffrey Court has been sitting in the corner of my living room and I have been DYING to show it to you in person. You guys!!! It’s GORGEOUS! Like literal perfection!
And I’m not just saying that because they’re the hosts of this reno challenge. I legit am obsessed and show everyone the tile when they walk through my door!!
Anywho…so I knew we wanted something subtle and modern for our backsplash. I shared all about my obsession with this mosaic backsplash in last week’s post, but in case you missed it, check it out here.
I found so many other great modern backsplash ideas though that I thought I’d share some of the runner ups. If you’re in the market for some backsplash to go with your white kitchen cabinets, these are some must-haves!
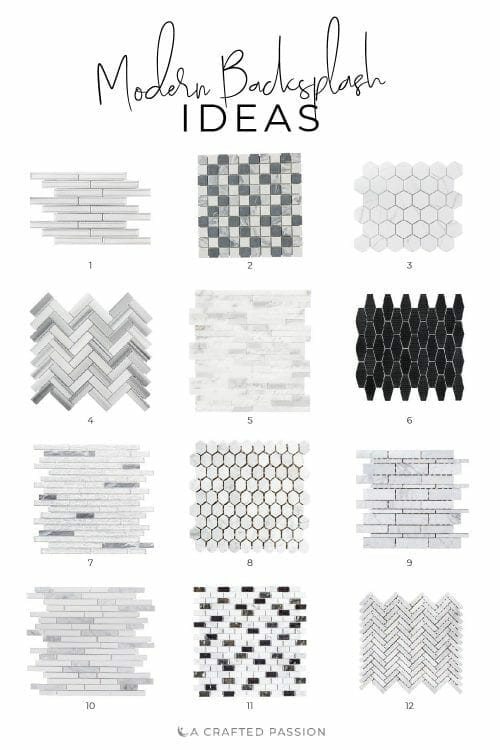
1 / 2 / 3 / 4 / 5 / 6 / 7 / 8 / 9 / 10 / 11 / 12
Which one’s your favorite? Can you tell which one we chose?
We are cruising right along now and I’d love it if you took 10 seconds to go vote for me! The person with the most points at the end of this Renovation Challenge wins a $5000 dream vacation!! Just click here, find my picture (I’m the second one), and click VOTE NOW. That’s it. Thanks so much!!
Here’s the official updated project list…
PROJECT LIST
- Clear out kitchen
- Remove counters
- Remove bar counter
- Remove molding
- Strip all cabinets
- Sand cabinets
- Fill cabinet knob holes
- Clean cabinets
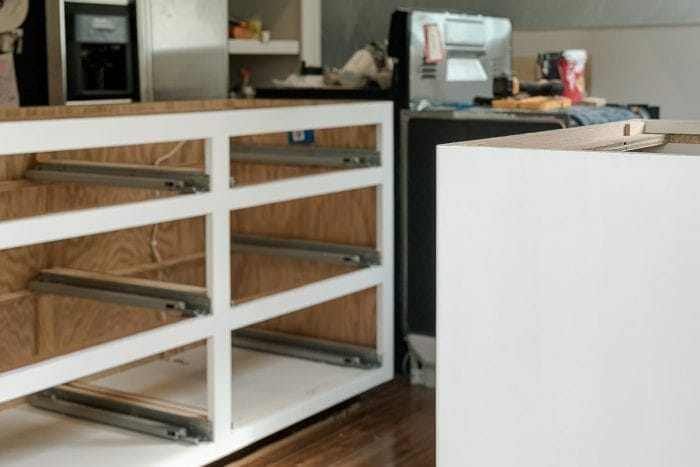
- Paint cabinets (cabinets and drawers are done, just finishing doors)
- Rip down ceiling
- Rough in new lights
- Paint & install molding
- Install cabinet hardware
- Install countertops
- Install sink
- Install faucet
- Seal butcher block
- Build & install half wall cap
- Paint wall cap
- Refinish table
- Install tile
- Grout tile
- Make custom drawer organizer
- Wire and install island lights
- Install new flush mount
Thanks again to all our incredible sponsors who are making this renovation possible!
Jeffrey Court | FrogTape | Elkay | Lamps Plus | Liberty Hardware