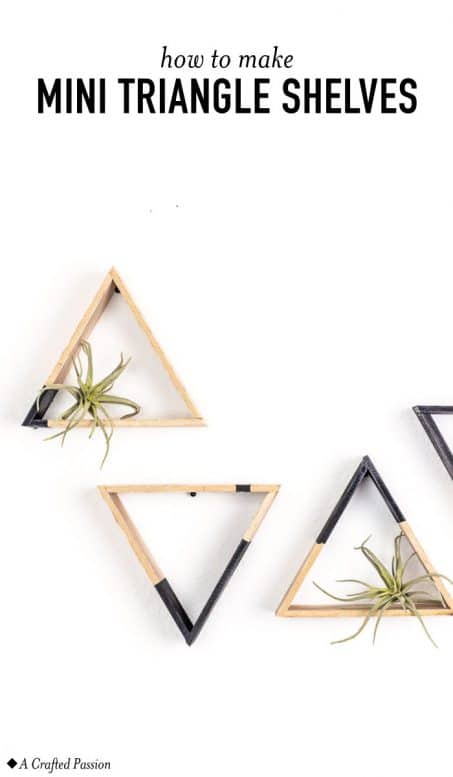
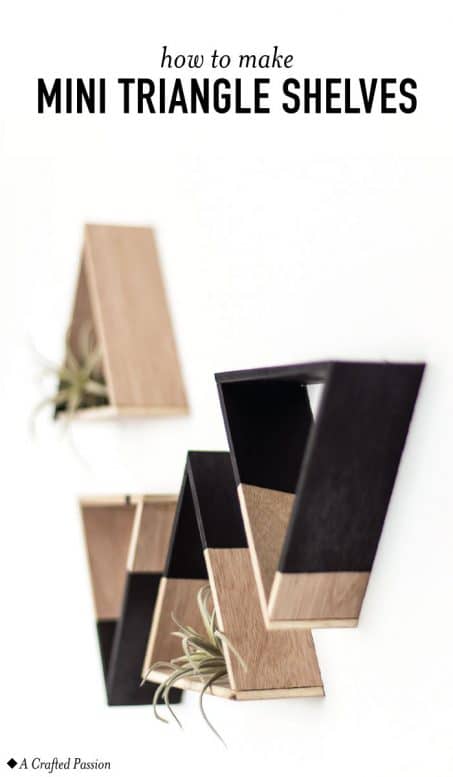
DIY these mini triangle shelves with wood to display decor on your wall. They are super easy to make and look too cute!
Who doesn’t love something mini? Today’s simple project might be one of my favorites of this whole series! These little triangle shelves are too cute would be perfect to add to the bathroom, a nursery, the end of the hallway…The possibilities are endless. You can mix and match them with colors and sizes to fit the space you have.
Let me show you how to make your own…
*This post contains some affiliate links for your convenience (which means if you make a purchase after clicking a link I may earn a small commission, but it won’t cost you a penny more)! Click here to read my full disclosure policy.
Craft Time: 30 minutes
Waiting Time: 2 hours
Skill Level: Intermediate
Cost: $10
Materials to make your triangle shelves:
- 1/4″ birch plywood
- Sandpaper
- Painter’s tape
- Wood glue
- Spray paint
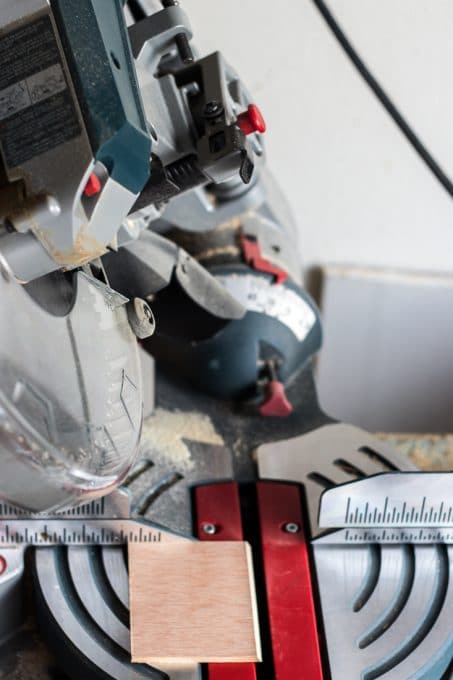
1. Cut Wood
Start by cutting your wood to the depth you want your shelf. Mine is about 2 inches deep, so you’ll want your 1/4″ birch plywood cut into 2″ strips.
Next, you’ll need to cut at a 30 degree angle. This is key to getting triangles with the correct angles. I used my sliding compound miter saw. This tool is a beast and amazing! Definitely the most used tool in my garage.
If you want mitered corners you need to cut at 60 degrees. Unfortunately, the wood I originally was working with was too tall for my miter saw so I switched to 30 degree and then when I moved to the smaller wood, I forgot to switch back to 60 degrees. Oh well.
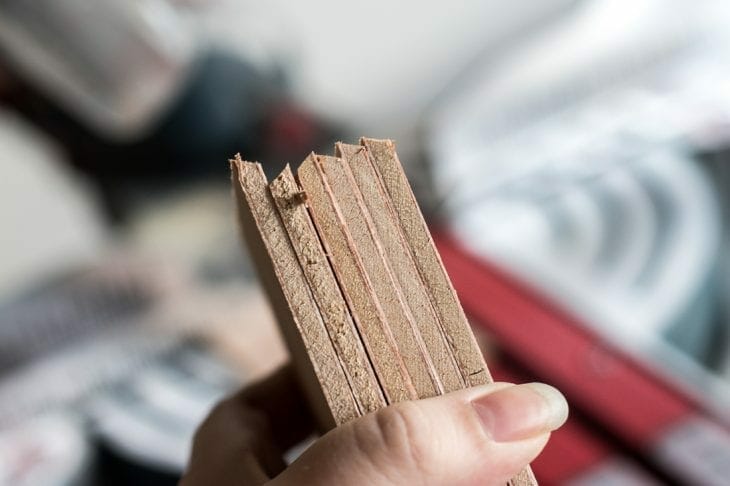
Measuring from the furthest piece of your wood, cut an end off the board so that you’re starting with a 30 degree angle on the wood. Flip the wood over, measure 5″ from the furthest point of the angle and make a mark. This is where you want to make your next cut.
Alternate flipping the wood and cutting to get the angled edges the right away. Continue cutting until you have at least 3 strips of wood for a triangle.
2. Sand
Once you’re done cutting your wood, sand it to clean up all the edges. I used my orbit sander for the front and back and a sanding sponge for the edges.
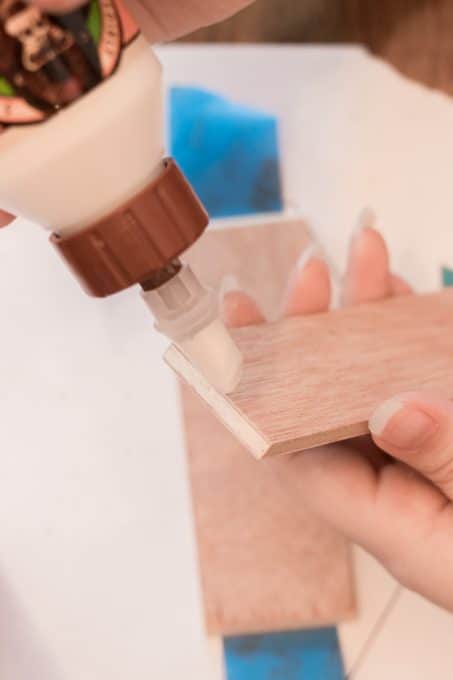
3. Attach
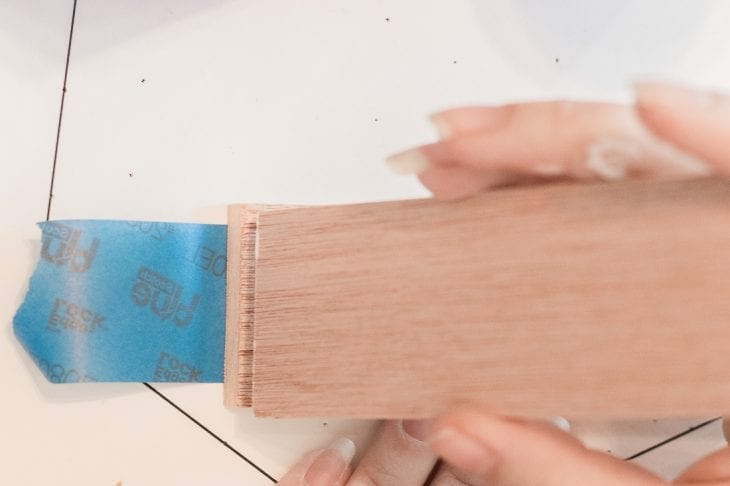
Now, you’re going to need your painter’s tape and wood glue. Start with one piece of wood and put a strip of tape on each side of the piece of wood. Lay that wood with the tape on your workspace with the sticky side up.
Take your next piece of wood and add some glue to the cut edge and smear it around. Place it on top of the board that’s laying flat so that the side angles line up.
Pull the tape that’s laying flat up to hold that wood in place. You may need to keep a finger there to hold it up until you get the next piece of wood placed.
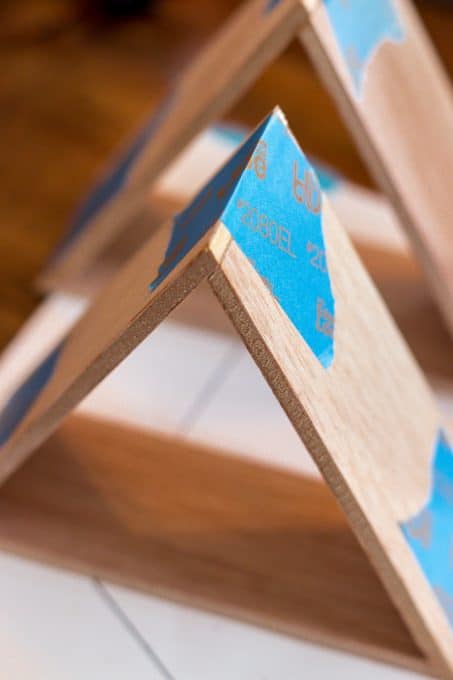
Add glue to the next piece of wood on both edges and then use the tape to hold it all together.
4. Paint
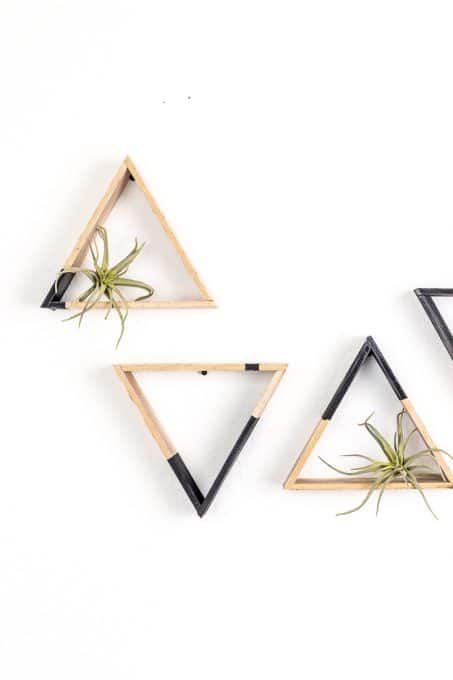
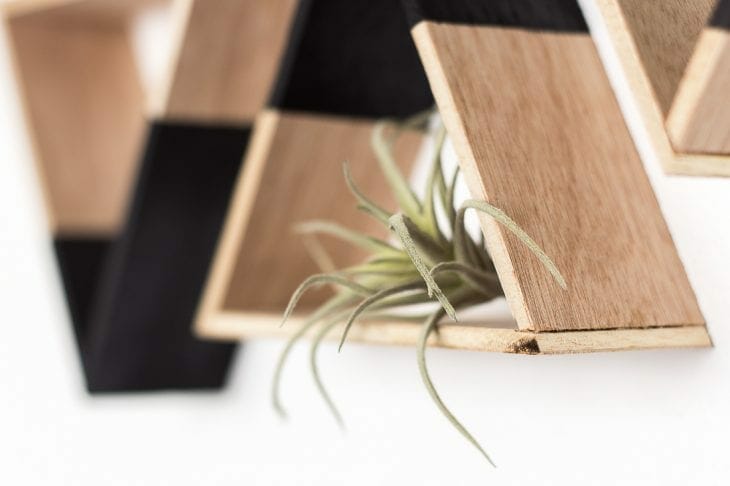
Once the glue has dried, you can paint your triangle shelves. I taped off sections and then spray painted the shelves to have a mix of raw wood and black.
5. Hang
Hang up your shelves once the paint has dried and you’re done!
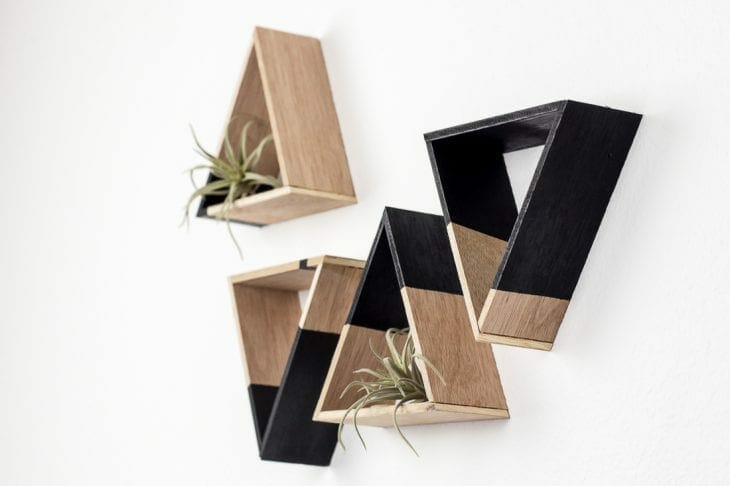
I love how these shelves turned out and are the perfect little accent piece to put on our wall.
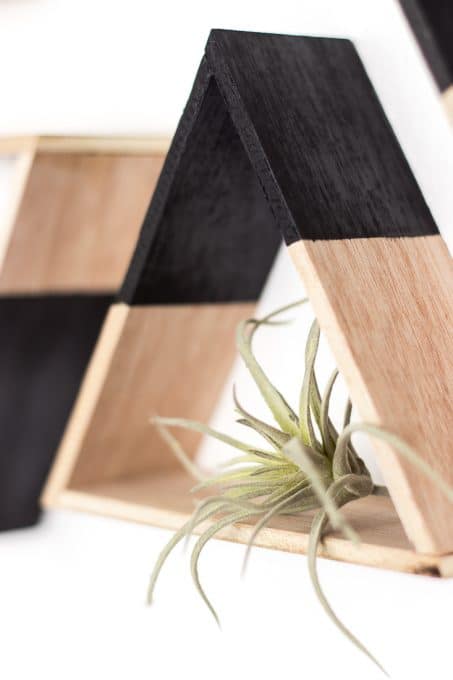
Also, my new favorite obsession is finding faux plants that look legit. These air plants from Michael’s were a few bucks and look so cute! Plus, they are super light so are perfect for these shelves.

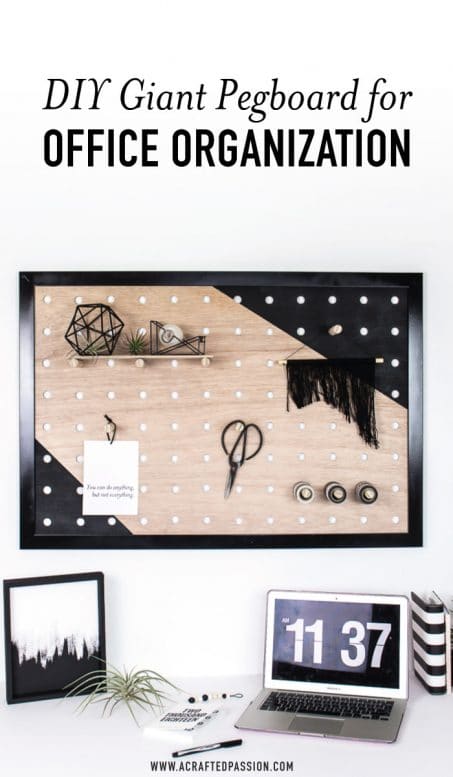
See how to make a DIY giant pegboard perfect to get your office organized. This modern oversized pegboard looks great and is functional.
Learn how to make DIY pipe shelves using copper pipes and this simple tutorial. This modern shelf is perfect to add in your home and budget-friendly!


These turned out amazing!! Such a great wall art piece!!
http://www.thebeautydojo.com