Did you know you can use phone pictures to create simple art in your home? Learn how to transfer photo to wood using gel medium or mod podge for this project.
Years ago I took one of my favorite wedding photos and used gel medium to transfer the photo to wood. I love that photo! It turned out so cool! In our moves through the years, that photo got lost but I realized I still had the gel medium from that project.
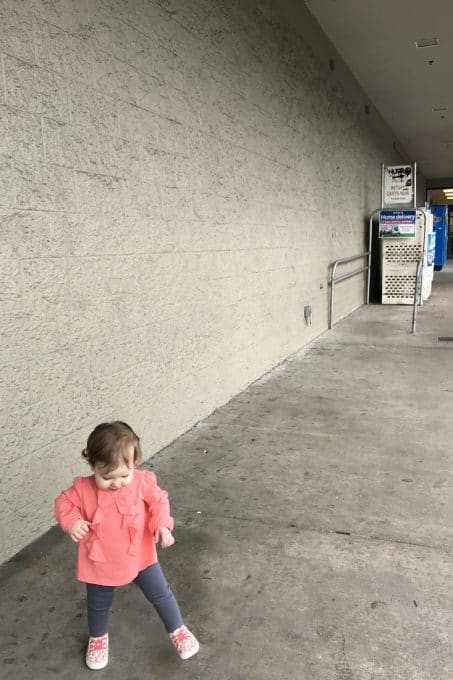
One morning as we were leaving the grocery store I saw a dirty white brick wall and thought that it would be fun to show how to create photo art even if you aren’t a photographer. I told the children to stand in front of the wall and say cheese. Maggie was giving me her normal RBF and Clara was her typical cheesy self.
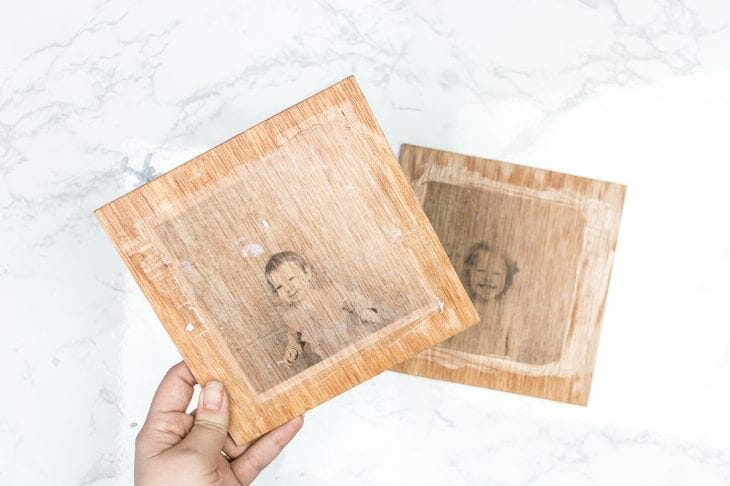
The pictures depict them perfectly and I love how these turned out!

*This post contains some affiliate links for your convenience (which means if you make a purchase after clicking a link I may earn a small commission, but it won’t cost you a penny more)! Click here to read my full disclosure policy.
Craft Time: 30 minutes
Waiting Time: ~30 hours
Skill Level: Easy
Cost: $10
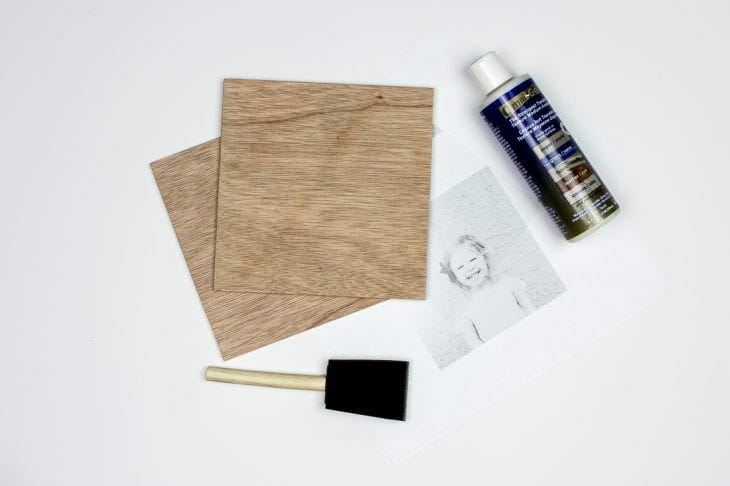
Materials to transfer photo to wood:
- 5×5 wood
- Sandpaper
- Photos (see tips below before printing)
- Gel medium
- Foam Brush
- Rag
- Water
- Command Spring Clip
1. Picture
First off, I just want to show you that you don’t have to be a photographer to get fun photos of your kids. I literally snapped these pictures outside our local grocery store one morning with my phone. Nothing fancy.
Once you take your photos, you’ll want to make a few edits to make sure they work well for transferring to wood. If you don’t have a photo editor or something like photoshop, you can use PicMonkey or VSCO is a great free app to edit photos.
I suggest boosting your contrast a bit and make sure to mirror the photo. When it transfers to wood it’s going to be a mirrored reverse image so unless you want something on your kid to look a little off, don’t forget this step.
You need to print your photos with a laser printer on regular copy paper because that is how the ink will transfer. Regular inkjet printers will not work. I sent my photos to Kinko’s to be printed and they were ready in a few hours for less than $2.
2. Cut Board
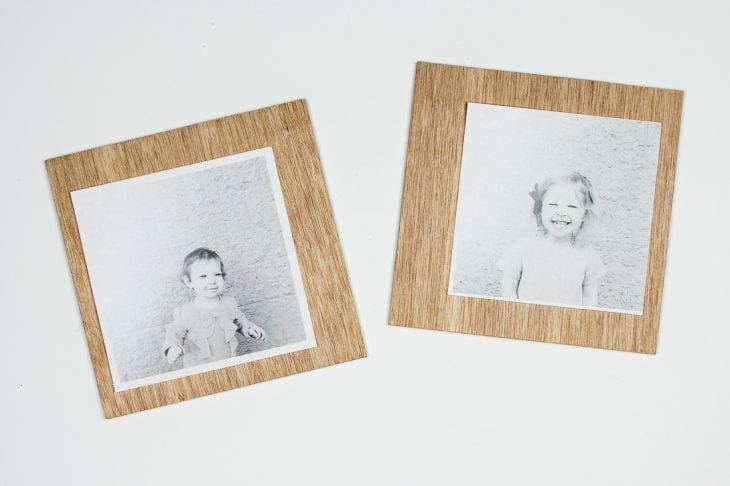
Once you have your photos you can decide what size you want to display. I did 5×5 square photos.
I had planned on having a wood border around the image, but didn’t realize the gel medium wouldn’t come off very easily. I didn’t want to do a heavy sand on it for fear of taking off the image, so I ended up cutting my birch plywood down to 5×5.
Make sure and sand the edges of your wood so no one gets any splinters.
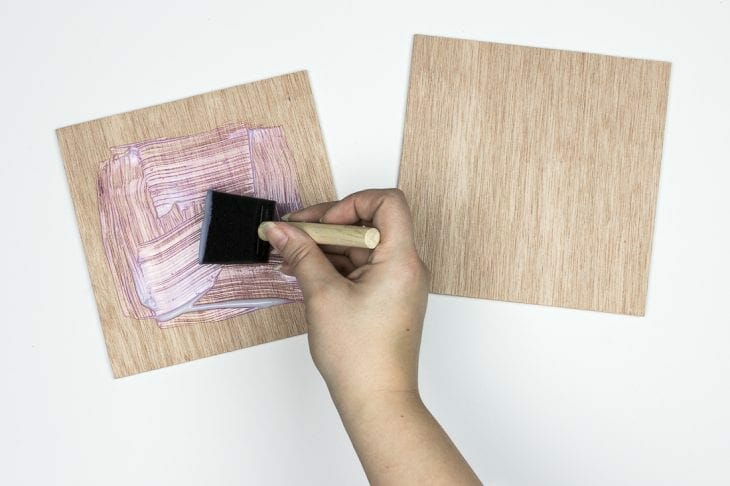
3. Gel Medium
Now, give a good squirt of gel medium on your board and brush it around. You want an even, thick coat, of the gel.
Note: I trimmed my paper to the size of the image, but DON’T DO THAT. The gel medium squishes out the sides once you place the image and does not look pretty when dry.
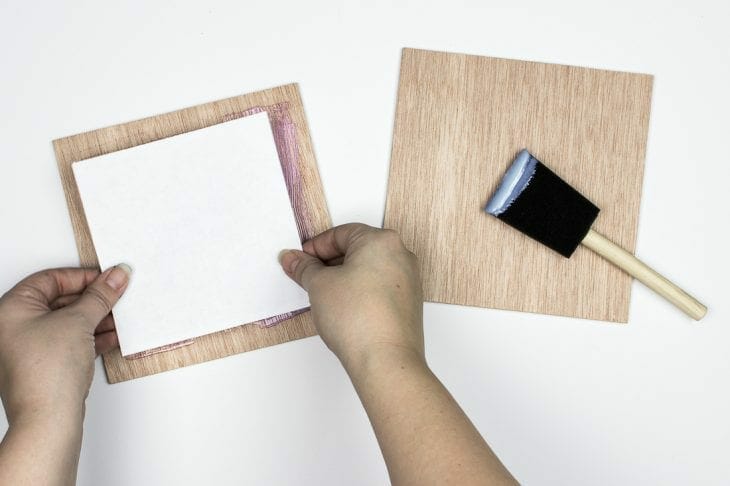
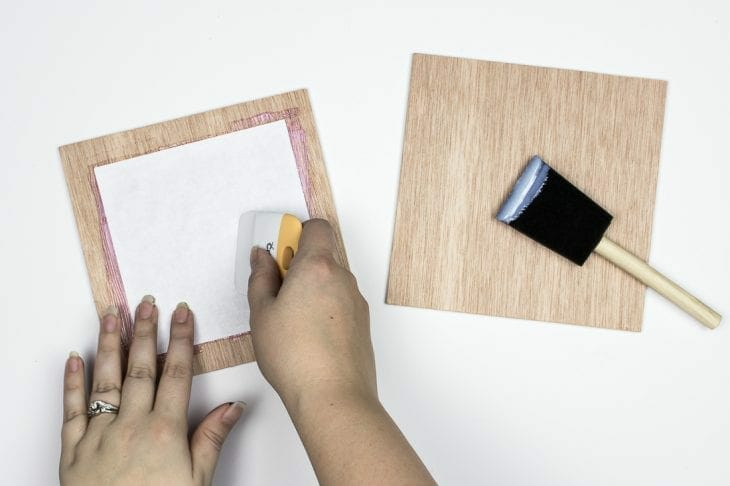
4. Place Picture
Place your picture in the center of your wood and use a scraper or credit card to make sure there are no bubbles.
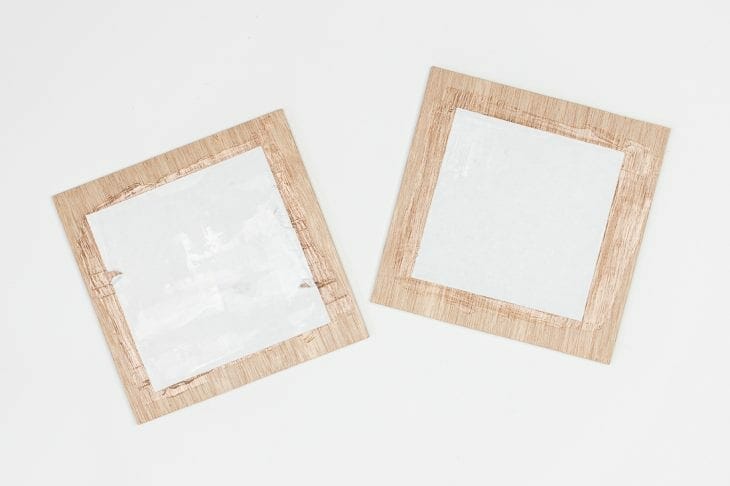
5. Dry
Set your wood and picture aside for at least 24 hours before moving on to the next step.
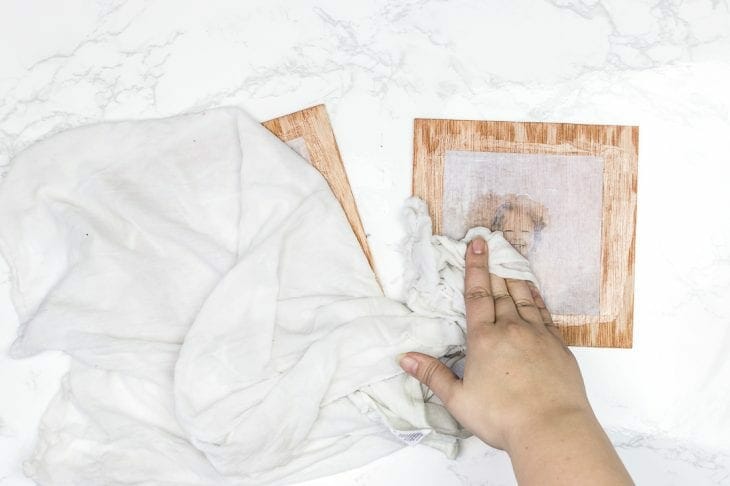
6. Wet – Scrub – Repeat
Once it is completely set, take a wet rag and place the rag on top of the wood for at least 5 minutes to wet all of the paper. Now, start scrubbing it to get off all the paper.
This is going to be a process of wetting and drying to get all the paper off.
Once the rag has got off the big chunks, it’s fine to use your fingers to roll the paper residue off.
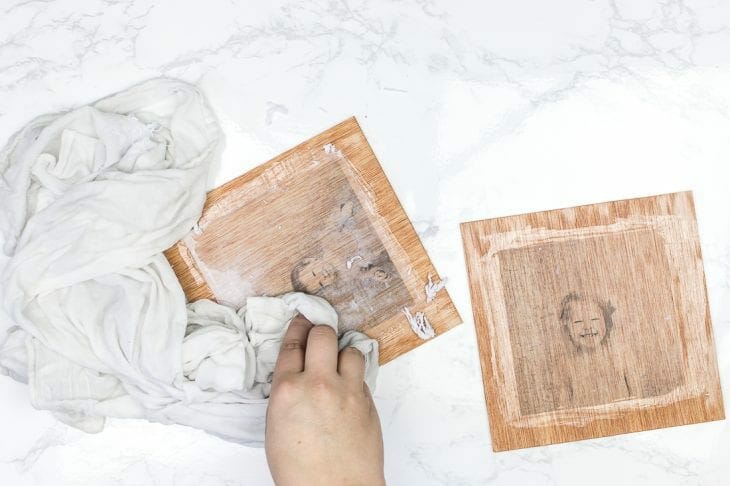
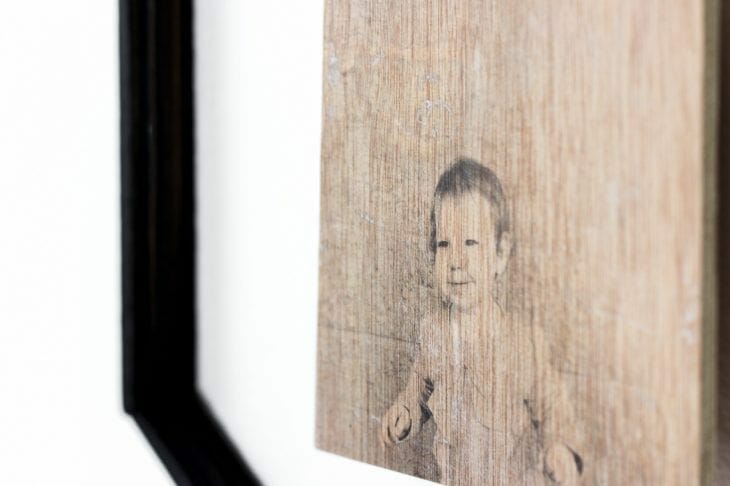
When it gets to this point, let it dry, then wet, and scrub again. It takes some finessing, but looks great in the end!
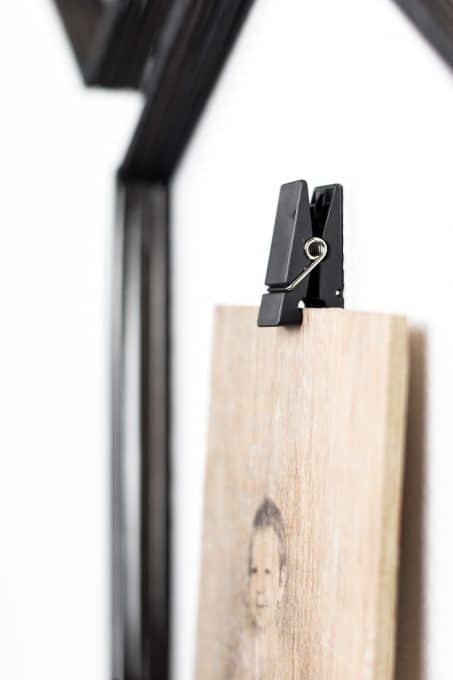
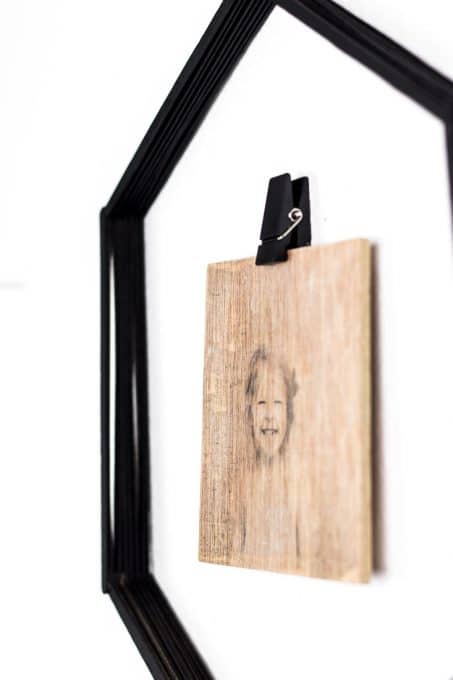
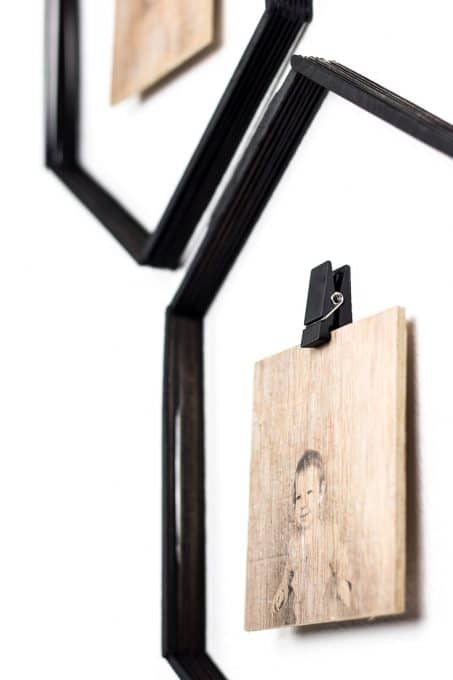
7. Hang
To hang these wood photos, I just clipped them up with Command Spring Clips. These are the same ones I used for the hair bow holder for the girls.
I love these cute little wood grain faces! It’s like my two favorite things in one.

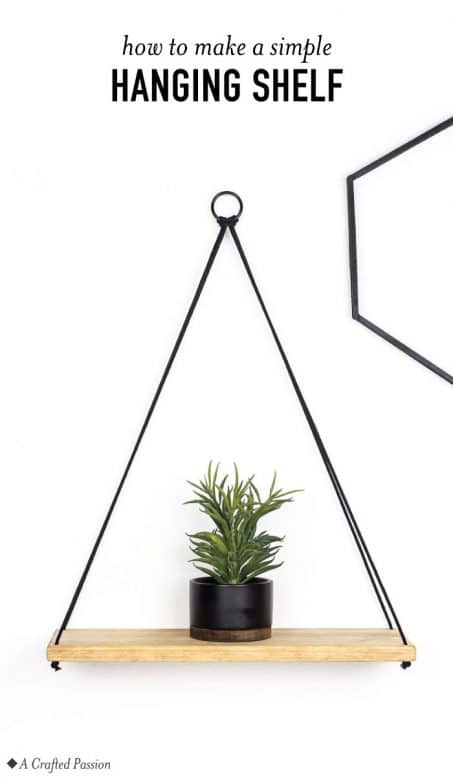
Make a simple hanging shelf out of wood. This easy DIY idea looks great on your wall for storing little decor items in your home.
Make this easy geometric art to hang in your modern home. It’s so simple and can be finished in under an hour PLUS it looks great!