Insulating only the roof portion of a building can be a smart, targeted upgrade—especially when the rest of the envelope is already decent, or when a full retrofit simply isn’t in the budget. But it’s also one of those projects where a “quick win” can turn into condensation, mould, or comfort issues if you miss a few fundamentals.
Why does roof-only insulation matter so much? In many homes, the roof/attic is the single biggest pathway for heat loss in winter and heat gain in summer. Warm air rises, finds every gap around light fittings and loft hatches, and escapes into a cold roof space. Address that layer well and you often feel the difference immediately—more stable temperatures, fewer draughts, and lower HVAC run times.
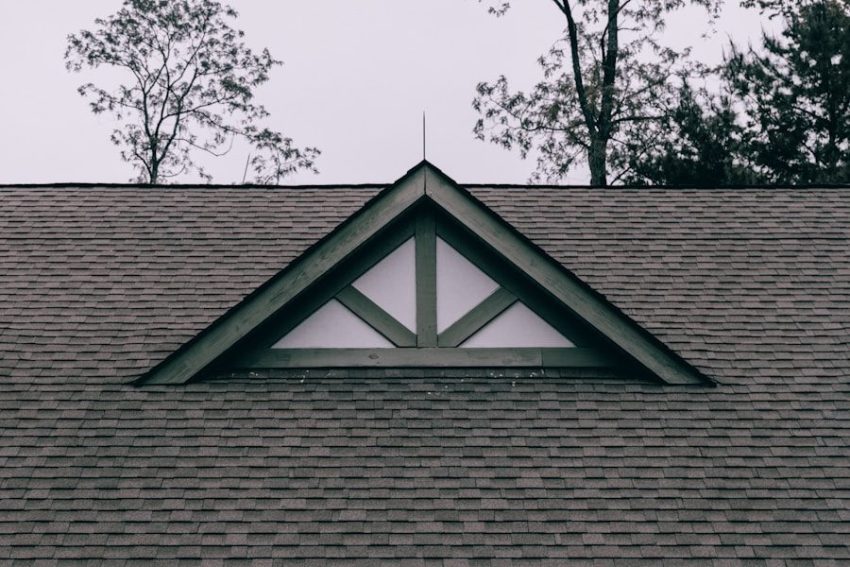
Still, the roof is not just another surface to fill with insulation. It’s part of a system involving ventilation, air tightness, and moisture control. If you’re weighing whether a roof-only approach fits your situation, this resource offers a useful starting point: advice for roof-focused insulation installations. The key is to treat roof insulation as a building-science project, not just a DIY task.
When Roof-Only Insulation Makes Sense (and When It Doesn’t)
Good candidates: clear payback, minimal disruption
Roof-only insulation is often effective when:
- Your ceiling/loft is accessible (traditional attic, roof void, or open rafters during a remodel).
- You notice strong temperature swings upstairs or persistent “hot ceiling” discomfort.
- Heating/cooling costs are high and your walls/floors are already reasonably insulated.
In these cases, upgrading the roof layer can be one of the highest-impact improvements per dollar because it targets a major heat-transfer surface.
Red flags: moisture problems and complex roof assemblies
Roof-only insulation can be risky if you already have:
- Evidence of roof leaks, staining, or damp insulation.
- Poor attic ventilation or blocked soffits.
- A complicated assembly (cathedral ceilings, low-slope roofs, mixed vault-and-attic layouts) where you can’t maintain required airflow clearances.
If there’s moisture present, insulation often hides the symptom and worsens the cause. Fix water entry and air leakage first, then insulate.
Start With the Two Questions That Prevent Most Mistakes
1) Are you insulating the ceiling plane or the roofline?
This decision changes everything.
- Ceiling plane (attic floor): Insulation sits on top of the ceiling drywall/plaster. The attic stays “outside” the thermal envelope and must be ventilated. This is common, cost-effective, and forgiving when done correctly.
- Roofline (between/under rafters): Insulation follows the underside of the roof deck, bringing the attic into the conditioned space. This is useful for finished attics or when HVAC equipment lives up there, but it demands careful moisture design and—often—specific insulation types.
Mixing the two approaches unintentionally (for example, adding insulation at the roofline in one bay and on the attic floor elsewhere) can create cold spots and condensation zones.
2) Can your roof assembly dry safely?
Insulation changes temperature profiles, and that changes where moisture condenses. A roof needs at least one reliable drying path—either to the interior or exterior—depending on climate and materials. Vapor retarders, air barriers, and ventilation details should be chosen with that drying strategy in mind. When in doubt, local building code guidance (and a qualified energy auditor) is worth the time.
Prep Work: Air Sealing Is the Quiet Hero
If you only remember one technical point, make it this: insulation slows heat flow; air sealing stops air flow. Air leakage can carry large amounts of water vapour into cold spaces where it condenses.
Before installing insulation, take an hour to locate and seal common leakage points:
- Loft hatch or pull-down stair frame
- Recessed lights (especially older, non-IC-rated fixtures)
- Plumbing stacks, electrical penetrations, and ceiling junction boxes
- Gaps at top plates where walls meet the ceiling
Use appropriate materials (fire-rated sealants where required, gaskets, rigid patches) and maintain clearances to heat sources and flues. This step often improves comfort as much as the insulation itself.
Safe Installation: Practical Risk Controls You Shouldn’t Skip
Working in roof spaces is awkward, dusty, and full of surprises. A simple safety discipline prevents most incidents and avoids damaging your ceiling.
Here’s a compact checklist to guide you:
- Walk only on joists or secure platforms; drywall will not support your weight.
- Protect wiring: don’t bury damaged cables; avoid compressing insulation over old knob-and-tube wiring (if present, stop and consult an electrician).
- Maintain clearances to heat: keep insulation away from recessed fixtures unless they’re rated for contact; respect flue/chimney clearance rules.
- Wear PPE: gloves, eye protection, and a respirator suited to dust/fibres; long sleeves reduce irritation.
- Control lighting and footing: bring a work light and keep a stable path in and out—most falls happen when backing up.
One more point: insulation performance depends on loft access remaining functional. Don’t bury your hatch; build an insulated cover and keep it usable.
Installation Details That Make the Difference
Keep insulation fluffy, continuous, and correctly fitted
Compression reduces effective R-value. It also creates uneven thermal layers that can lead to cold stripes and comfort issues. Fit batts cleanly around obstructions, avoid gaps, and don’t “stuff” tight cavities. For loose-fill, ensure consistent depth and protect ventilation paths with baffles.
Don’t block ventilation (when using a vented attic approach)
If you’re insulating at the ceiling plane, the attic above should typically remain ventilated to help purge moisture. Maintain soffit-to-ridge airflow where designed, and install baffles at eaves so insulation doesn’t choke the intake vents.
Watch for thermal bridging at rafters and framing
Wood is a poorer insulator than the insulation between it. In roofline assemblies, rafters can become thermal bridges. Solutions might include adding a continuous layer (such as rigid insulation) across framing members—details that must be compatible with fire safety and moisture control requirements.
Quality Checks After Installation (The Part Most People Skip)
Once insulation is in, do a quick “commissioning” pass:
- Look for wind-wash at eaves (air moving through insulation reduces performance).
- Confirm the loft hatch is weatherstripped and insulated.
- Verify bathroom and kitchen exhaust fans vent outdoors—not into the attic.
- Check that insulation hasn’t covered recessed light vents or attic ventilation openings.
If you want to be methodical, a blower door test (often done by energy auditors) can reveal whether your air sealing work actually reduced leakage. It’s one of the most informative diagnostics you can do after any insulation upgrade.
The Bottom Line
Roof-only insulation can deliver real comfort and efficiency gains—sometimes the biggest of any single retrofit. The difference between “works great” and “creates problems” usually comes down to a few unglamorous details: choosing the right insulation boundary (ceiling plane vs roofline), air sealing before insulating, preserving ventilation or designing a safe unvented assembly, and respecting moisture physics.
Do it thoughtfully, and roof-only insulation isn’t a shortcut—it’s a focused upgrade that can make the whole building feel calmer, quieter, and easier to heat and cool.