Taking on a glass door installation yourself can be incredibly satisfying—if you approach it with the same care a professional would. Done right, you’ll save on labour, customise the look, and understand your home’s structure far better. Done wrong, you could end up with binding doors, water leaks, safety hazards, or expensive glass replacements.
The good news: most of the common mistakes are avoidable with proper planning, realistic expectations, and a clear step‑by‑step approach.
Below is a practical guide to choosing the right glass door and installing it yourself with confidence, not guesswork.
Step 1: Choose the Right Door Before You Touch a Tool
Many DIY disasters start before the installation even begins—at the selection stage. Before ordering anything, zoom out and evaluate three key factors: function, structure, and safety.
Match the Door Type to the Space
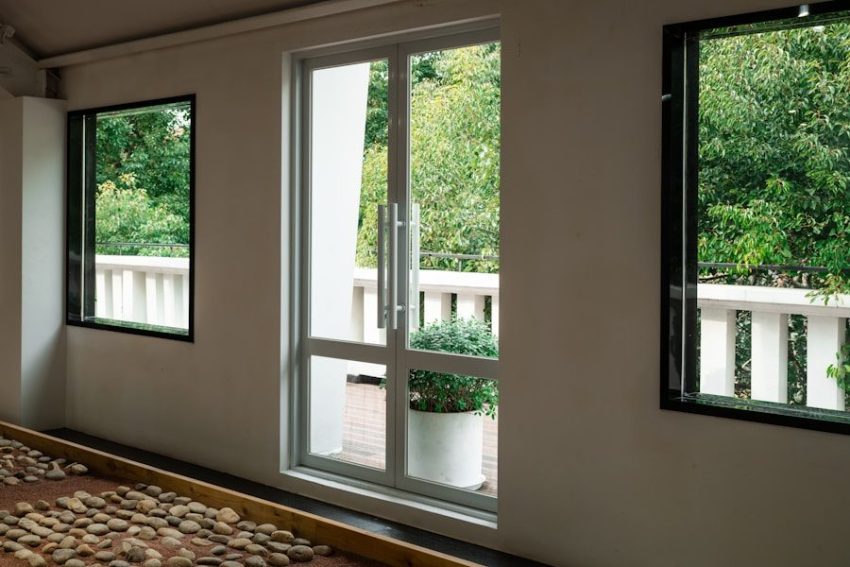
A swinging glass door works beautifully where you have generous clearances, but it’s a nightmare in a tight bathroom or narrow hallway. Similarly, sliding and bypass glass doors are ideal when floor space is limited but you still want a wide opening.
Ask yourself:
- How much clearance do I realistically have for swing or slide?
- Do I need barrier‑free accessibility (no high thresholds)?
- Will this door be a high‑traffic passage or occasional use?
For shower and bath enclosures, for example, sliding or pivot doors are common; for patio or interior passages, you might consider larger sliders or hinged panels.
Prioritise Safety and Code Compliance
For any glass door—interior or exterior—tempered or laminated safety glass is non‑negotiable. Safety glass is designed to crumble into small, less dangerous pieces if it breaks, rather than sharp shards. Local building codes typically mandate it anywhere there’s a risk of impact, such as near showers, stairways, and exterior openings.
Check your local codes early. It’s much easier to order compliant glass than to explain to an inspector why you didn’t. If you want to dig deeper into specifics like hardware requirements, clearance, and layout details, dedicated DIY resources with detailed tips for installing glass doors yourself can help you pressure‑test your plan before you buy.
Get the Measurements Right the First Time
Measurement is where DIYers most often go wrong. “Eyeballing” an opening or relying on one quick measurement is almost guaranteed to cause issues later.
Measure:
- Width at multiple points (top, middle, bottom)
- Height at multiple points (left, center, right)
- Out‑of‑plumb or out‑of‑level conditions
Note the smallest width and height, as that’s usually your governing dimension. If the walls or floor are out of square, some systems allow for adjustment; others don’t. Knowing this up front lets you choose a door that’s compatible with the reality of your opening, not the idealised version in your head.
Step 2: Plan the Installation Like a Pro
Once you’ve chosen your door, resist the temptation to start immediately. A few hours of planning will save you days of frustration.
Build a Realistic Tool and Material Checklist
Professionals don’t show up on site and “see what happens.” They know what they’ll need, and they bring it. As a DIYer, you should do the same. At minimum, you’ll want:
- Tape measure, level (preferably 4‑ft or longer), and framing square
- Power drill with masonry and/or metal bits, plus appropriate anchors
- Screwdrivers, rubber mallet, and non‑marring shims
- Silicone sealant rated for bathrooms or exterior use (as applicable)
- Suction cups or glass‑handling grips for heavier panels
- Safety gear: gloves, eye protection, hearing protection
Read the manufacturer’s instructions before installation day and match your tools to their requirements. If the instructions mention specialty bits or anchors, get them ahead of time instead of improvising with what you have in the garage.
Evaluate Your Walls, Floor, and Structure
Stud placement, tile thickness, and wall material matter more than most DIYers expect. A few checks:
- Studs and backing: Use a stud finder to locate framing or backing where hinges, tracks, or clips will attach. Glass and hardware are heavy; they need solid structure.
- Wall material: Drywall alone isn’t adequate for heavy glass. In tiled showers, backing should be behind the tile in hinge and anchor locations.
- Level and plumb: A floor that’s slightly off can usually be managed; one that’s significantly out of level may require shims or rethinking the door style.
If you discover serious structural issues at this stage—like weak backing where heavy doors must mount—it’s better to pause and reinforce than push ahead and hope.
Step 3: Install the Door Without the Usual Mistakes
With your plan, tools, and layout sorted, you’re ready for the actual installation. The details will vary by system, but the guiding principles are consistent.
Lay Out and Drill with Precision
Use your level and layout marks obsessively. For hinges, tracks, or channels:
- Dry‑fit hardware first, marking all hole locations with pencil.
- Double‑check that marks are level, plumb, and correctly spaced before drilling.
- Drill slowly, especially through tile or stone. The wrong bit or too much pressure can crack the surface.
This is where many DIYers rush. A single misaligned hinge or track will haunt you later in the form of doors that sag, bind, or fail to seal properly.
Set the Glass and Hardware Safely
Never try to manhandle large glass panels alone. Even if you’re strong enough, you don’t have enough hands to control the panel, protect edges, and manage hardware simultaneously.
Use suction cups or grips for control, and have at least one helper. When placing glass into channels or onto hinges:
- Protect edges from contact with tile or concrete—edge damage is a common cause of breakage.
- Tighten hardware incrementally, alternating sides to avoid twisting the glass.
- Avoid overtightening set screws; they should feel snug, not forced.
Seal, Adjust, and Test Thoroughly
Once the glass is in place, you’re not finished. You’re entering the “fine tuning” stage that separates a professional‑feeling job from an amateur one.
- Apply silicone in clean, continuous beads where specified, tooling it with a damp finger or tool for a smooth finish.
- Adjust hinges or rollers so the door closes evenly, without scraping or drifting.
- Test multiple times: open and close the door, check clearances, and for showers, run water to see how it behaves around seals and thresholds.
If something feels off, fix it now. Problems don’t get better behind finished caulk and trim.
Step 4: Know When DIY Has Limits
Even experienced tradespeople occasionally call in specialists for tricky installs. You should feel comfortable doing the same.
Consider calling a pro if:
- Glass panels are oversized or unusually heavy.
- Your walls are severely out of plumb and would require major reframing.
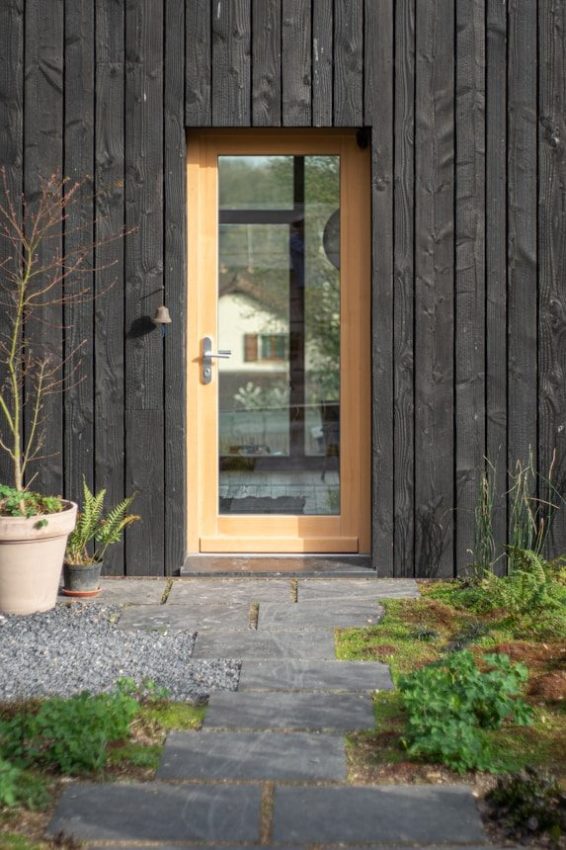
- The door is part of a structural or weather‑exposed opening with significant liability.
There’s no failure in deciding certain aspects of a project are better handled by someone who does this every day. You can still manage design decisions, prep work, and even assist on site—learning in the process and making future DIY projects easier.
Installing glass doors yourself isn’t about cutting corners; it’s about doing the job with the mindset of a professional. Choose the right door for the space, plan meticulously, install methodically, and be honest about your limits. If you do that, you won’t just end up with a beautiful glass door—you’ll also gain a skill set you can rely on for years.