
Key Takeaways
- Clear priorities, a full-project budget, and a well-understood property create the foundation for a successful build.
- Site conditions, local rules, utilities, and approvals can influence the design before construction begins.
- Early decisions about layout, systems, materials, and storage reduce expensive changes later.
- A written decision schedule and consistent communication help protect the budget and timeline.
Planning a home from the ground up is an opportunity to create spaces that support the way you actually live. Well-planned custom homes begin with more than a style board or a favorite kitchen photo. They start with practical decisions about routines, property limits, budget, comfort, and the future.
The strongest projects move through a clear sequence: understand the site, define priorities, settle the major design questions, obtain approvals, and then make final selections with confidence. Taking time at the front end can prevent rushed decisions once construction is underway.
Why Early Planning Sets The Tone
A home should be shaped around daily life, not short-lived trends. Consider where everyone drops bags and shoes, whether the kitchen is used for large gatherings, how often guests stay overnight, and which rooms need privacy. These answers influence room placement, storage, window locations, mechanical systems, and the overall size of the home.
Starting construction before the main questions are answered often leads to changes that cost more than they would have on paper. Planning, engineering, pricing, and permitting can each take meaningful time, so treat pre-construction as an essential project phase rather than a delay before the real work begins.
Step 1: Define How The Home Should Work
Create a short project brief before meeting with a designer, builder, or consultant. List who will live in the home now, what may change in the next five to ten years, and which features are essential. Separate true must-haves from upgrades that would be nice if the budget allows.
Questions To Ask
- Where does clutter gather in the current home?
- Which spaces need the best daylight, and which need glare control or privacy?
- Will anyone need a quiet office, study room, hobby area, or flexible guest space?
- How should indoor rooms connect to patios, gardens, or outdoor dining?
- Could a main-floor bedroom, wider circulation space, or curbless shower support long-term needs?
Step 2: Check The Property Before Drawing Plans
A beautiful floor plan may not fit every lot. Review the property’s size, shape, slope, street access, orientation, drainage, mature trees, easements, and nearby buildings before committing to a design. Seasonal sunlight, traffic noise, privacy, and views can all affect where rooms and windows belong.
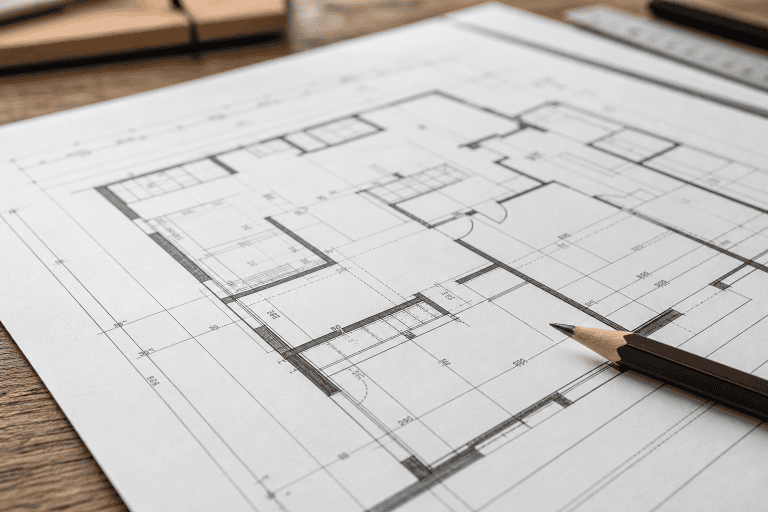
Confirm zoning rules, setbacks, height limits, lot coverage requirements, and any heritage or conservation restrictions. Also, verify access to water, sewer, electricity, gas, and internet service. A survey, soil review, and early site assessment can reveal issues such as rock, poor drainage, or difficult grading before they become costly redesigns.
Step 3: Build A Budget That Includes The Whole Project
The construction contract is only one part of the total investment. A realistic budget should account for land or site preparation, design and engineering fees, permits, utility connections, excavation, foundation work, structural materials, roofing, windows, insulation, heating and cooling, finishes, landscaping, and moving costs.
Budget Categories To Protect
- Surveying, geotechnical work, design, engineering, and permit fees.
- Demolition, excavation, grading, drainage, and utility work.
- Cabinetry, appliances, lighting, plumbing fixtures, flooring, and paint.
- Driveways, fencing, exterior lighting, landscaping, temporary housing, and financing expenses.
Keep a contingency allowance for unknown conditions, price adjustments, and approved changes. It is not a pool of extra spending money. It is a safeguard that helps the project absorb surprises without disrupting other important choices.
Step 4: Shape The Floor Plan Around Daily Movement
Good layouts make ordinary routines easier. Place entry points near storage for coats, shoes, bags, and deliveries. Keep kitchens connected to dining and living areas when open circulation suits the household, but separate noisy gathering spaces from bedrooms and work areas. Hallways should serve a purpose, not consume unnecessary floor area.
Plan furniture before finalizing windows, electrical outlets, lighting, and built-ins. Confirm clearances around kitchen islands, doors, stairs, showers, appliances, and beds. This is also the time to decide whether laundry belongs near bedrooms, whether a mudroom needs a pet station, and how much pantry or linen storage is truly required.
Step 5: Plan For Comfort And Energy Use
Comfort is a connected system. Window placement, shading, insulation, air sealing, ventilation, and heating and cooling equipment should be considered together. Mechanical rooms need enough space for access and service, while daylight should be balanced with glare control and unwanted summer heat.
Homes designed with a tighter building envelope and coordinated systems can support more even indoor temperatures and long-term performance. The principles behind energy-efficient new homes are useful when discussing insulation, windows, ventilation, and quality control with the project team.
Choose durable, easy-care materials for high-use spaces, and consider efficient lighting, water-saving fixtures, and future solar readiness. Homeowners comparing toilets, showerheads, and irrigation controls can also look for water-saving products that help reduce household water use.
Step 6: Make Decisions In The Right Order
- Confirm property limits, site conditions, goals, and budget range.
- Approve the home size, room count, floor plan, and exterior massing.
- Coordinate structural, plumbing, electrical, heating, cooling, and ventilation systems.
- Select windows, doors, cabinetry, flooring, fixtures, appliances, and finishes.
- Review permit drawings, specifications, allowances, scope, and change procedures.
Choosing a tile color is far less urgent than confirming the location of walls, stairs, windows, and plumbing. Lock in the difficult-to-change decisions first, then move toward the visible details.
Step 7: Prepare For Permits, Construction, And Communication
Local approval requirements vary, so identify required drawings and supporting documents early. Ask whether zoning review, variances, heritage review, or conservation approval may apply. Keep approved plans, specifications, correspondence, invoices, and selections in one shared project file.
Before construction starts, agree on a regular update schedule and identify who can approve changes. Track open questions, costs, deadlines, and product selections. Request updates at major milestones such as excavation, framing, rough-ins, insulation, drywall, cabinetry, and finishing.
Common Causes Of Delays
- Late floor plan changes, incomplete specifications, or revised permits.
- Unexpected site conditions, weather interruptions, or inspection timing.
- Long lead times for windows, cabinetry, appliances, doors, and specialty materials.
- Trade scheduling issues that delay the work that follows.
Questions To Ask Before Signing A Contract
- What services, consultants, permits, and inspections are included?
- How are allowances, product substitutions, and price changes handled?
- What happens if an item is delayed or discontinued?
- Which decisions must be made before work begins?
- How will warranties, deficiencies, final walkthroughs, and handover be managed?
A Simple Pre-Construction Checklist
- Property and site conditions reviewed.
- Goals, budget categories, contingency, and floor plan documented.
- Major materials and permit requirements confirmed.
- Construction scope, communication process, and realistic timeline agreed upon.
Conclusion
A custom home becomes easier to manage when each decision happens at the right time. Start with the property, household routines, budget, and long-term needs. Then move methodically through design, approvals, selections, construction, and handover. The best home is not necessarily the most elaborate one. It is the one that fits its site, supports real life, and leaves fewer expensive questions unanswered once work begins.