
You can give a room a completely new feel in two days with nothing but a few tools and some peel and stick wallpaper or backsplash. No contractor, no paint fumes, no experience required. This is a beginner-friendly tutorial, so if you have never done anything like this before, follow the steps in order and you will be fine.
What you will need
Gather these before you start so you are not running to the store mid-project:
- Peel and stick wallpaper or peel and stick backsplash (see the sizing note below)
- Tape measure
- Pencil
- Level or a long straightedge
- Smoothing tool (a plastic smoother, or a clean flat sponge)
- Sharp utility knife with spare blades
- Step stool
- A helper for the tall parts, if you can grab one
Choosing your pattern first
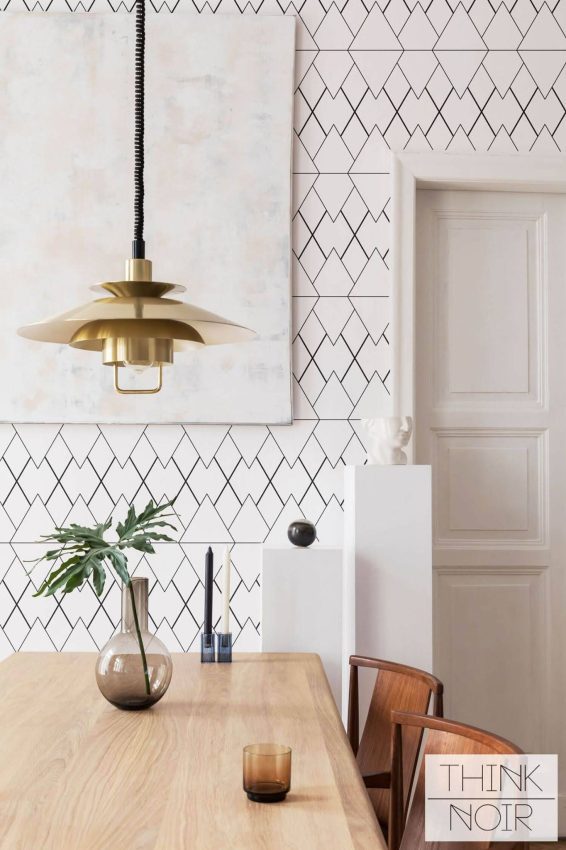
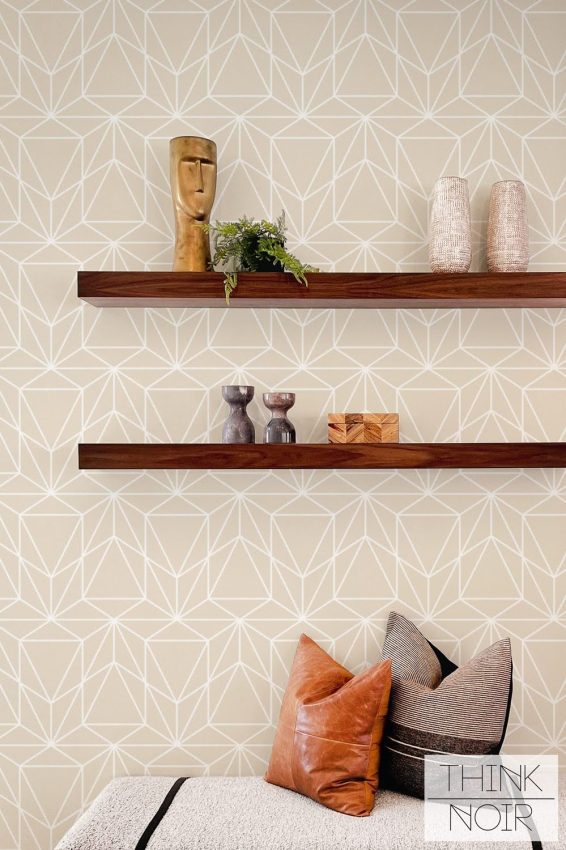
Before you measure, decide what is going on the wall, because the pattern shapes everything else. Pick a design with one color you can repeat around the room in pillows, art, or a rug, so the wall feels connected rather than random. The kitchen is one of the most rewarding rooms to do this in, since it is usually the plainest and the most used. A warm kitchen wallpaper behind a table or open shelves turns the hardest-working room in the house into the prettiest, and because peel and stick lifts off cleanly, you are not locked in if you change your mind later.
Step 1: Measure and order
Think Noir wallpaper comes in panels rather than standard rolls. Measure your wall’s height and width. Divide the wall width by the panel width to get how many panels you need, then choose a panel height to match your wall, picking one slightly taller than your wall so you have a little to trim at the top and bottom.
Step 2: Prep the wall
Peel and stick needs a clean, smooth, dry surface to grip. Wipe the wall down with a damp cloth and let it dry fully. Fill any nail holes or dents, smooth them flat, and give them time to set. You do not need a flawless wall, just a clean and mostly even one. Wipe off any dust when you are done.
Step 3: Mark your starting line
Do not trust the corner of your wall to be straight, because it usually is not. Measure out from the corner the width of one panel and, using your level, draw a light vertical pencil line from ceiling to floor. This line, not the wall edge, is what keeps your whole wall straight. Line your first panel up to it.
Step 4: Hang the first panel
Peel back the top few inches of the backing. Line the panel up with your pencil line and the ceiling, and press the top into place. Then, working from the center outward, peel the backing down a little at a time while you smooth the paper with your tool, pushing bubbles out to the edges as you go. Go slowly. If it goes crooked, most peel and stick lifts and repositions easily, so just pull it back and try again.
Step 5: Work across the wall
For each new panel, match the pattern along the seam before you press anything down. Line it up, then smooth it into place the same way, center outward. Butt the edges together or overlap them slightly, whatever the instructions say. When you reach a light switch or outlet, turn off the power, smooth the paper over it, and carefully trim the opening with your knife.
Step 6: Trim and finish
Once every panel is up, trim the excess at the ceiling, baseboard, and edges. Hold your straightedge firm and run a sharp blade along it in one steady pass. Swap in a fresh blade often, because a dull one drags and tears the paper. Give the whole wall a final smooth, pressing along every seam.
A few tips before you start
Work in good light so you can actually see bubbles and seams. Keep the room a normal temperature, not too cold, so the adhesive behaves. Start early in the day, not after dinner, so you are not rushing the last panels in bad light. And do not aim for perfect, aim for finished. From a few feet away, small imperfections disappear completely, and no one will ever notice the seam you are worried about.
If you do spot a stubborn bubble once the wall is up, prick it with a pin and smooth the air out toward the hole. And keep your leftover scraps. They are handy for patching later, and they make it easy to match the pattern if you decide to carry it onto a second wall down the road.
That is the whole project. Pick your wall, take your time, and by Sunday evening you will have a room that looks like it cost far more and took far longer than it actually did.