
There’s something incredibly satisfying about finishing a DIY project around the house. Whether it’s putting up a new shelf, refreshing a tired piece of furniture, hanging artwork or finally tackling that little home improvement job you’ve been putting off, getting something done with your own hands feels good.
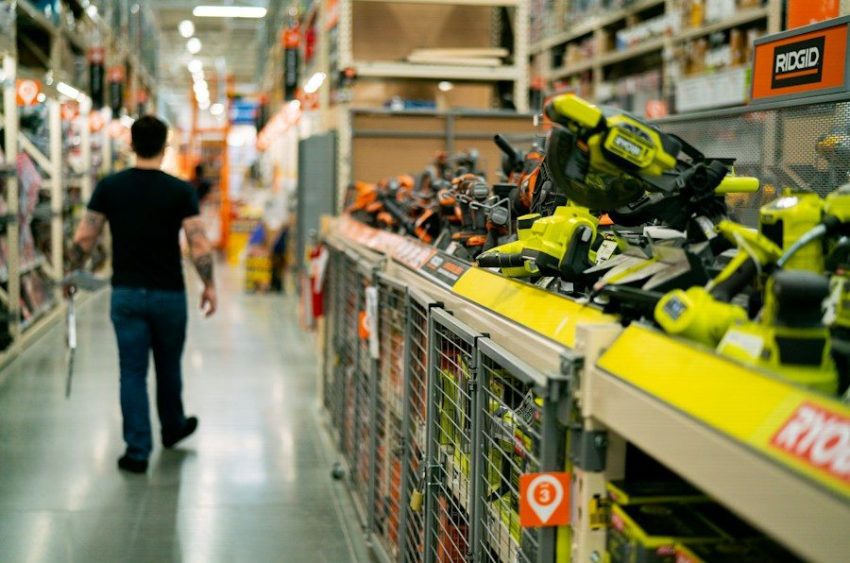
But there’s one part of DIY that isn’t always quite so enjoyable: figuring out which tools, accessories and fixings you actually need.
It’s easy to assume that having a drill, a few screws and a toolbox full of bits and pieces is enough to get most jobs done. Then you find yourself standing in the middle of a hardware shop, staring at rows of different drill bits, wall plugs and screws, wondering which ones are going to work.
Fortunately, you don’t have to figure everything out on your own. Toolden, one of the UK’s largest independent power tools distributors, offers two free online resources that can help take some of the guesswork out of DIY. As an authorised reseller of major industry brands including Makita, Milwaukee, DeWalt, Bosch, HiKOKI and Paslode, Toolden sources its tools directly from the manufacturers.
Its Kit Builder helps identify compatible accessories, batteries and chargers for specific power tools, while its Fix Builder helps you find suitable fixings based on the material you’re working with and what you’re trying to install.
Both are useful starting points, particularly if you’re not a DIY expert and simply want to make sure you’ve got the right equipment before getting started.
Here are some other things worth considering before tackling your next home project.
1. Make Sure Your Accessories Are Compatible With Your Tools
If you already own a cordless drill or another power tool, you might assume that buying additional batteries, chargers and accessories is fairly straightforward.
Unfortunately, that’s not always the case.
Different manufacturers use different battery platforms, connections and specifications. Even within the same brand, not every battery or accessory will necessarily be compatible with every tool.
This is particularly important if you’ve gradually built up your DIY collection over the years. You might have purchased a drill as part of a kit, added another tool later and picked up a spare battery along the way. Before long, you have several different pieces of equipment and aren’t entirely sure which accessories work with which tools.
Getting this wrong can mean wasting money on something that simply won’t fit.
A useful starting point is to identify the exact make and model of your power tool. Most tools have this information printed on a label somewhere on the body or included in the original documentation.
Before purchasing anything, it’s worth checking compatibility carefully. This is where having a resource to help identify the right accessories can save time and unnecessary expense.
2. Choose the Correct Screws and Fixings for Your Project
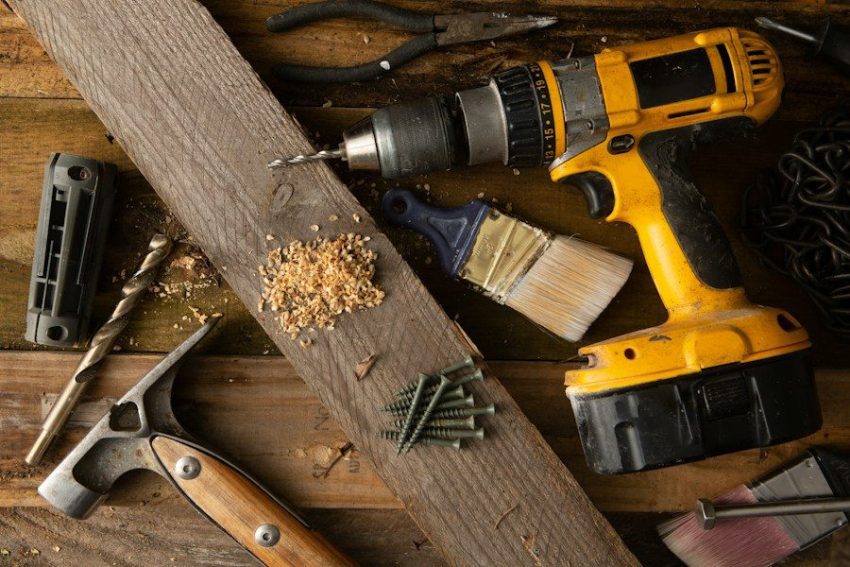
Having the right power tools is only half the battle. You also need to make sure you’re using the correct screws, wall plugs and fixings for the job.
This is probably one of the least exciting parts of DIY, but it’s also one of the most important.
You can have the best drill, beautifully prepared materials and a perfectly measured shelf, but if you use the wrong fixings, the finished result might not be secure.
Different materials require different types of fixings. A screw that works perfectly in timber might not be suitable for plasterboard, masonry or a hollow wall.
Here are a few examples:
Timber: Wood screws are designed to grip timber securely. Their length and thickness should be appropriate for the materials being joined, without risking damage or splitting.
Plasterboard: Standard screws alone aren’t always suitable for hanging items on plasterboard, particularly when dealing with heavier objects. Depending on the load and installation, specialist plasterboard fixings or anchors may be needed.
Brick and masonry: Projects involving brick or concrete generally require suitable masonry drill bits and compatible wall plugs and screws.
Hollow walls: These can be a little trickier because there isn’t always solid material behind the surface. The correct hollow-wall fixing is important when installing anything that needs to support weight.
The intended use matters just as much as the material. Hanging a lightweight decoration requires something very different from securing a heavy cabinet.
3. Start With the Project, Not the Tools
One of the easiest mistakes to make when planning a DIY project is choosing the tools first and working out what you need afterwards.
Instead, start by thinking about the actual job.
Are you putting up shelves? Fixing a loose cupboard door? Building a small garden planter? Installing hooks in a hallway? Each of these jobs has slightly different requirements, even if they all seem relatively straightforward.
Before buying anything, take a few minutes to consider:
- What material will you be working with?
- How large or heavy is the item you’re installing?
- Will you be drilling, cutting, sanding or simply assembling?
- Do you already own a suitable power tool?
- Will you need additional accessories or fixings?
For example, putting up a lightweight picture frame is very different from installing a heavy floating shelf. Both might involve drilling into a wall, but the type of fixing required can be completely different.
Having a clear idea of what you’re trying to achieve makes it much easier to identify the equipment you need, rather than buying things you might never use.
4. Measure Twice and Prepare Everything Before You Begin
It’s a familiar saying, but measuring twice really can save a lot of frustration.
Before drilling, cutting or assembling anything, make sure you’ve checked your measurements and marked out where everything needs to go.
For projects involving walls, it’s also important to check for hidden pipes and electrical cables before drilling. A suitable cable and pipe detector can help identify potential hazards, although you should never rely on a detector alone where there is uncertainty.
I also find it helpful to organise everything before starting a project.
Rather than opening boxes and searching for individual pieces halfway through, try putting everything together in one place:
- Your power tools and compatible batteries.
- The correct drill bits or other accessories.
- Screws, wall plugs and other fixings.
- A tape measure, pencil and spirit level.
- Safety equipment, including eye protection and any other appropriate protective gear.
Having everything ready makes it easier to concentrate on the actual job instead of constantly stopping to find something you’ve forgotten.
5. Buy What You Need, Not Everything You See
It’s tempting to buy a complete collection of tools and accessories when you’re starting to take on more DIY projects.
However, you don’t necessarily need a huge toolbox to get started.
In fact, buying too much equipment can make things more complicated. You’ll end up storing items you rarely use, spending money unnecessarily and potentially purchasing accessories that aren’t compatible with your existing tools.
Instead, build your collection gradually.
Start with the basics that cover the projects you’re most likely to tackle. A good cordless drill, a selection of suitable drill bits, a tape measure, a spirit level and a useful range of basic hand tools will cover many everyday jobs.
Then add specialist equipment as specific projects require it.
It’s also worth thinking about quality rather than simply choosing the cheapest option. You don’t need professional-grade equipment for every household project, but tools and accessories that are reliable and appropriate for the job can save money in the long run.
The same applies to fixings. Choosing the correct screw or wall plug is much more important than having a drawer full of different types that you aren’t sure how to use.
6. Make DIY More Manageable With a Little Planning
For many of us, DIY happens around everything else. Between work, family commitments, keeping the house running and trying to find a little time for ourselves, it’s not always easy to dedicate an entire weekend to a home improvement project.
That’s why preparation is so important.
Even a relatively small job can become unnecessarily time-consuming if you haven’t thought about the materials, tools and fixings beforehand.
A few minutes of planning can help you:
- Avoid buying incompatible accessories.
- Reduce unnecessary trips to the hardware shop.
- Choose suitable fixings for the materials you’re working with.
- Keep your project within budget.
- Spend more time actually completing the job.
And remember, there’s no shame in asking for advice when something is outside your experience. Some projects require specialist knowledge, particularly when they involve electrical work, plumbing or structural changes. Knowing when to call in a professional is part of being a sensible DIYer, too.
Final Thoughts
DIY doesn’t have to be complicated, and you certainly don’t need to be an expert to make useful improvements around your home.
Whether you’re putting up shelves, assembling furniture, creating extra storage or giving an old room a little refresh, getting the basics right can make the whole process much more enjoyable.
The biggest lesson is simple: don’t guess when it comes to your tools and fixings.
Take the time to understand what your project needs, check that your accessories are compatible, and make sure you’re using the correct fixings for the materials involved.
With a little preparation and helpful resources like Toolden’s Kit Builder and Fix Builder, you can spend less time worrying about whether you’ve bought the right equipment and more time enjoying the satisfaction of a job well done.
And really, isn’t that what DIY should be about?