A quality weld is more than just a connection between two pieces of metal—it’s a combination of strength, precision, and consistency. According to the American Welding Society (AWS), nearly 50% of welding defects are linked to improper bead formation, making welding bead techniques a critical factor in overall weld quality. With welding contributing to more than $50 billion in manufacturing and repair work annually in the United States, selecting the right technique isn’t just a matter of craftsmanship—it directly impacts safety, efficiency, and cost-effectiveness.

In this guide, we’ll explore which welding techniques consistently produce the strongest, most uniform beads. We’ll also break down the advantages, limitations, and best-use cases for each, so you can make informed decisions on the shop floor or in the field.
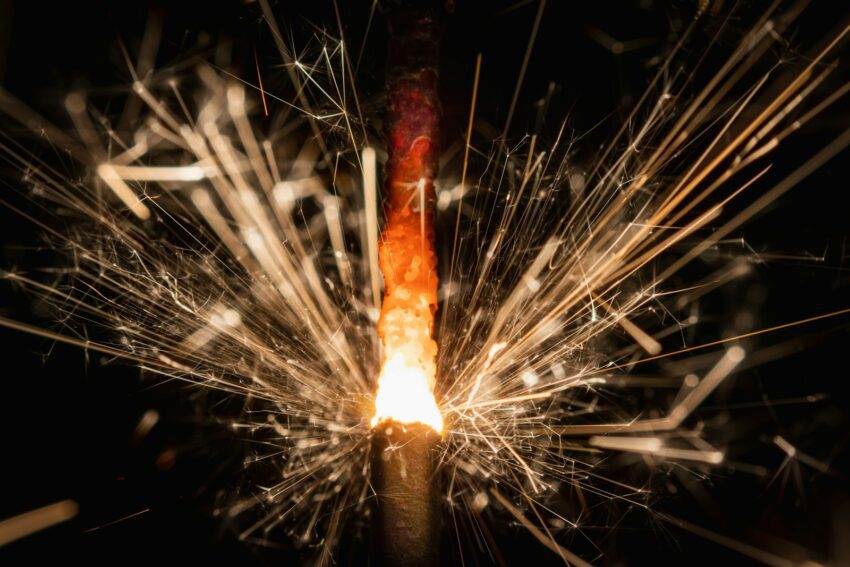
Using the right welding tools makes just as much difference as your technique. The high-quality gold-coated lenses from ridgeproductswelding.com help reduce eye strain and improve visibility, allowing you to see your weld pool clearly for better consistency.
Understanding the Role of Welding Beads in Structural Integrity
A welding bead is the visible deposit of filler metal laid down during a welding pass. It’s the backbone of the weld, determining its structural integrity, appearance, and performance under stress. The best welding beads are uniform in shape, free of defects like porosity or undercutting, and fully fused with the base metal.
For welders seeking to improve their results, mastering different welding bead techniques is essential. Welding bead techniques directly influence penetration depth, heat distribution, and overall weld durability.
The Techniques That Deliver Strong, Consistent Beads
Below are some of the most effective welding patterns and techniques for creating beads that excel in both strength and appearance.
1. Stringer Bead Technique
Overview: The stringer bead is one of the simplest yet most effective methods for producing consistent welds. It involves dragging the welding electrode or torch in a straight line without any side-to-side weaving.
Strength Factors:
- Produces deep penetration and a focused heat zone.
- Minimizes heat distortion in thin metals.
- Suitable for all positions, including overhead.
Consistency Tips:
- Maintain a steady travel speed.
- Keep a tight arc length (equal to electrode core diameter).
Best Use Cases: Long welds, structural applications, and situations where speed is a priority.
2. Square Weave / C-Weave
Overview: This technique moves the torch or electrode in smooth C-shaped motions, ideal for handling corners and achieving even heat distribution.
Strength Factors:
- Excellent sidewall fusion.
- Reduces the likelihood of incomplete fusion defects.
Consistency Tips:
- Maintain equal-sized C patterns to ensure even bead width.
- Control travel speed to avoid excessive heat buildup.
Best Use Cases: Vertical and flat positions, corner joints, and welds requiring aesthetic appeal.

3. Circular Weave
Overview: Circular weaving creates overlapping circular patterns along the joint. This method is widely used in pipe welding.
Strength Factors:
- High penetration suitable for thicker materials.
- Provides a strong bond between base metals.
Consistency Tips:
- Keep circles uniform in size.
- Avoid overextending the pattern to prevent overheating.
Best Use Cases: Pipe welding, thick plate welding, and multipass welds.
4. Zigzag Pattern
Overview: The zigzag pattern involves swinging the torch side to side while pausing slightly at each edge to ensure tie-in.
Strength Factors:
- Excellent for groove filling.
- Delivers deep penetration across medium and thick metals.
Consistency Tips:
- Avoid excessive heat input to prevent undercutting.
- Balance edge pauses with quicker movement across the center.
Best Use Cases: Vertical welding, flat position welds, and groove joints.
5. Figure Eight Weave
Overview: This technique creates overlapping figure-8 motions, delivering strong sidewall fusion and a visually appealing bead.
Strength Factors:
- Great for thick materials.
- Produces strong tie-ins on sidewalls.
Consistency Tips:
- Spend more time on the edges than the center.
- Maintain steady, controlled movements.
Best Use Cases: Cover passes, vertical and flat positions, and joints needing high strength and visual appeal.
6. J-Weave
Overview: A variation of the zigzag pattern, the J-weave adds a whip upward to form a “J” motion. It is particularly effective when dealing with open or wide root joints.
Strength Factors:
- Controls bead shape in irregular joints.
- Promotes strong sidewall fusion.
Consistency Tips:
- Keep the upward whip smooth to prevent slag entrapment.
- Avoid overcomplicating the motion for better repeatability.
Best Use Cases: Lap joints, butt welds, and joints with varying root openings.
Factors That Influence Weld Strength and Consistency
Even the most refined welding pattern won’t produce a strong bead if other variables aren’t properly managed. Here’s what to watch for:
Base Material and Thickness
The type and thickness of metal determine the heat input and penetration required. Thick metals often benefit from high-penetration techniques like circular or zigzag weaves, while thin materials pair better with stringer beads to avoid burn-through.
Welding Position
Gravity and molten metal behavior change depending on whether you’re welding flat, horizontal, vertical, or overhead. Patterns like stringer beads work in all positions, while figure eights and square weaves are better suited for flat or vertical work.
Power Source and Settings
Matching the polarity (DC+, DC-, or AC) and amperage to the electrode type is critical. Incorrect settings can lead to poor fusion, spatter, or excessive penetration.
Travel Speed
Too slow a travel speed can lead to excessive heat input, distortion, and cold lap. Too fast, and you risk shallow penetration and underfill.
Technique Consistency
Regardless of pattern, steady hand movement, uniform arc length, and consistent heat input are non-negotiable for achieving strong, repeatable beads.
Pairing Patterns with Welding Joints
Choosing the right pattern for the joint type is essential for structural performance:
- Butt Joints: Stringer or zigzag for balanced penetration.
- Lap Joints: Circular, zigzag, or figure eight for strong overlap.
- T-Joints: Zigzag or figure eight for sidewall fusion.
- Corner Joints: Square weave or figure eight for even heat distribution.
Practical Tips for Mastering Bead Consistency
- Start on Scrap Metal: Practice patterns on similar material before welding the final piece.
- Adjust Settings Mid-Weld: Fine-tune amperage, voltage, or feed rate to match the bead profile.
- Body Positioning: Maintain a comfortable stance, keep elbows close, and move from your waist for smoother control.
- Monitor Heat Input: Wider patterns need more heat, narrow patterns require less.
- Focus on the Leading Edge: Keep the arc on the front third of the puddle for better control.
Final Thoughts
The strongest, most consistent beads come from a combination of the right technique, proper settings, and practiced control. Whether it’s the simplicity of the stringer bead or the precision of the figure eight weave, each technique has its place in the welder’s toolkit. By understanding when and how to use each method—and by mastering the fundamentals of welding bead techniques—you’ll be able to produce welds that are not only structurally sound but also meet the highest standards of visual appeal.
In welding, consistency isn’t just about aesthetics; it’s about safety, performance, and efficiency. Choose your technique wisely, practice diligently, and your beads will reflect the quality and reliability your projects demand.