If you would like to master one DIY project this year, then wood burning craft is definitely worth looking into. From cavemen etching on their cave walls with firesticks to using sophisticated, modern-day tools for burning wood and creating a unique piece of art, woodburning craft has come a long way.
Today it continues to remain one of the most sought-after DIY projects amongst individuals of all age groups, even children (under adult supervision, of course).
Is Pyrography Different From Wood burning?
Pyrography comes from the Greek word “pur,” meaning fire, and “graphos” meaning writing. It is a form of freehand wood burning art that involves burning material to create different patterns and art forms by using instruments like poker, pins, metal rods, and even open flames to emboss or etch designs on pieces of wood.
On the other hand, wood burning was historically used to decorate and brand possessions or instruments, kitchenware, or even guitars. It wasn’t until the late Victorian era that this art form was taken seriously and gained recognition over blank canvases of wood.
While distinguishing between the two can be complicated and challenging, understanding the difference can help broaden our knowledge about the craft. Pyrography is a broad-based art form encompassing burning characters and impressions into almost any material (including leather, plastic, and even ivory) using pins and rods.
On the other hand, the woodburning craft is a specialized version exclusively practiced on wood and bark.
Getting Started With a Stepbystep Guide to Wood Burning Craft
Since the dawn of time, humankind has felt inclined to express their desires, ideas, and experiences. Even though we have come a long way, the need to express ourselves has only increased exponentially, displaying no limits to the lengths we can go or the mediums we can use.
Wood has remained a far too often overlooked medium, and wood burning is an underrated craft. The following steps provide detailed insight into learning how to master wood burning art.
Step 1: Get acquainted with the tools of the trade
Now that you have decided to give wood burning craft a try, it is crucial that you begin by learning a few basic things regarding the tools required. The essential supplies for wood burning include:
- A wood burning pen: As the name suggests, this is typically a pen-like device with a metal end through which heat is transferred to a removable tip. With any wood burning tool kit, you’ll probably get a variety of 4 to 6 different types of tips to master various methods such as drawing straight lines, rounded lines, or even shading on wood.
- Wood pieces to design or etch your artwork into
- Carbon paper
- Sandpaper
- Tape
- Paper towels (preferably wet)
Step 2: Choose your wood
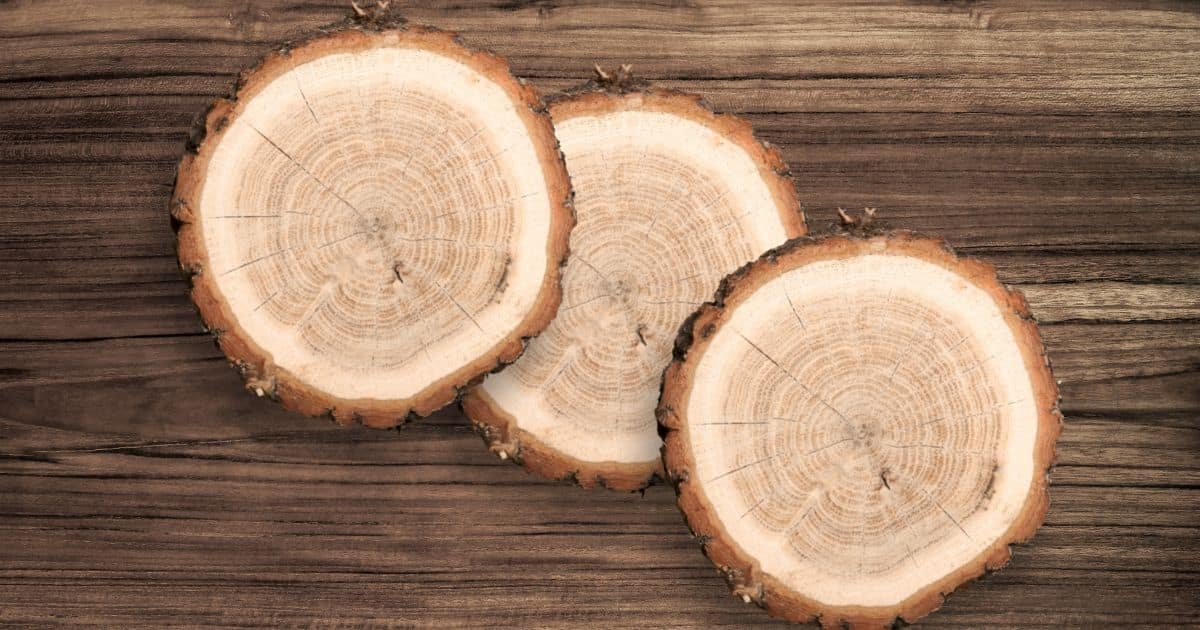
This is probably one of the most challenging parts, especially if you’re starting out or still learning to set the wood ablaze and turn it into a piece of art. Make sure you choose carefully since the right piece of wood is pivotal to wood burning craft and has a tremendous impact on how successful your finished piece will be.
As a rule of thumb, wood that is considered soft burns at lower temperatures, while hardwood will require a very hot pen.
Today some of the most commonly used wood include:
- Pine (serves as a great, inexpensive cut, especially for beginners)
- Maple (although this can be a bit expensive but provides a beautiful grain to work on)
- Poplar (since its readily available and inexpensive)
- Jelutong (has a great color and grain)
- Beech (another inexpensive cut for wood burning craft)
While all the wood mentioned above works well in pyrography, the best ones depend on your personal preferences and style. However, when choosing your wood, it is important that you consider the following factors:
- The wood color: Skilled pyrographers always tend to choose lighter-colored wood. This is because they tend to bring out the best contrast designs. On the other hand, dark wood has a difficult time being as eye-catching a masterpiece as a lighter one.
- Price of the wood: Whether you are just starting as a beginner or have been practicing the wood burning craft for a while, practicing pyrography requires a lot of wood. This is especially true in beginners prone to make a lot of mistakes and go through using a lot of wood before creating a masterpiece of their own. This is why it is wise to opt for inexpensive cuts of wood and limit using fancier ones for only special pieces (like when creating a gift for someone)
- Picking the right pattern: The pattern, otherwise referred to as the grain of the wood, also matters a lot. A beautiful skinned wood ends up giving you an exquisite canvas to showcase your skills. The same is the case with subdued grain patterns. These tend to contrast best with pyrography designs. So, make sure to spend sufficient time considering the grain of the wood to prevent your wood burning craft from being swallowed by the wood.
- Treated vs. untreated wood: Another essential aspect to consider when choosing your cut of wood is understanding the difference between treated and untreated wood. Wood like particle board, pressure-treated wood, and even fiberboard are woods that have all been treated with chemicals and can hence be harmful to both humans as well as the environment when burned. Therefore, always ask questions and pick raw and untreated wood pieces instead of the former.
- Considering the cut: From wood boards to slices, there are plenty of wood options to choose from when choosing your wood. This is why it is important to consider which one you require for creating your masterpiece and how it will end up looking when you are done. Apart from grain and wood pattern, the wood’s direction is also reflected in the wood you plan to work with. Today many people also opt for sharp, natural-edged woods instead of blunt ones to give a rustic feeling to their craft.
Step 3: Prep the wood
Once you have chosen your cut of wood, it is essential to prep the raw wood. This is usually done by rubbing sandpaper against it, thus preparing it before you start designing.
To do so, 320-grit sandpaper works best. Try to rub it in the direction of the grain and make sure that the surface is clear of dust once you are done. Wiping it with a damp cloth afterward also helps in giving a smoother surface to work on, thus allowing you to create a more precise finished piece.
Step 4: Choose a design
While it’s true that you can master burning almost any design onto the wood, it is best to start slow. One way to get started is by trying out basic black-and-white designs and illustrations. Once you have mastered those, you can work your way up to advanced shading techniques.
Alternatively, you can also try and search for simple wood burning craft designs, illustrations, and patterns on Pinterest and Instagram. You’ll more than likely get some great results to choose from. After settling down on a design, the next step is to figure out the size you want to use. This involves ensuring that your chosen design is compatible with the size of the wood piece you have picked and then printing out the design on carbon or graphite paper.
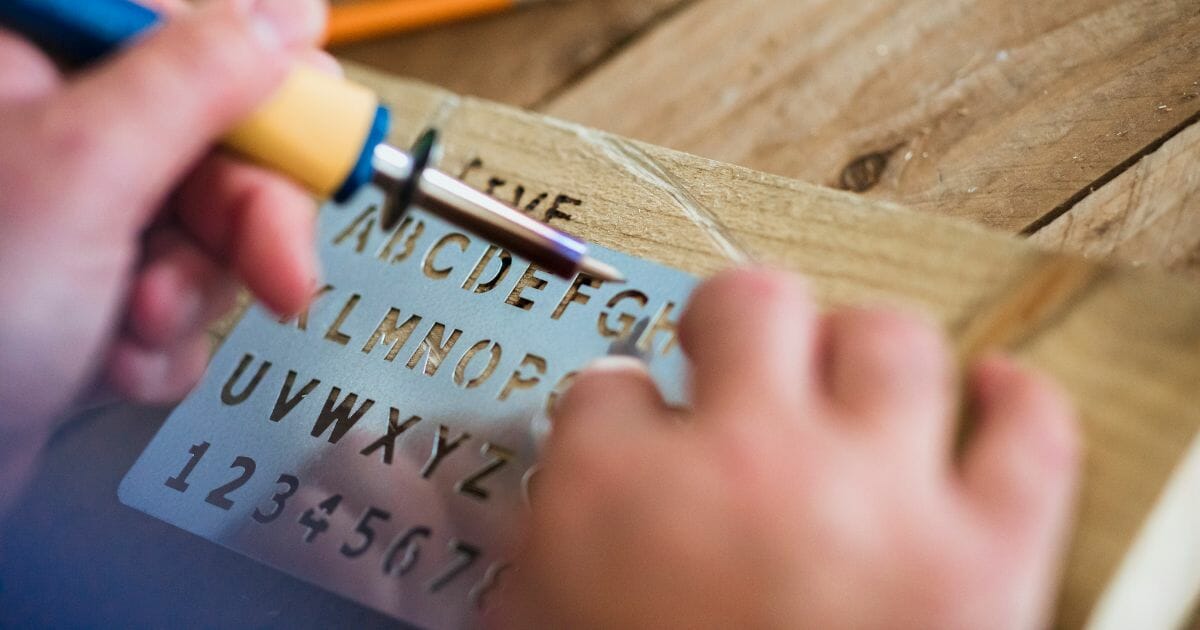
Step 5: Transfer the design
While you may be good at drawing freehand and feel confident about drawing your design yourself, if you are new to pyrography, it is wise to stick to template patterns initially. A graphite or carbon paper works wonders in transferring your template onto the wood. Place the chosen design on your piece of wood and trace the outline of the drawing.
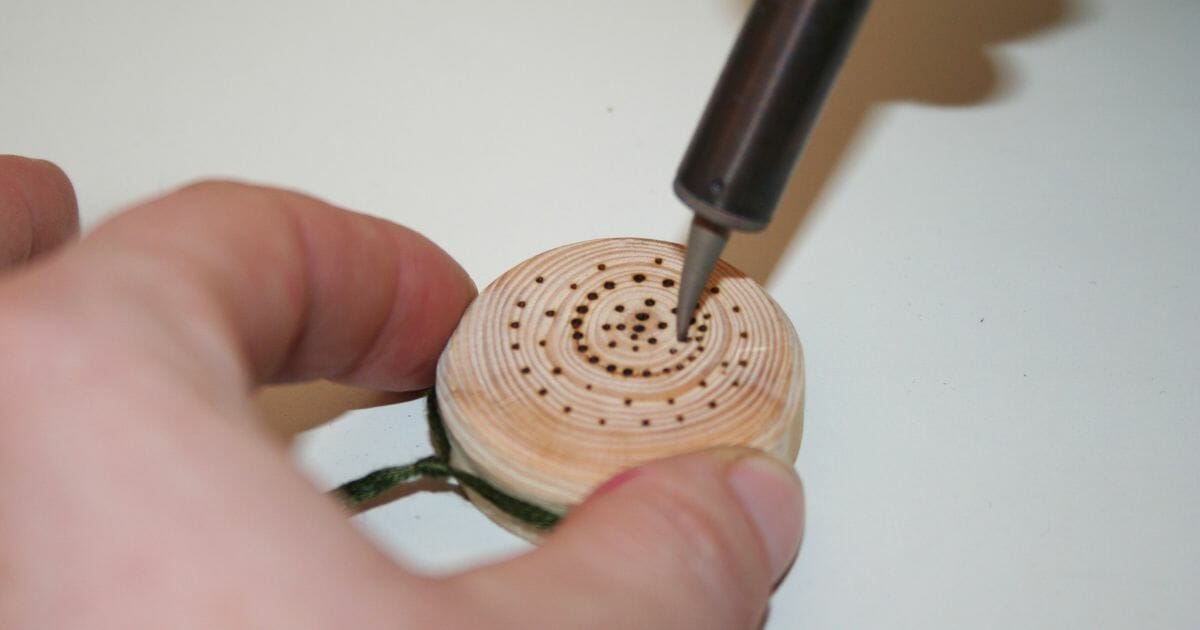
Step 6: Start burning!
Now that you finally have your wood cut ready with the design traced on top of it, it is time to pick up the wood burning pen and get started. Before doing so, make sure you choose the right tip which is most compatible with your design and follow the carbon lines that you have traced onto the wood. Move in the direction of the grain and enjoy burning your chosen design into the wood.
Essential Tips to Keep in Mind
Unlike many other forms of craft, the wood burning craft is one that you can’t just jump into. Before getting started with the project you have in mind, it is wise to practice or test out using the tools like the wood burning pen.
Get scrap wood and try working with each of the tips for a few minutes to get a handle on it. The key is to be patient and work your way up slowly. If you go too fast, you may not get the desired results, or the wood may not burn as you wanted it to. This is why you should practice for a few days before indulging in the actual project itself.
Always keep a wet paper towel with you when burning wood. This comes in handy and helps to wipe off the end of the tips as the residue from the wood builds up on the wood burning pen tip.
In the event that you notice a lot of smoke, chances are that your pen is too hot. When that happens, try turning down the heat to get a smoother and smokeless burn on the wood.
Always be mindful and take safety precautions. This is especially important when talking about the top of the pen, which can get too hot and cross over a hundred degrees Fahrenheit in a matter of minutes. Be careful where the hot metal ends and ensure it isn’t touching anything. Even when you are not using the pen, only leave it to rest on its own metal stand.
When changing the tip of the pen, always try to use pliers wrapped in electrical tape instead of using your bare hands. The tips of the pen can stay hot for a very long time, even when not in use.
When using your wood burning pen, always stick to lighter strokes instead of pressing too hard on the wood. Work your way up by building layers of color from light to dark. Remember that you can always make light areas dark, but you cannot make darker areas light again. Even if you make a mistake, lighter strokes can be easily corrected by rubbing it with sandpaper, but darker strokes cannot.
Another great tip to keep in mind when starting out as a beginner at wood burning craft that you should focus on and go in the direction of the grain. Pulling the pen toward the direction of the wood gives an impressive finish compared to going against it, which will only create resistance and make it harder to burn the wood.
In Conclusion
Wood burning craft, or pyrography, has been around for decades and continues to enjoy popularity as a traditional art form that almost anyone can learn. All one needs is knowledge about the techniques used and access to the right tools. Additionally, today a lot of online resources like YouTube videos have made mastering the art easier, even if you are just a beginner.
Once you start to get the hang of it, you can complete some really amazing wood burning projects that will be sure to impress!