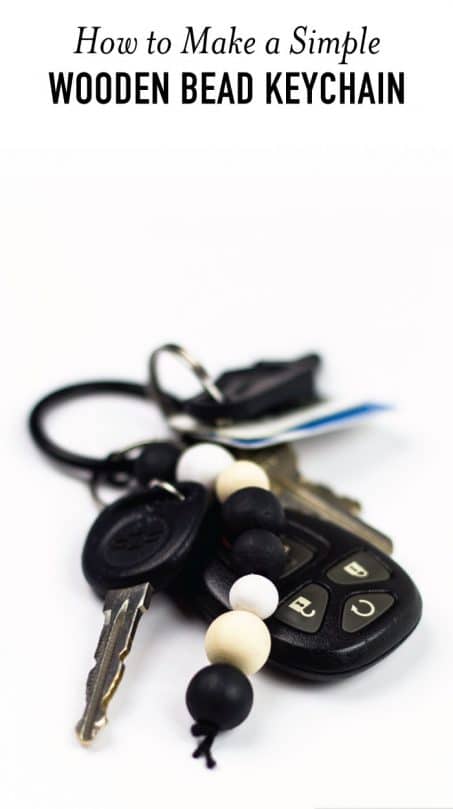
Make an easy DIY wooden bead keychain to make losing your keys more difficult. This handmade keychain looks way better than the old lanyard I’ve been using for the last 6 years!
I don’t know about you, but I hate having to dig in the bottom of my Mary Poppins purse while holding a baby who’s past naptime and a preschooler that is whining for a snack searching for my keys. It’s not like I didn’t just have them ten minutes ago.
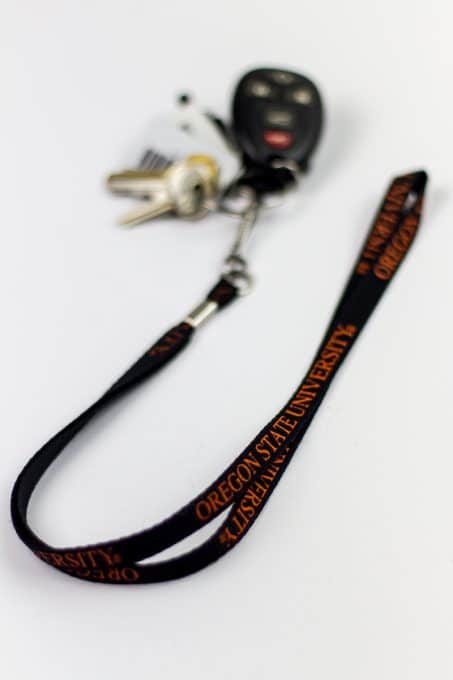
I have had my keys on the same Oregon State University lanyard since I graduated 6 years ago and it’s a little embarrassing to say the least. Heck, we literally have zero college spirit in our home.
Whenever we talk about school, my three-year-old talks about going to “the beaver school when I’m big and strong” but besides that we are like the least supportive people ever when it comes to school pride. I’m glad I no longer have to shove the boring lanyard in my pocket when we’re out and about or checking in at the gym.
This wooden bead keychain adds enough length and bulk that I can easily find my keys when they’re buried, plus it looks way cuter. Let me show you how you can make your own.
*This post contains some affiliate links for your convenience (which means if you make a purchase after clicking a link I may earn a small commission, but it won’t cost you a penny more)! Click here to read my full disclosure policy.
Craft Time: 10 minutes
Waiting Time: 1 hour
Skill Level: Easy
Cost: $10
Materials to make your wooden bead keychain:
- Wooden beads
- Matte white spray paint
- Matte black spray paint
- 2 disposable boxes
- Black embroidery floss
- Black ring
- Embroidery needle

1. Paint Wooden Beads
First, you need to paint your wooden beads. I purchased this multi-pack of wooden beads with three different sized beads. I then took a small handful of each size, put them in an empty Amazon box, and spray painted them using the matte black spray. The box is to make it easy to shake the beads around to make sure they are coated fully.
Leave them for about 20 minutes, shake the box a bit, and then spray them again while shaking gently.
Set all the beads aside and let them dry for at least 30 more minutes.
Repeat with white in a second box.


2. String Beads
Take your black embroidery floss and thread it through the eye of your needle.

Now, string on however many beads you want on your keychain. I like my keychain a little longer to make it more bulky so I can find it in between my wallet, diapers, and kid snacks in the bottom of my purse.
3. Add Ring
Once you string enough beads on, loop through the metal ring and then tie a knot below the ring. This gives you a little bit of division between the beads and the ring.

4. Thread Back Through Beads
Now take that string back through the beads, tie off the two ends together to hold the beads on, and you’re done!

I love how this little keychain turned out. I swear I’m looking for my keys 10x a day and this makes my heart happy that I made this. Sometimes it’s the simplest crafts that can bring you joy.

What do you put on your keys so you don’t lose them?

Create a simple clothespin memo board to keep important notes or display your favorite pictures with this easy DIY idea. 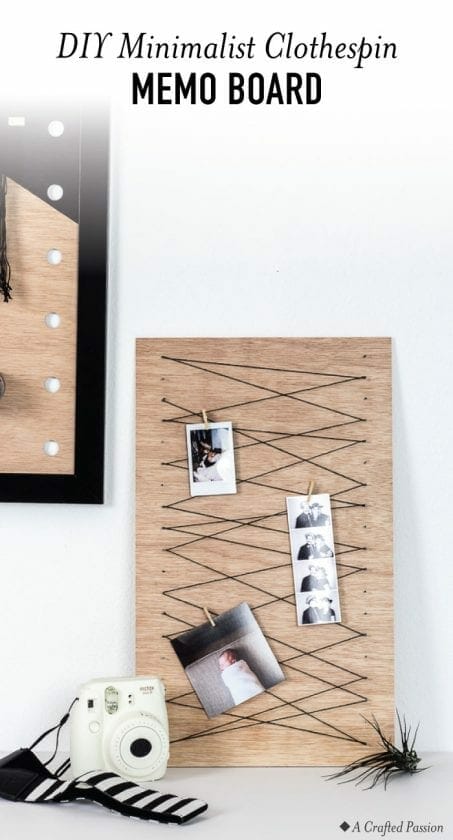
See how to make a DIY giant pegboard perfect to get your office organized. This modern oversized pegboard looks great and is functional.