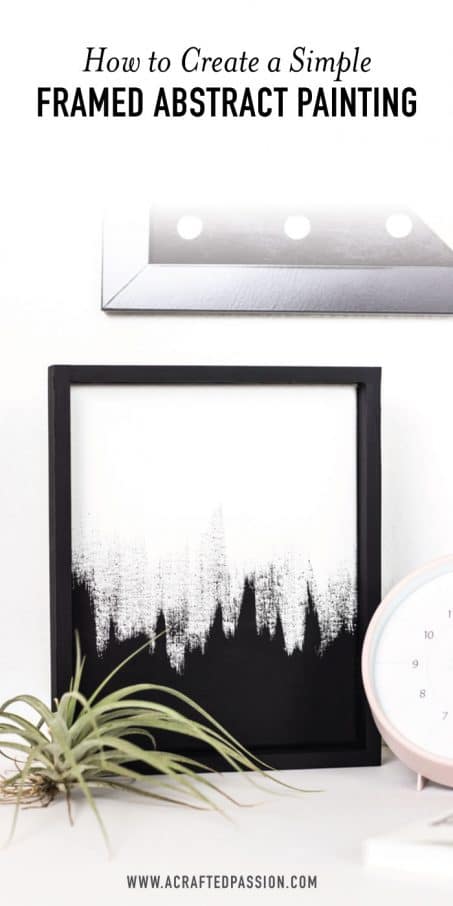
Create an easy abstract painting on a canvas with this simple DIY idea. It’s seriously so easy and looks great in your home.
Looking for simple art to decorate your home, but frustrated that it seems everything is outrageously expensive? Me too! Lately, though I’ve been finding art I love and then try to duplicate my own DIY version at a fraction of the cost.
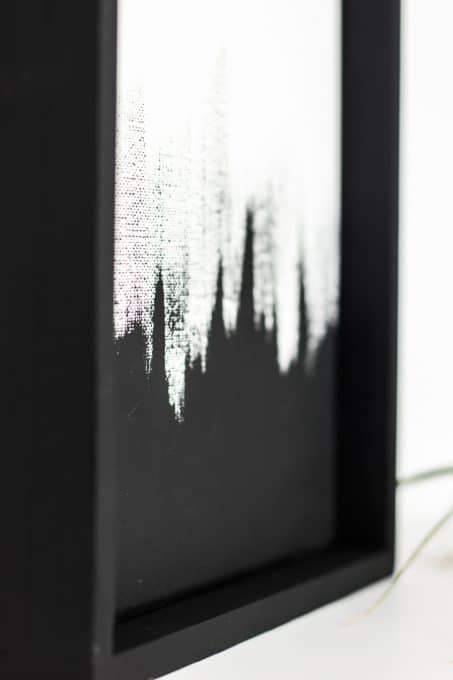
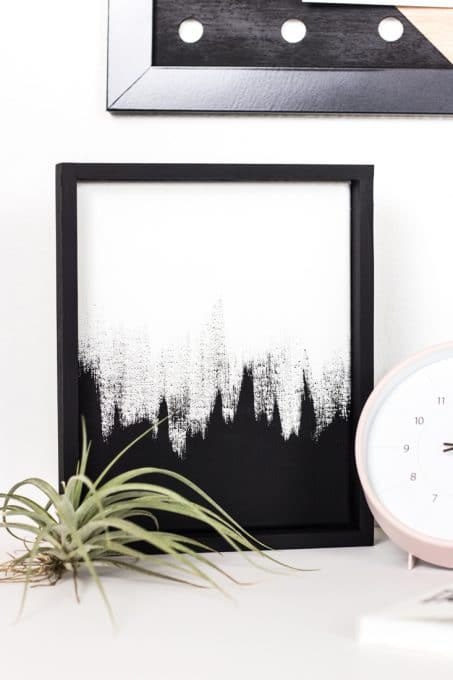
This is one of those pieces. This easy abstract painting on canvas is so simple, but looks great and is perfect for the modern minimalist home. The light brush strokes add a little flair while the white and black contrast lends itself to the modern feel I’ve been working towards achieving in our home.
It’s so easy to do. Let me show how to make this in just a short time.
*This post contains some affiliate links for your convenience (which means if you make a purchase after clicking a link I may earn a small commission, but it won’t cost you a penny more)! Click here to read my full disclosure policy.
Craft Time: 30 minutes
Waiting Time: 2 hours
Skill Level: Easy
What you need to create your easy abstract painting:
- Canvas – I used 8×10 pre-stretched canvas like this
- Paint
- Bristled brush – this is the 3-pack brushes I like to use
You can leave the painting as is without a frame, but if you would like to add a frame you will also need the following items:
- 1×2 common board
- Wood glue
- Bar clamps
- Wood filler
- Sanding sponge
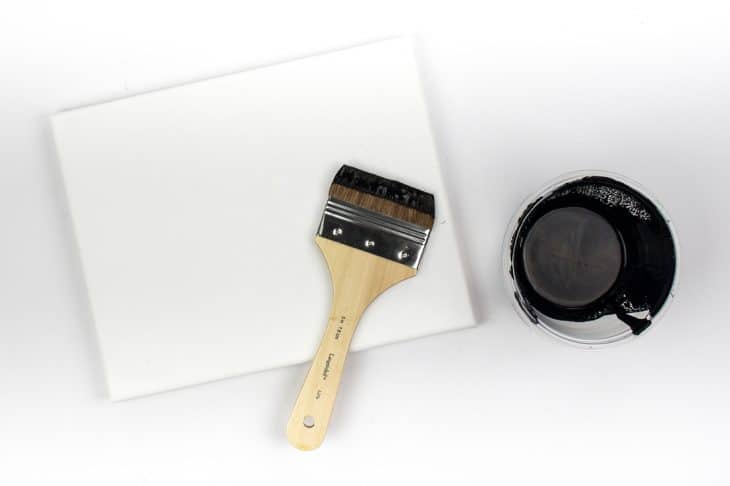
1. Base Coat
Paint a base coat on your blank canvas. I just did a coat of white.
2. Paint Strokes
Once your base coat has dried, take your thick 3″ soft bristled brush and paint the bottom few inches and sides where you want solid color.
Then turn your brush on edge and start doing light strokes starting from the bottom of the canvas. Lift your brush up as you reach 1/3 from the bottom to get your ends to trail off.
The trick is to not think about it too much. When you overthink it becomes stiff and can quickly look weird. Just trust yourself and go with it. If you want to practice first, do it first on a sheet of cardstock.
You can stop right here and let the canvas dry and hang it up, or you can take it a step further and add a frame.
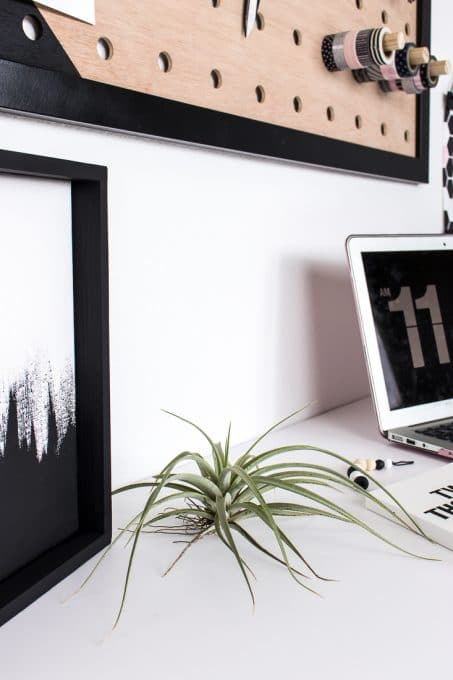
I decided to add a frame to polish off the look a bit.
3. Cut Trim
Start with your 1×2 and cut it down to size. You can choose to either miter the corners at 45 degree angles or offset the corners similar to how I did it.
If you offset them and have an 8×10 canvas, you need 2 boards cut to 10.5″ and 2 cut to 8.5″.
Be sure to sand your wood smooth once it’s cut so everything lines up well once attached.
4. Paint Wood
Wipe your wood down with a dry cloth to remove any excess wood dust and then paint your wood. I used this matte black spray paint from Montana 94.
I randomly bought this brand at the art store for a project and am TOTALLY obsessed. The difference between this matte black and regular brands you’d find at Home Depot are practically indescribable. So good!
5. Attach Frame
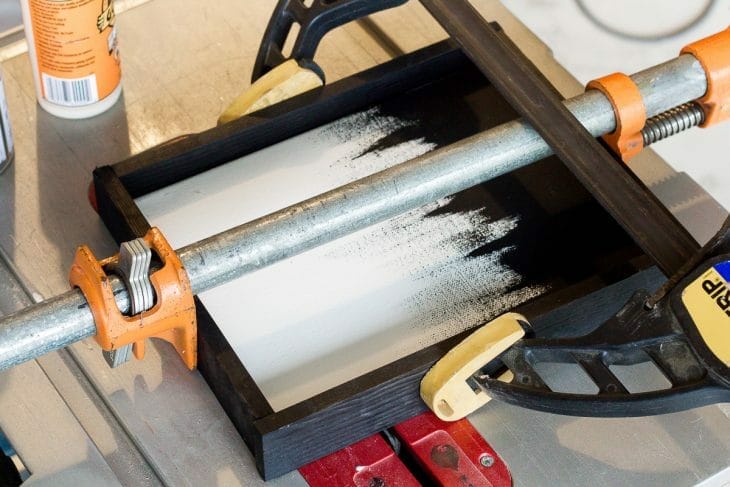
Once the paint has dried, attach your wood using wood glue and clamps.
6. Filler
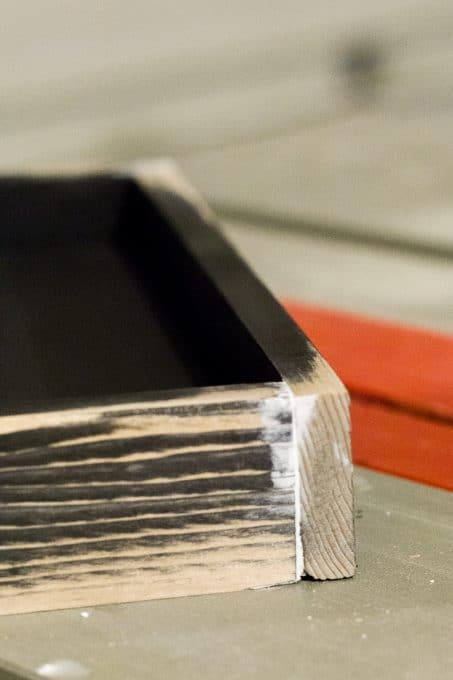
Once the glue has dried, remove the clamps and use wood filler as needed to fill any gaps. Sand the filler once it’s had time to cure and then take your paint and touchup wherever needed. You can either spray the paint into a container and then brush it on or tape off your art and then spray the frame again.
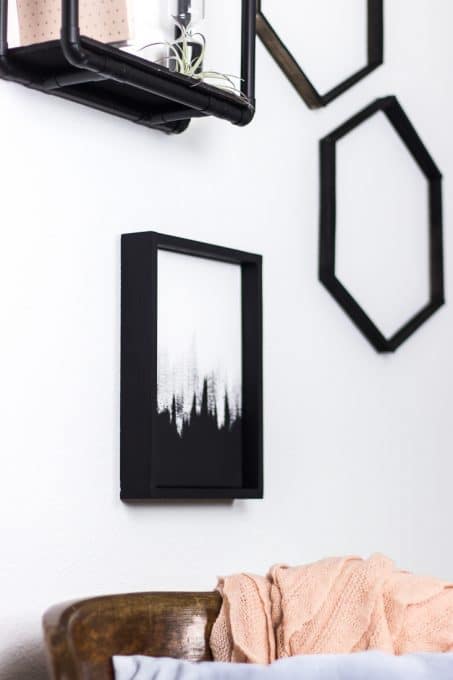
I love how this easy abstract painting is so simple, but looks amazing! What do you think of it? Ready to try your own hand at painting?
Be sure to tag #acpnaptime on social media so we all can see how you’re spending your naptime being creative.
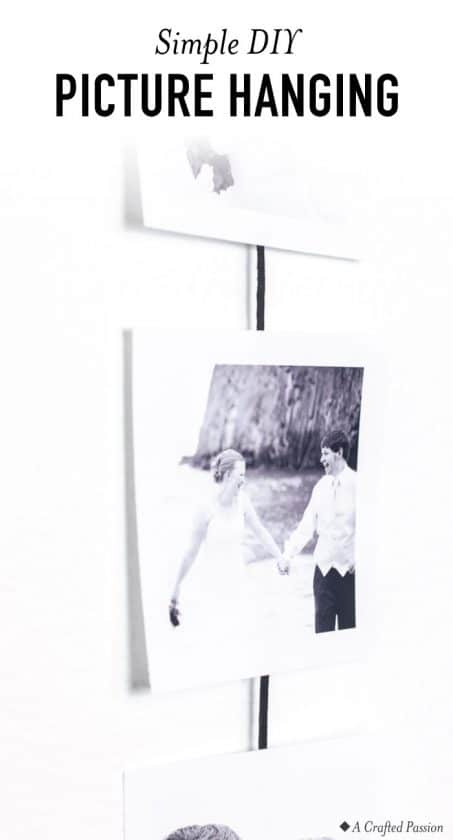
Create this simple pictures wall hanging using just a few items to show off some of your favorite photos.
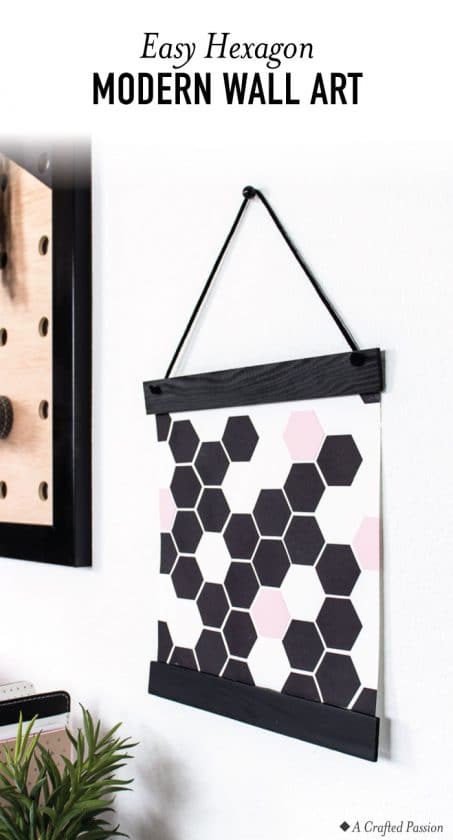
Make this easy geometric art to hang in your modern home. It’s so simple and can be finished in under an hour PLUS it looks great!


Oh my gosh – SO CUTE. I can’t wait to see the rest of the series!!