Want to learn how to make a large clock? Make your own Fixer Upper inspired oversized clock! Because, seriously, who doesn’t want a giant clock in their home to look like Joanna Gaines styled it.
We’ve all seen them. Those giant, oversized clocks gracing the walls of every home on Fixer Upper and you dream of having one in your home. Then you look at the price tag and your heart sinks a little bit. Well, I’m here to show you how you can make one all on your own!
I’m here to show you how to make a Fixer Upper inspired clock to make a bold statement.
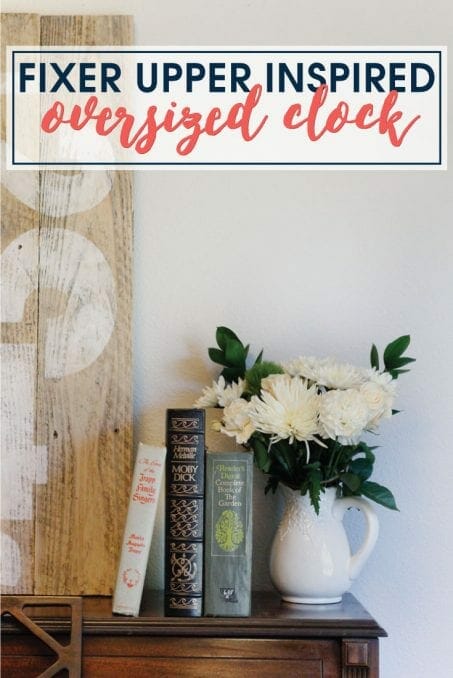
Straight from the mouths of HGTV, Joanna loves herself some oversized clocks. The space above my piano sat bare and boring for months and now has the perfect piece sprucing it up. Here’s how you can make your own.
Materials to make your own Fixer Upper inspired clock:
- Fence boards or boards of some type
- 100 grit sandpaper
- White acrylic paint – the cheap 80 cent paint from the craft store will do
- Foam brush
- Clock part kit – this is the one I got and love!
- Vinyl or stencil
- Sheet Metal
Tools
- Planer (optional)
- Random orbital sander (optional)
- Chop Saw
- Chisel
- Drill
- Micropinner
- Silhouette Cameo (optional)
- Metal Snips
Instructions
1 | Cut
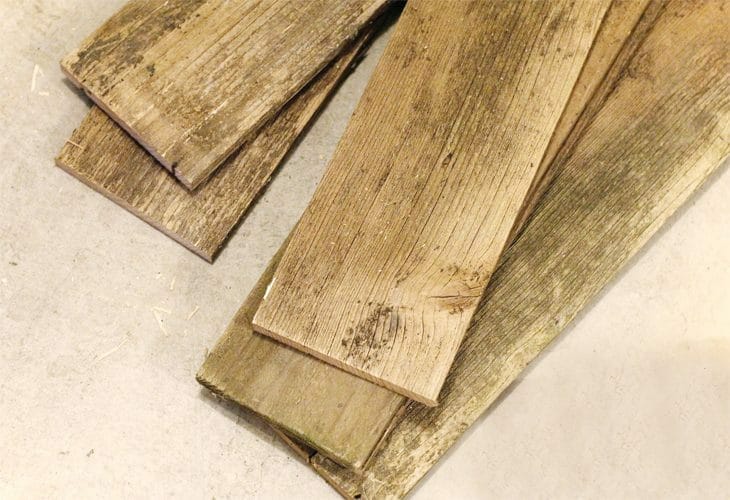
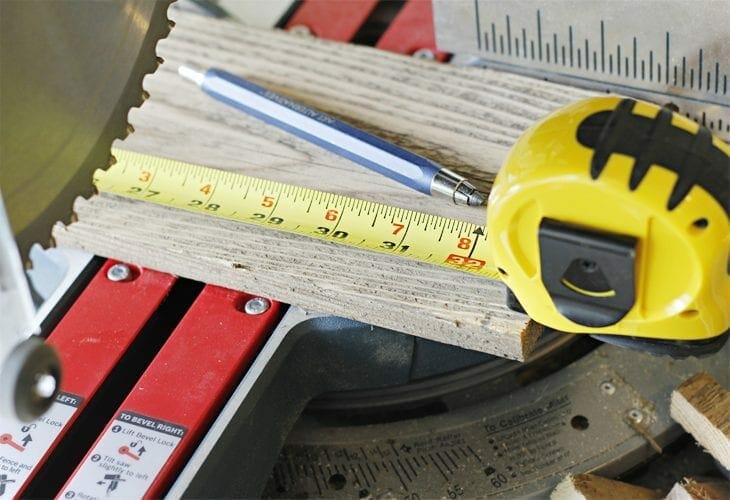
I started with 3 weathered, muddy fence boards that have been living outdoors for the past 20 years when our home was built. Weathered is certainly an “in” style, however, these were a little too weathered for my liking. I decided I wanted a square clock so went with 6 fence board widths and ended up with 32.5” square clock face.
2 | Planer
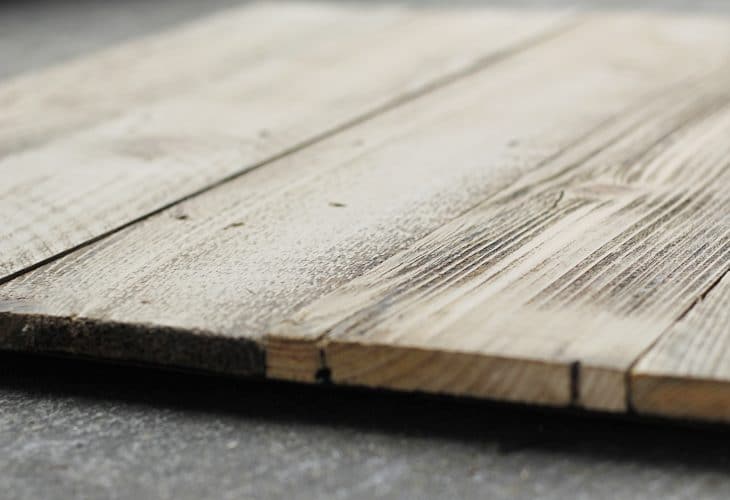
After I cut my boards using the chop saw, I sent my boards through the planer to get off some of the roughness and dirt. Then I used 100 grit sandpaper to pull out more of the pretty wood grain texture. Depending on the look you are going for, you totally can skip that step if you have nice boards already or want to keep a more weathered feel to them.
3 | Attach
After sanding, I used the micropinner to attach the clock face boards to two boards cut to length to hold it all together. The back boards ended up being about 25” long.
4 | Paint
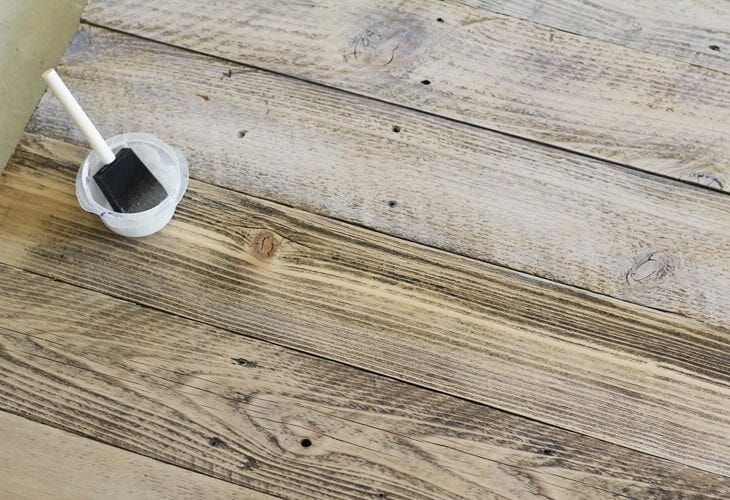
Once they were attached with two braces on the back, I took white acrylic paint and mixed in water, about 1:1. I then used a large foam brush the paint on the clock face. Be sure to brush the paint on in the direction of the grain. You can see here that it doesn’t make a drastic change but just helps tone down the heaviness of the clock face and gives it more of the Fixer Upper look.
The paint shouldn’t take long to dry and once it does it’s time to attach your clock part. I ordered this clock movement kit off Amazon for just a few bucks but you can also find them at your local craft store. Depending on the thickness of your clock face, you may need to carve out space for the clock mechanism in the back like we did.
5 | Clock Hands
If that’s the case, here’s how to do it. Find the center of your clock face and drill a hole to fit the clock mechanism. Then trace around your clock part on the back of your clock face like so…
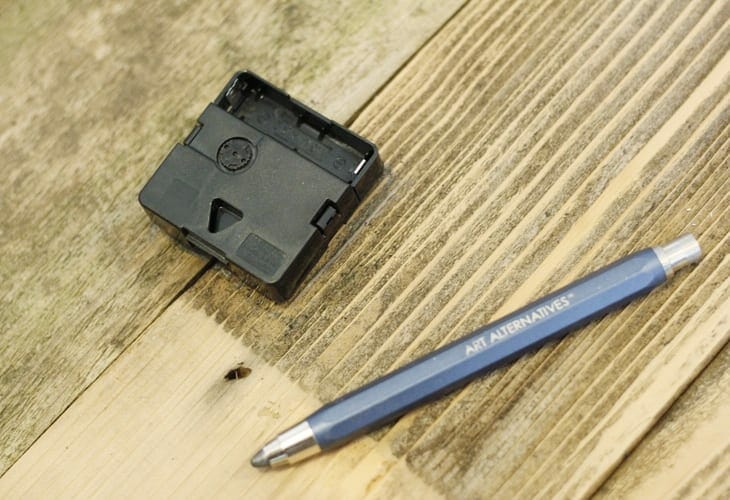
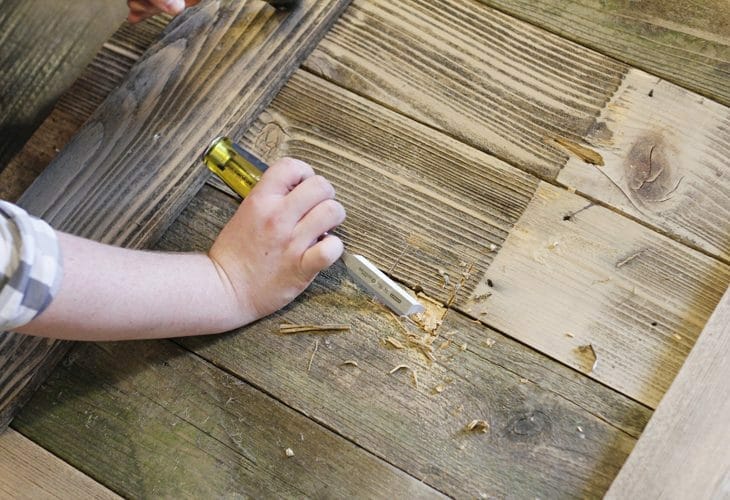
Grab your chisel and start chiseling away using a chisel and hammer as if you’re a cave man…or at least that’s what I always think of when I chisel something. Keep testing your clock kit until the the clock hands fit on the clock mechanism on the front face of your clock. You probably won’t need to chisel away too much wood to get it to fit well.
I hated all the clock hands that I found so I decided to just make my own using sheet metal, metal snips, and some white spray paint. I love how huge they are and make a statement!

Okay now the pretty part!
6 | Numbers
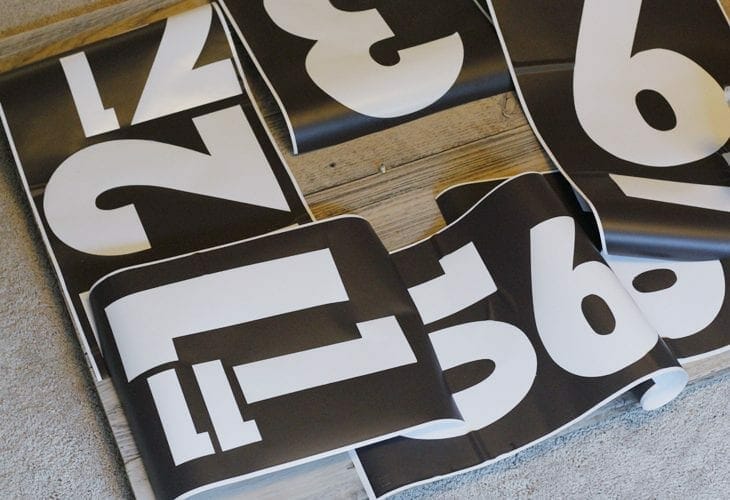
I created the clock numbers in Adobe Illustrator, saved them as a SVG, and then uploaded it into my Silhouette Designer Edition to cut out the numbers in vinyl on my Silhouette Cameo. If you don’t have a cutting machine, you could definitely just freehand numbers or buy stencils at your craft store.
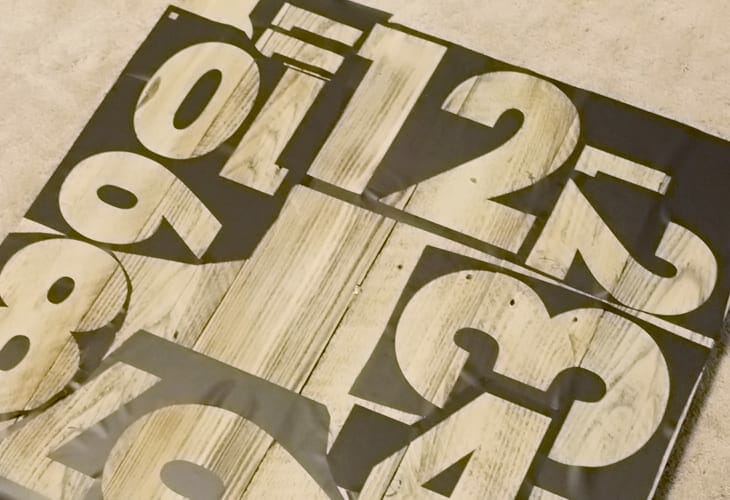
When I cut the numbers out, I made sure that multiple parts of the same number were showing up on multiple pieces of vinyl. You can see what I mean in this picture below.
See the 1’s next to the 11? The 1 near the 2 is the same 1 for 12 and the small 1 on the right is the same 1 as the 10. So once all the vinyl was cut, all I needed to do was get one number put in the correct place and then logically piece all the other numbers together so that they would go into the correct spot. It was like one giant, beautiful, messy puzzle.
Lucky for you, I’ve included the clock numbers template for you at the bottom of the post so be sure to not miss that to make your own oversized clock.
7 | Paint
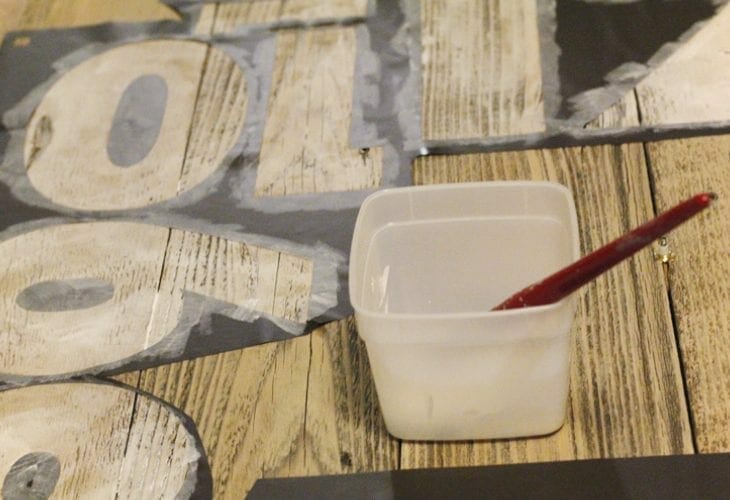
Once my vinyl was laid down, I brushed on white acrylic paint that was mixed with a bit of water and then pulled off the vinyl. After attaching the clock hands, my Fixer Upper inspired oversized clock was complete!
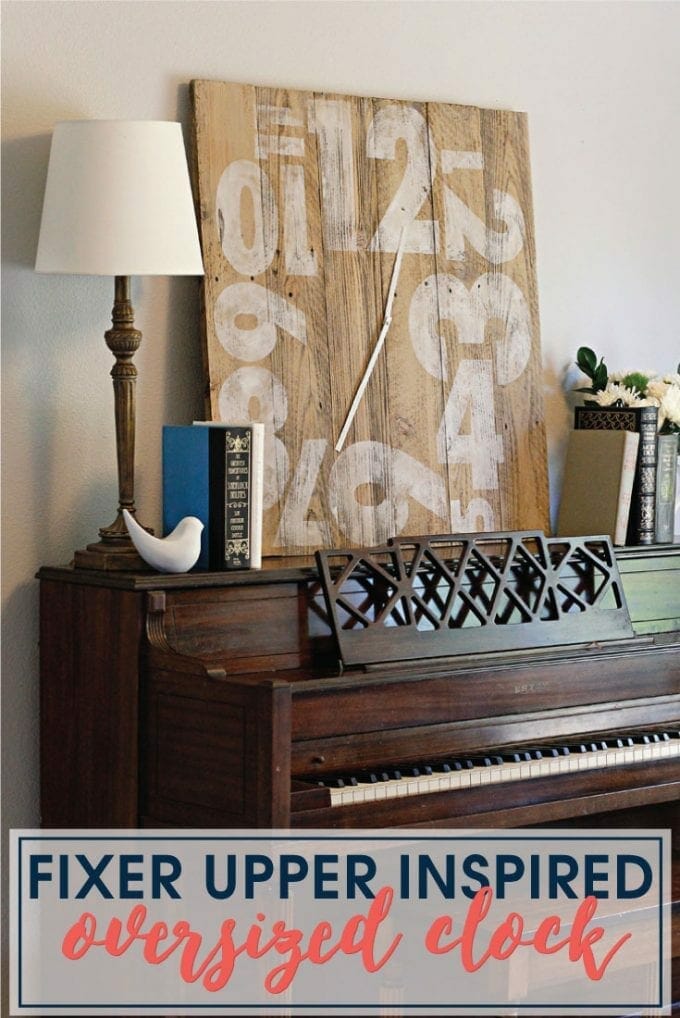
We are loving having our oversized clock in our living room and Mini Me loves the fact that mommy and daddy made it. She stares at it and says, “Ooooh pretty!” often.
So, the next time you’re watching Fixer Upper, gather that inspiration, decide what you like about the clock, and then get to work. Or you just make the same clock I did and download this free printable that has all the numbers laid out already for you.
If you make your own clock, I’d love to see how it turns out! Tag me on social media @acraftedpassion or #nailingpowertools.
So, where would you put an oversized clock in your home?
Like this post? Check more ideas here…
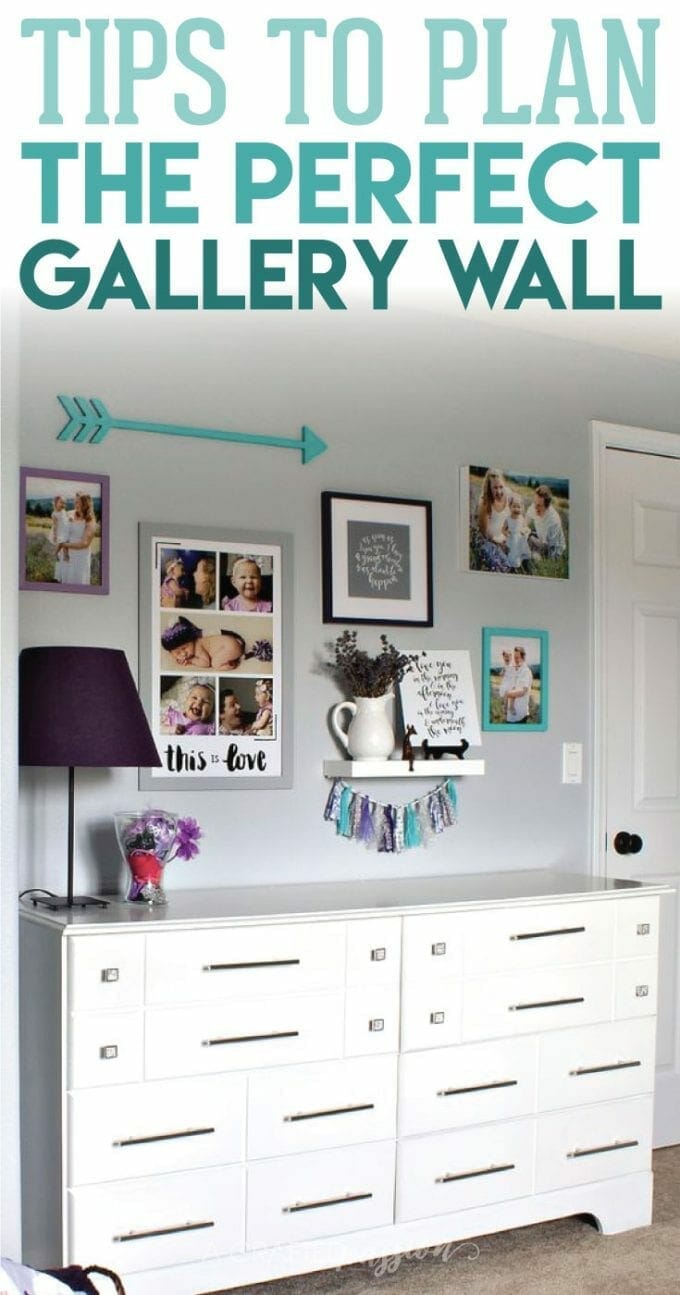
Learn from this simple tips on how to plan a gallery wall for any room in your house!



Wowie! That looks GREAT! <3
Thanks so much! :)
Love this Amanda!! You did such a great job channeling your inner Joanna!
That is just gorgeous! I love Fixer Upper and this whole style. You did an amazing job. I am so impressed with the fact that you are so good with power tools. I usually just get my husband to help but I need to start trying more.
Amazing job, I love the use of thin paint – it totally makes this project!
I LOVE this clock!!! Adding this one to my project list for sure.
This is beautiful! I love how it turned out!