Learn how to make a simple hair bow holder to get all your cute little bows organized with this easy DIY idea.
Ever since Mini Me was born, I dreamed of the days of when I could put bows in her hair. Unfortunately, she was pretty much bald for the first year of her life. Little Miss, on the other hand, came out with a full head of hair. I started looking at different bows and came across Little Poppy Co that sends you 3 bows each month that match the season. They’re amazing!
Watch this Easy DIY Step-by-Step
The problem, however, has been the organization.
For years, the bows have been stuffed into a vase and whenever we have needed something specific, it was always a frantic scramble to dig through the vase to find a matching bow as we rushed out the door. Now that Mini Me is three years old, it was time for a change, and honestly, I wish we would have done this a long time ago! With a few simple steps, you can make your own hair bow holder and make finding the perfect bow a breeze.

*This post contains some affiliate links for your convenience (which means if you make a purchase after clicking a link I may earn a small commission, but it won’t cost you a penny more)! Click here to read my full disclosure policy.
Craft Time: 20 minutes
Waiting Time: 0 minutes
Skill Level: Easy
Cost: $15
Materials to make your hair bow holder:
- 12″x18″ 1/4″ birch plywood
- Measuring tape
- Pencil
- Drill
- Sandpaper
- Leather lace
- Command Spring Clips
- Command strips

1. Cut Board to Size
The size of the board you want depends on the number of bows you need to hang. I cut ours to 12″x18″ and was able to fit about 20 of our favorite bows. If you need to fit more, just make sure to make it a few inches taller.
2. Mark Holes
About an inch and a half from the top of the board, mark the top three holes, starting with the center hole. Then you can mark the outside holes based on that so that your holes are even.
If you don’t know how far apart you should space your holes, take a couple of your bows and arrange them on the board so you can get an idea for the appropriate spacing that works with your collection. My holes are 3″ apart and fit the average size bows.
After you have your top holes marked, measure about half an inch down and mark your bottom holes.
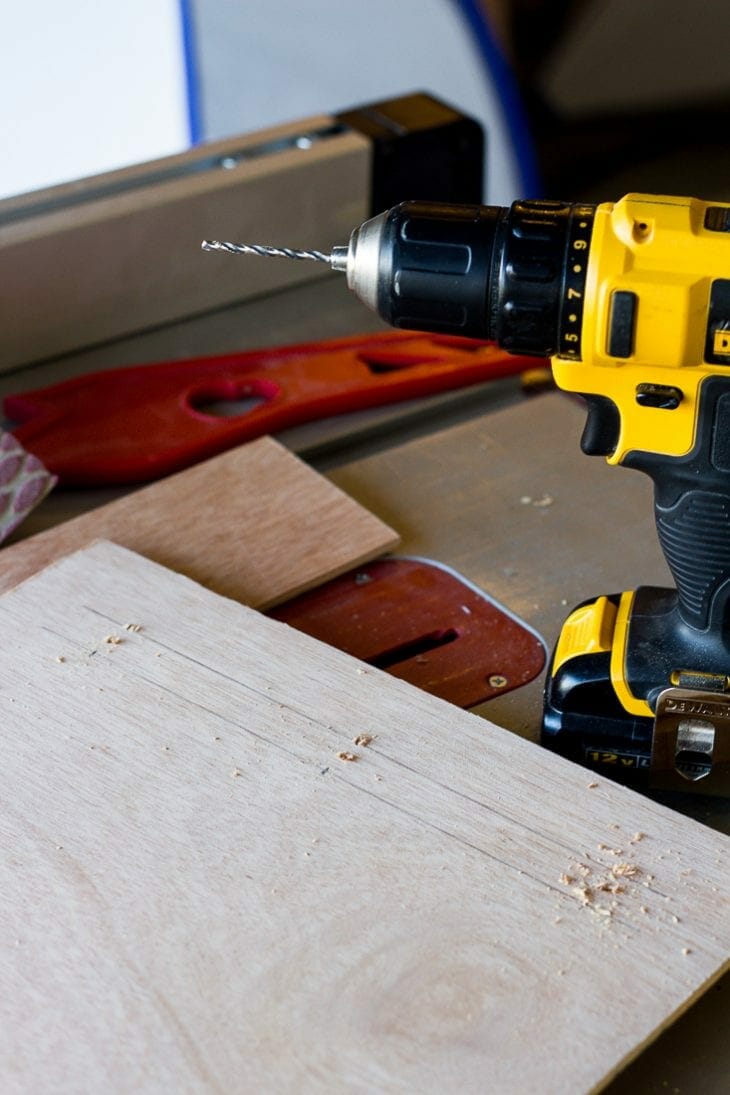
3. Drill
Once you have the holes marked, drill the holes. Make sure that the bit you use is just large enough to pull the leather lace through. If you have a drill press, you can set up a guide to ensure that your top holes are an equal distance from the top of the board.
After your top holes are drilled, adjust your guide for the bottom holes. If you don’t have a drill press though, a drill will work just fine.
4. Add Lace
After your holes are drilled, give a board a quick sand to remove any rough areas and then pull the leather lace through the bottom hole and then back through the top hole.
After you have pulled the lace through the top hole, tie a knot in the end of the lace and pull the lace so the knot is tight against the board. From here, all you have to do is unravel the lace to the end of the board and cut it so that the lace stops about three inches away from the bottom of the board.
Repeat this with the other two sets of holes and you’re golden. If you don’t need to add the clips for headbands, you can extend the lace further down the board and skip the next step.
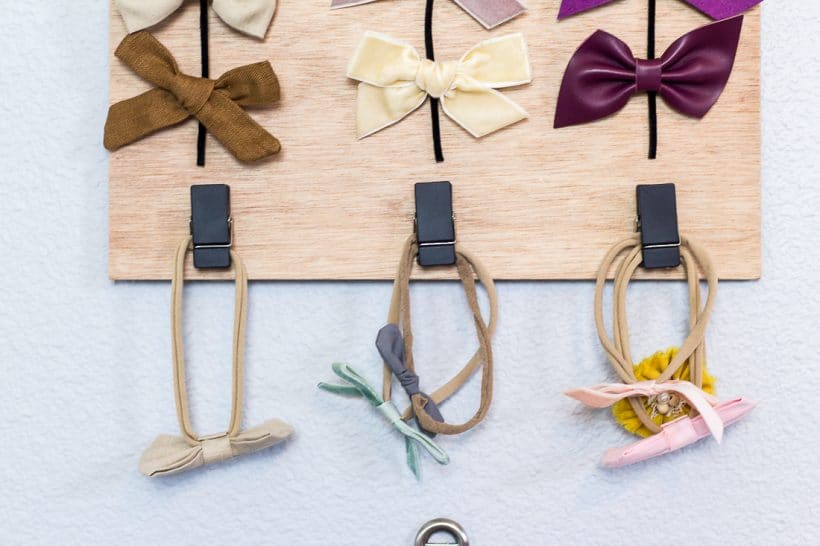
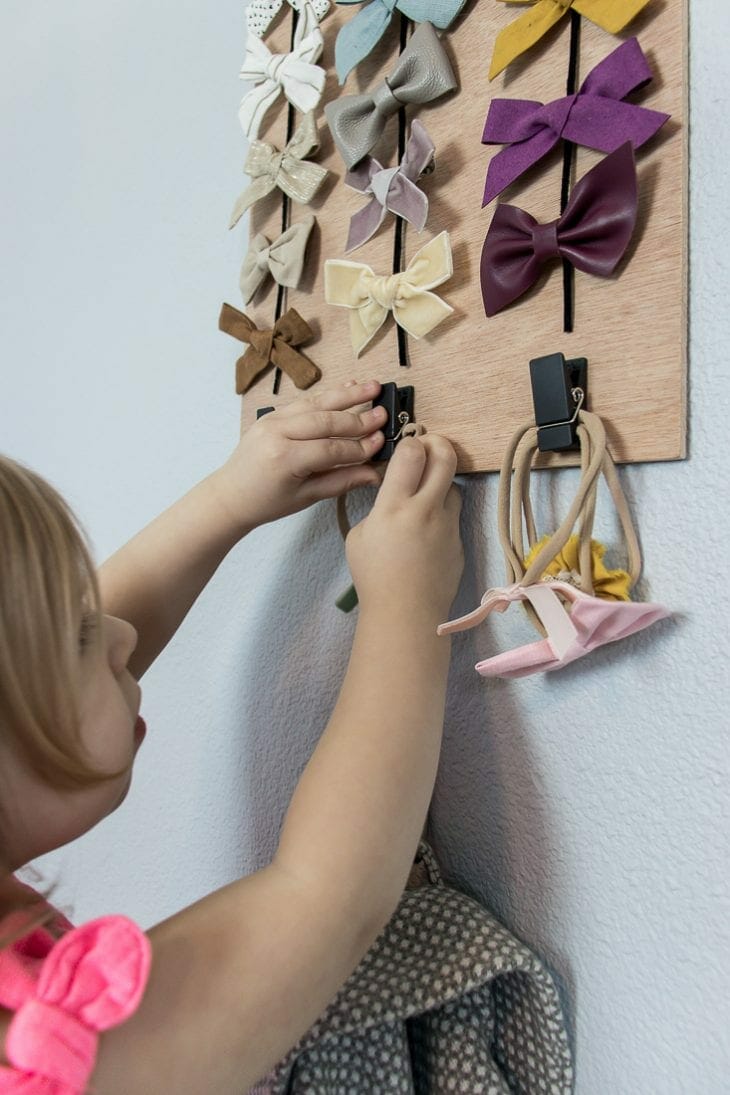
5. Add Command Spring Clips
After you have added the leather lace, it is time to add the clips for headbands. These Command Spring Clips are seriously amazing and make this process super simple.
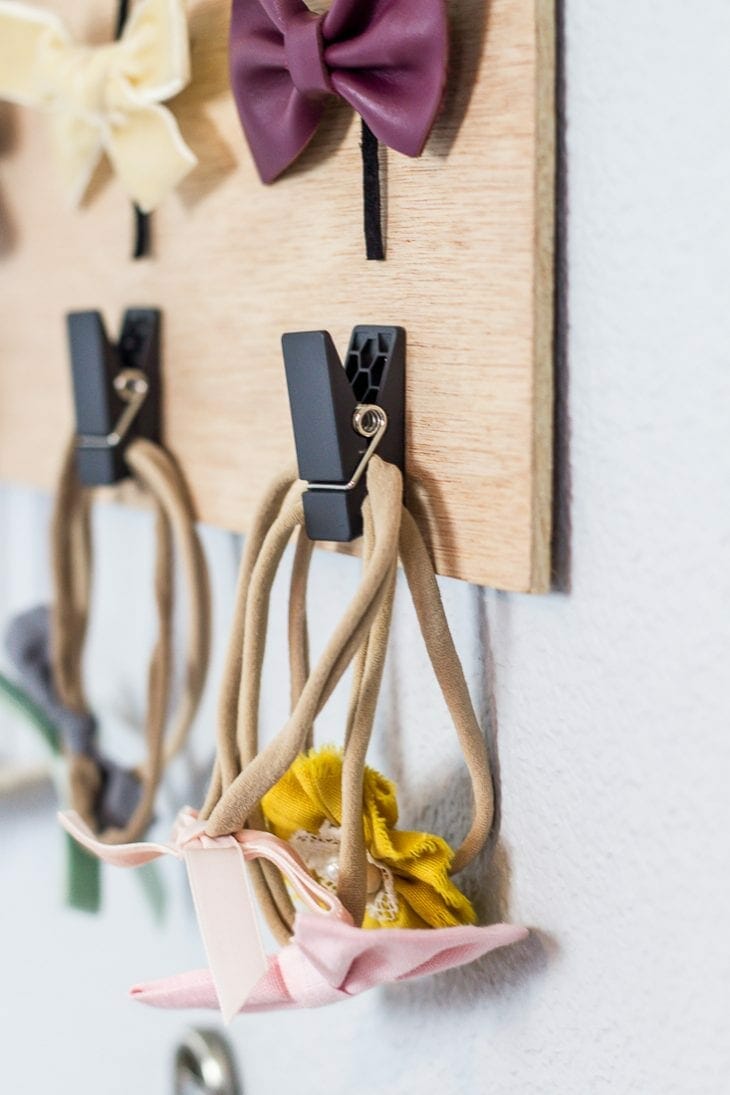
The first thing I did was trim the clear plastic piece on the bottom of the clips so that the tab that allows you to remove the clips later was less noticeable when the hair bow holder was complete. After the plastic pieces are trimmed, peel off the paper backing and center each of the clips between the bottom of the lace and the bottom of the board.
Press the clip onto the board and hold for 30 seconds to make sure it adheres well.

6. Hang
The last step in making your hair bow holder is hanging it up. Using regular Command Strips makes this super simple. If you have never used them before, they are super simple.
All you have to do is remove the paper backing and press the strips firmly against the back of the hair bow holder about half an inch from each of the top corners. Once the strips are securely attached to the hair bow holder, peel off the other side of the paper backing and press the bow holder against the wall.

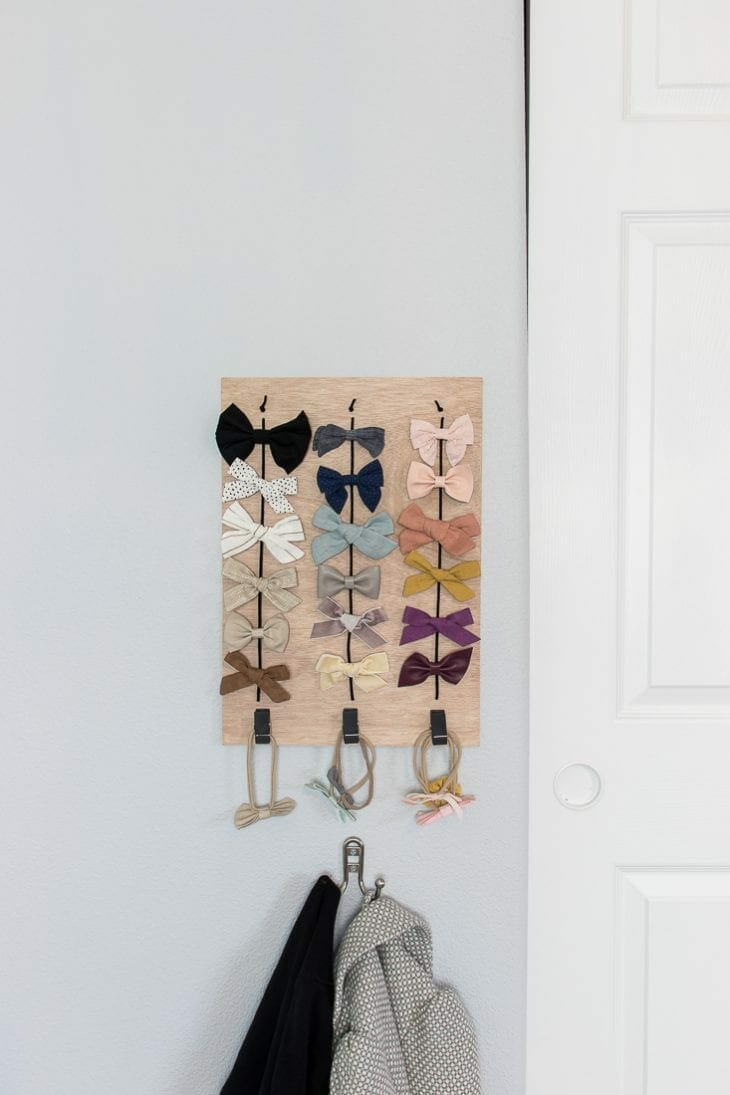
Stand back and you’re done! I love how the command strips allow the hair bow holder to attach to the wall without adding any unnecessary details to distract you from the lovely bows.
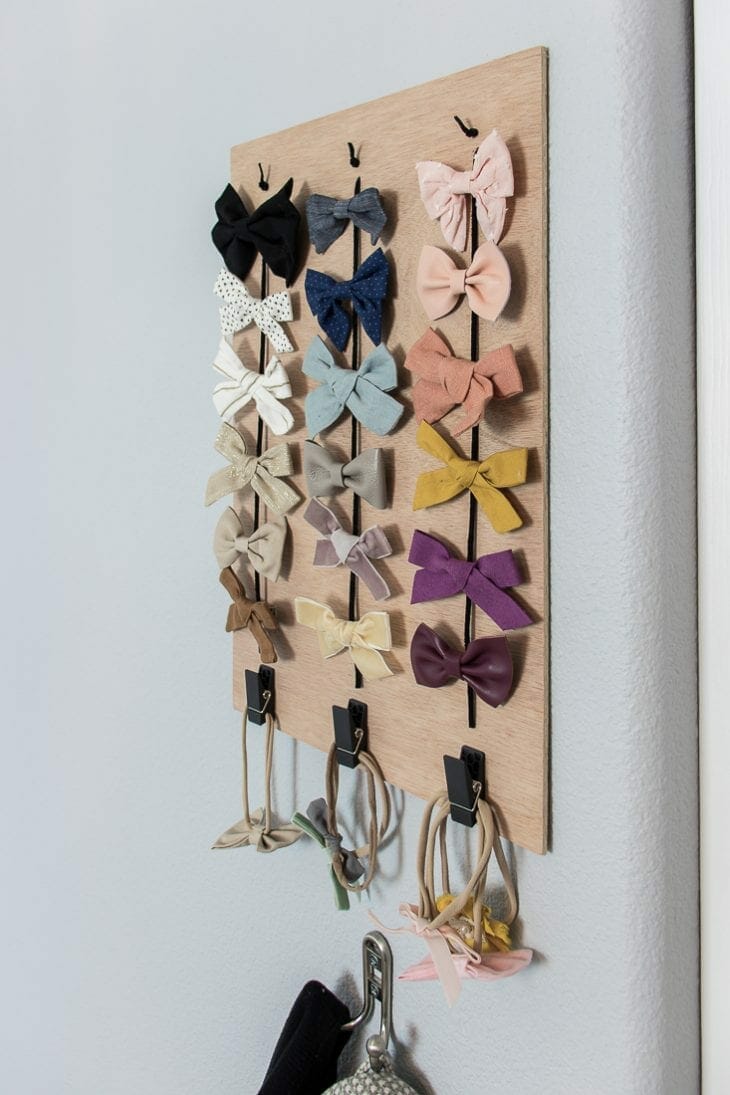
I am seriously kicking myself for not doing this sooner! Learn from my mistake and make your very own hair bow holder and put those beautiful bows on display.

Love these bows as much as Clara and I do? Sign up for your first month of Little Poppy Co bows and get free shipping. You can cancel at any time. Get more details here.

Make a modern wooden napkin holder with this simple DIY tutorial. This asymmetrical design is easy to make and looks great!

Make this ombre dye pillow to decorate in your living room. This dip dye method is perfect for easy DIY home decor.