One of the great things about my family is that they all know how much I love photographs. Well, my dad came up with the best Christmas present this year when he pre-paid my friend at Nakalan McKay Photography, and told us to do a fun family photoshoot in the spring. Well, the spring is here and I’ve been planning for a few weeks now so that I have no regrets with this shoot. Outfits figured out. Props planned. Hair cut. But something was missing. Baby girl needed a special little headband made by mommy to finish her off…because honestly, who’s going to be looking at daddy and me anyway. She’s the cute one!
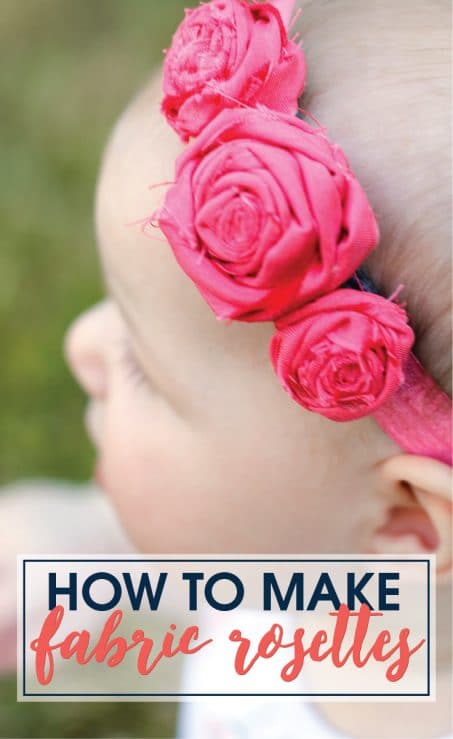
So here’s how to make your own DIY fabric rosettes! Super simple and adorable.
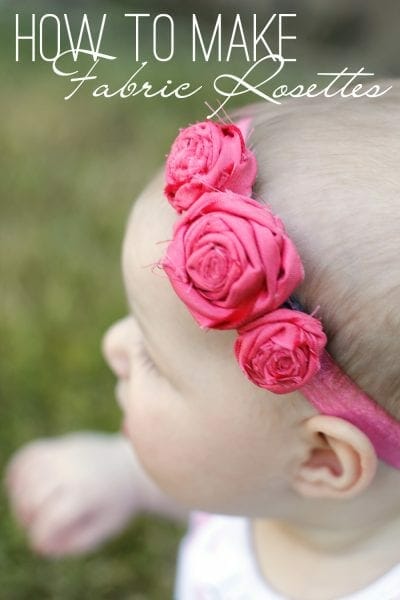
I had seen how to make fabric rosettes on Pinterest before and knew this was the project for our monthly Pinterest challenge. They are super easy to make and I now have fabric rosettes coming out my ears! So with that, here’s the easy way to make your own fabric rosettes that work great for headbands, wreaths, journal covers, really anything.
I made a short video to give you the quick rundown. See the detailed steps below and let me know if you have any questions.
And here’s all the detailed steps. I’ve learned it really just takes practice. Now I can whip out a rosette in about a minute. So if anyone needs some fabric rosettes, you just let me know!
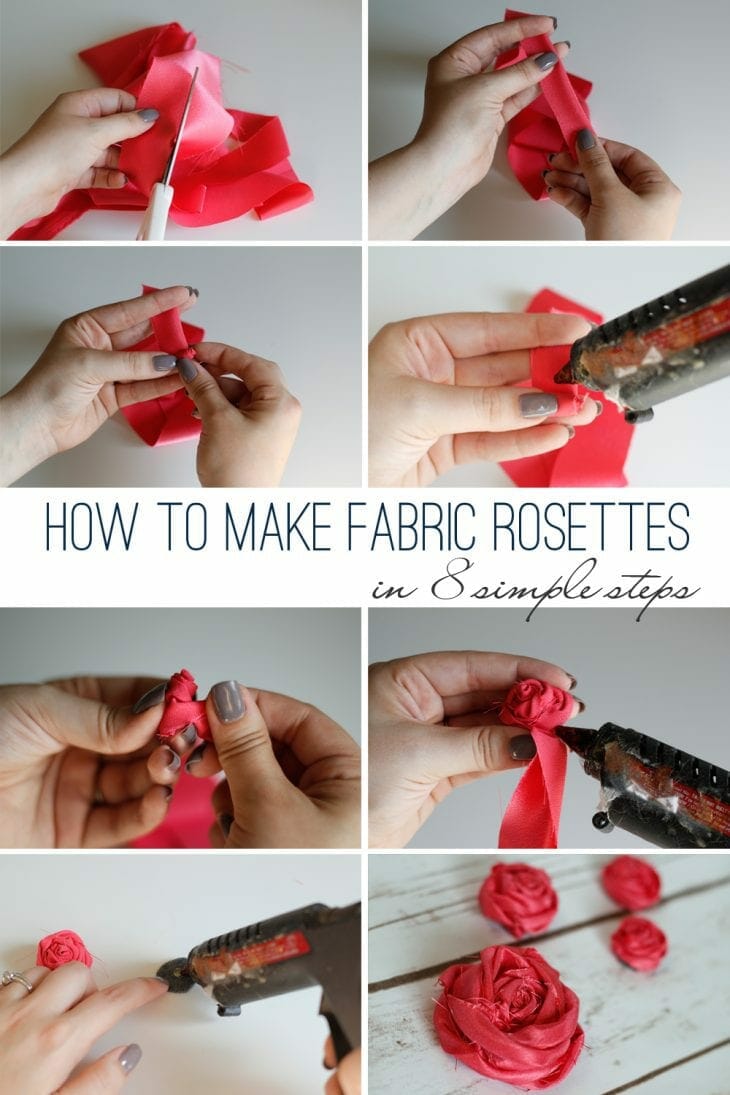
1. Start with a strip of fabric about 1.5″ by 2′. For larger flowers, do 3″ wide and longer. You can always cut off what you don’t use.
2. Fold the fabric in half and keep it folded in half.
3. Roll the fabric to make your center rosebud.
4. Using your hot glue gun, do a small dot of glue to hold the bud in place.
5. Now comes the flower part. Holding your fabric tight and still folded in half, twist your fabric and turn. Continue doing this until the flower is the size you want. Experiment. This will take a few tries to get the hang of it down but I promise you, it’s super easy and very forgiving!
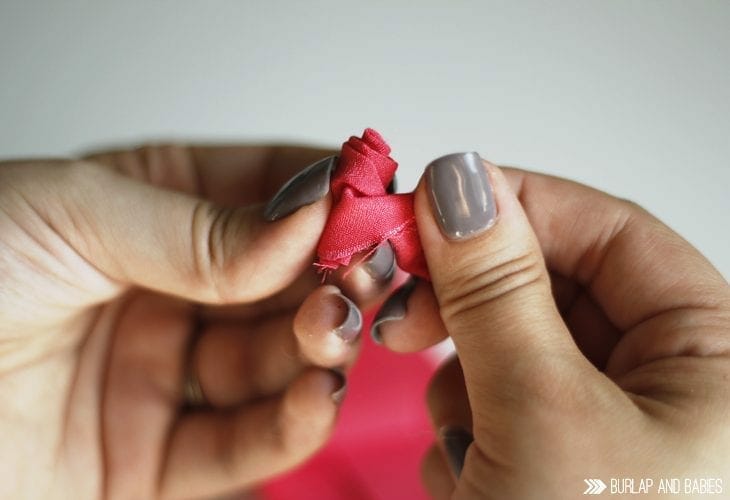
If you find the fabric is getting too loose, put a dot of hot glue to help hold it together.
Just a little tip, use the end of a pencil to push the fabric together while the glue dries rather than your finger. That’s coming from someone who ended up with 3 blisters last week while making flowers until I learned better.
6. Once your flower is the right size, do another dot of hot glue on the side to hold it in place.
7. Then twist it underneath the fabric and glue it down. Trim the excess fabric.
8. Next take your felt and cut a circle smaller than the size of your rose. Glue the fabric rosette to the felt and you’re done!
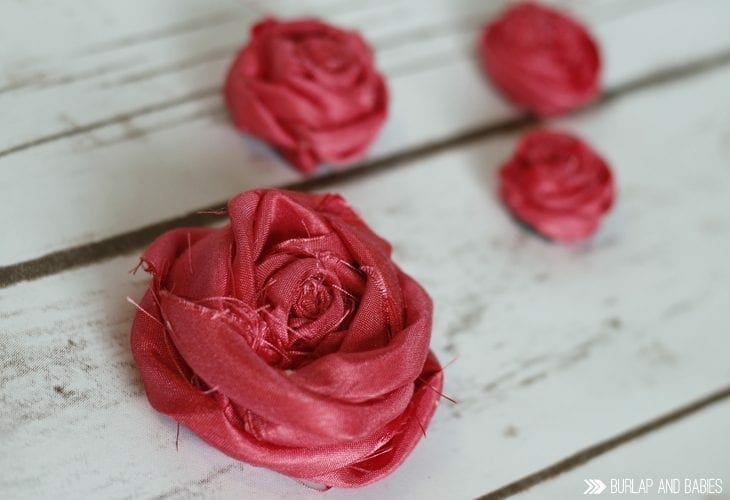
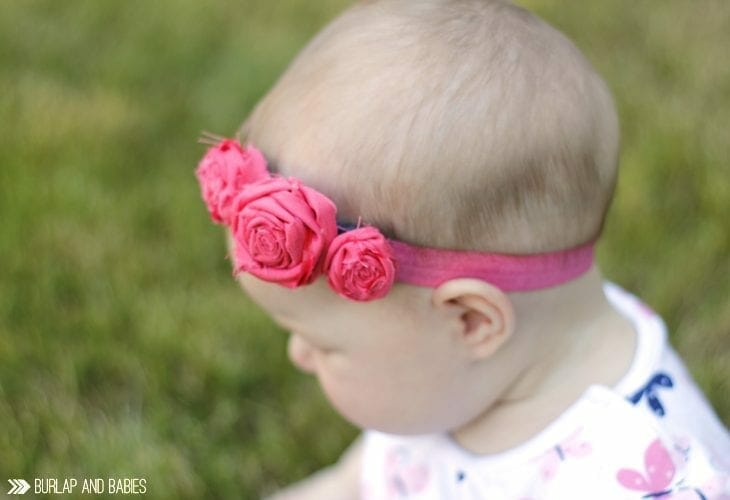
If you’re looking to make a headband, you can pick up some colored elastic at your local fabric store. I love how ours turned out and am excited to see how our whole family photoshoot comes together!
Don’t forget to check out everyone else’s amazing projects for this month’s challenge. You can find them all here.
$5 DIY Concrete Planter Stand || Dwelling In Happiness
DIY Animal Place card Holders || Lily Allsorts
How to Make Fabric Rosettes || Burlap and Babies
Wine Glass Succulents || Tastefully Frugal
Divide and Conquer Drawers || Sum of their Stories
Plywood World Map Art || Sisters, What



I love wearing different style of hair bands specially with flowers. I should try making it thanks for sharing
Me too! Glad you liked it.
These rosettes are so sweet. Your step by step directions are wonderful!
Thanks, Mary!
So pretty, that colour is beautiful.
I tried this flower making technique a while back so I love your tip to use a pencil instead of fingers. The trouble comes when you are concentrating on how the flower is coming along and not on keeping your fingers off that hot glue!
Thanks, Julie! I ended up buying like 3 inches of 5 different fabrics until I found one I liked. Gave me good practice! :)
LOVE it! Definitely going to give this a try. And great job with the video! Pinned!
These are beautiful! They look so simple to make!
Super cute! Another summer project to add to my list. I love it and looks simple enough for my girls to try and make their own headbands.
These are so pretty – I always find it surprising how much or how little material certain projects take. These don’t seem to take up too much but it definitely depends on the fabric and style you are going for. I’d probably use my Cameo to cut up a bunch of round felts at a time!
So adorable!! Absolutely love these. And they look like what you’d find in a store
These look beautiful and so easy too! I love the video showing the whole process!
The rosettes are beautiful and the tutorial is easy to follow. Thanks for sharing
Those rosettes are so beautiful. I want to show this to my girls and have them make some this summer as a project. And, can I just say, the photography package as a Christmas gift… Genius!
These are beautiful! I love how detailed your instructions are.
So cute! true story, might as well just have the little ones in the picture by themselves, haha!
That’s a darling headband for a darling baby! Hot glue and everything crafty scares me but the tutorial is very good.
You make these look so easy to make. I don’t have a daughter, but a bunch of nieces, so I’ll be giving it a try!
These are really beautiful! It seems fitting for little girl’s hairs, clothes and even shoes!
I loved your video! Thank you for sharing and making it look easy!! xx
Absolutely adorable, and I think even *I* could make this! I have just the little niece it would be perfect for :)
These are beautiful! I wouldn’t say that I’m overly blessed with the crafting gene, but your simple instructions make me think that just maybe I could pull these off too?!
As a photographer, I love the little rose headband! I will need to make these for upcoming photo sessions. Thank you for sharing!
Yay! I loved that head band! And, I love this tutorial. I will be tucking it away in case I ever have children, specifically a girl child ;)
Amazing! You could make these for so many things! And you’re so right, I bet your little girl looked adorable in that headband!
These are so cute! Thanks for sharing how to make them!
This is SO CUTE! LOVE it and I love the tutorial! :)
Looks great. That video was right on and didn’t look like it was your first one. Very professional and easy to follow.
Cute! And the instructions are so easy to understand, I think I can actually do it! One of these would be so cute for my little girl to wear when her hair is down or even twisted! Thank you! Great video as well.
I really love your video tutorial. I subscribed to your YouTube channel and I can’t wait to see more! I never realized how easy it is to make these type of fabric flowers. Now I am off to go buy some ribbon! Thanks for the tips!
So impressive! I love the color you picked – I’m not very crafty at all but this is one that looks do-able!
Cute! I made those for my girls and glued them to clips. They don’t let me put adorable things like that in their hair anymore. :(
These are adorable! And they look even cute on that sweet little one’s head! :) I love making headbands for Jade, I need to try these fabric rosettes! Pinned!
Your video is awesome! You did a great job doing the tutorial. You should keep making videos. The headband turned out cute!!!
such a cool idea.
Excellent info here, I am currently doing some research and found exactly what I was looing for.
I would like to thank you for the efforts you have made in writing this article.