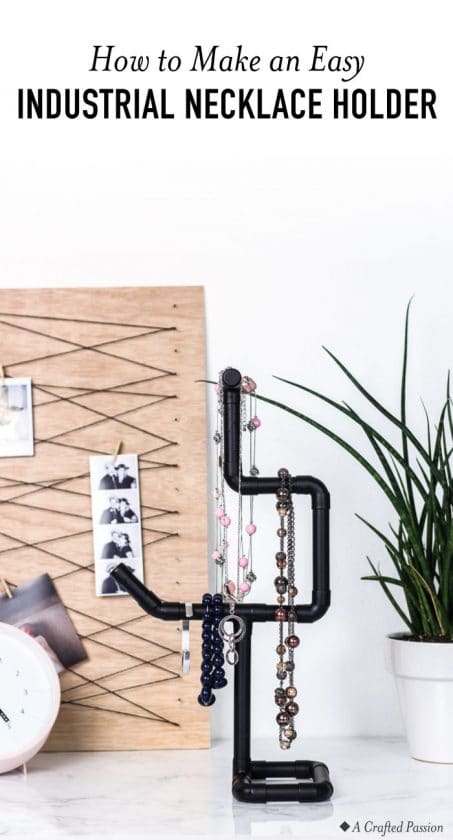
Make this DIY necklace holder to organize your jewelry. This modern industrial stand is the perfect display to have on your dresser.
I may not be a big accessorizer anymore (#children), but I do love to wear a necklace and sometimes even bracelets on special occasions. However, jewelry organization has not been my strong suit. I decided it was time to make a change though.
If you missed the giant pegboard tutorial yesterday, be sure to check that out. See the DIY giant pegboard here.
*This post contains some affiliate links for your convenience (which means if you make a purchase after clicking a link I may earn a small commission, but it won’t cost you a penny more)! Click here to read my full disclosure policy.
Craft Time: 1 hour
Waiting Time: 24 hours
Skill Level: Easy
Materials to DIY your necklace holder:
- 3′ of 1/2″ copper pipe
- 3 – 1/2″ copper pipe caps
- 7 – 1/2″ copper pipe 90° elbow fitting
- 3 – 1/2″ copper pipe T’s
- 1 – 45° 1/2″ copper pipe
- Tube cutter
- Clear Quick-Setting JB Weld Epoxy
- Disposable container
- Matte black spray paint
1. Cut Pipes
Start by cutting all your pipes. The easiest way I’ve found to create with pipes is to just start cutting pipes and building as you go without glue. The T’s and 90° elbows are key!
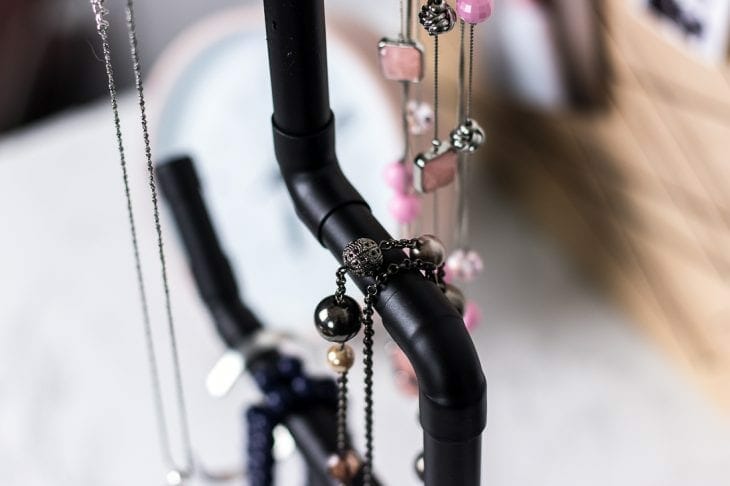
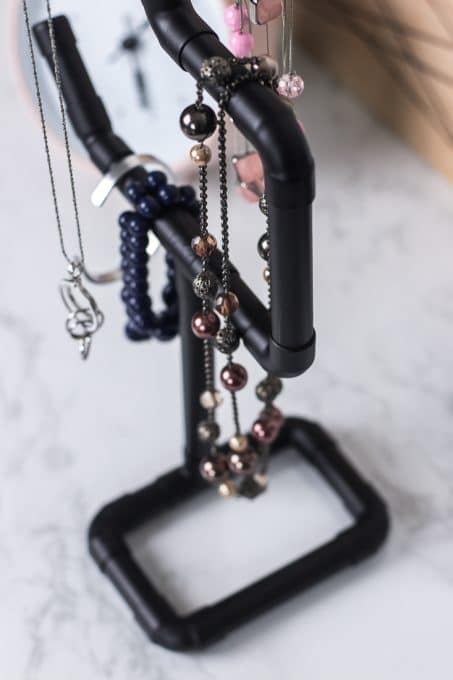
I made sure to go high enough that my longest necklaces would fit if they were wrapped just once around and the 45° elbow was used on the arm with the bracelets.
2. Order
Once you have all your straight pipe cut to size, take your necklace holder apart in the order you’ll want to put it together.
As you take it apart, lay it down in the order it comes off. The caps in the top left were at the top of my necklace holder and the T in the bottom right is the first piece to be glued.
This is key so that you don’t have to guess which piece goes next. The JB Weld is awesome so that you don’t have to solder, but it is accurate when they say “quick setting”. It starts to change consistency within 4-5 minutes so you need to move quickly once you start with the epoxy.

3. Glue
So, once you have all your pipes ready to go, remove the cap to your ClearWeld and push the syringe to release the two-part epoxy into a disposable container. The epoxy comes with a small stick that you should use to mix the glue.
Working quickly, use this stick to spread the epoxy on the inside of the fitting rather than the outside of the pipe.
Be sure to work in a well-ventilated area and dispose of the epoxy as soon as you’re done.
The epoxy is sticky enough that it should hold your jewelry stand well enough until you finish gluing all the pieces together. Once you have all the pieces glued together, you might need to rest your necklace holder against a large box or something straight until the glue sets.
The epoxy should be hardened within a few hours (depending on the temperature).
Tip: Be sure to glue your necklace holder together on a flat, hard surface and check your angles often as you’re gluing to make sure everything is well-aligned.

4. Paint
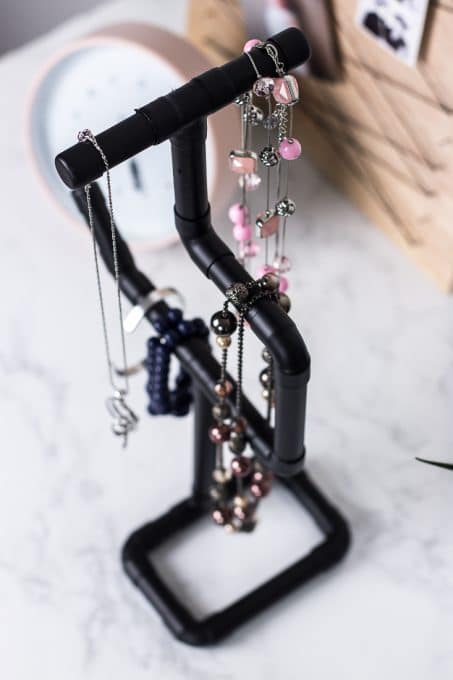
Once your necklace holder has had time to cure overnight give it a few coats of matte black spray paint and you’re done.
Once the paint has dried you’re good to start hanging jewelry on it.

I love how it turned out and will show off all my favorite necklaces now!
The cap fittings are handy to have to give your pipes a more refined look, however, if you’re going for a more raw look you could leave off the caps and just sand your pipe edges a bit before painting.
So, what do you think? I’d love to see it if you make an industrial necklace holder! Be sure to tag me on social media or shoot me a picture.
Looking for more necklace organization ideas? Check out these 25 creative necklace organizers.
