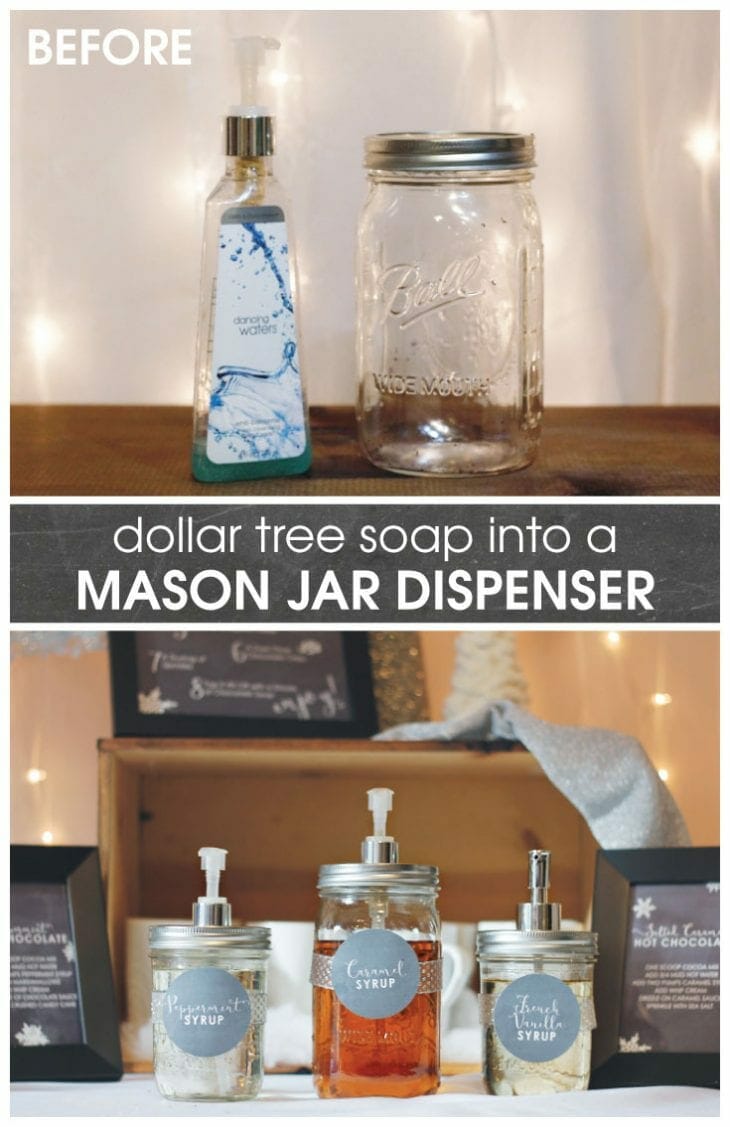
Make a DIY mason jar dispenser using a dollar tree soap pump. These make the perfect flavored syrup dispensers for your hot chocolate bar or a gift for your family or friend!
Something important to me when planning a party is to go all out when it comes to a theme. I just feel like embracing the theme is the cherry on top to all the work you’ve done. So when it came to our hot chocolate bar party I knew I couldn’t use the normal containers and dispensers on the table because that would just completely throw off the look.
I found sauce drizzlers for less than $4 and gathered glass jars and containers to hold toppings for week’s in preparation. The one thing that had me stumped though was the syrup flavors. How do I serve the flavors so that our guests could follow the recipes I had provided on the table? What did two pumps mean if there weren’t any pumps?
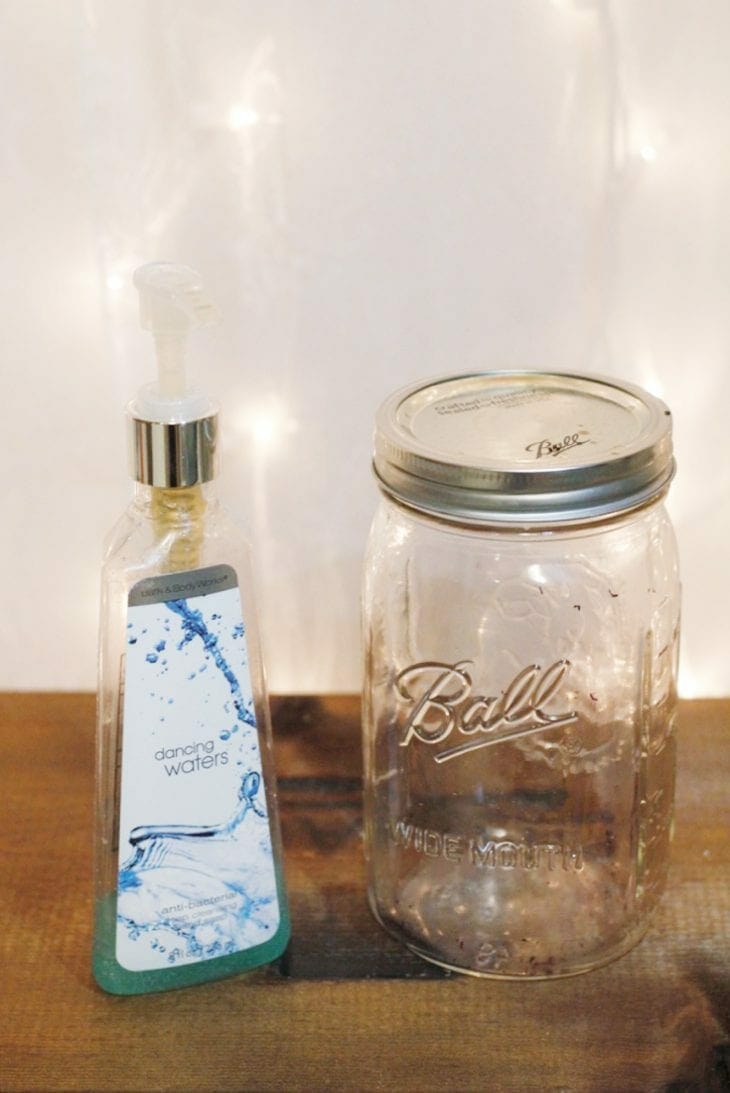
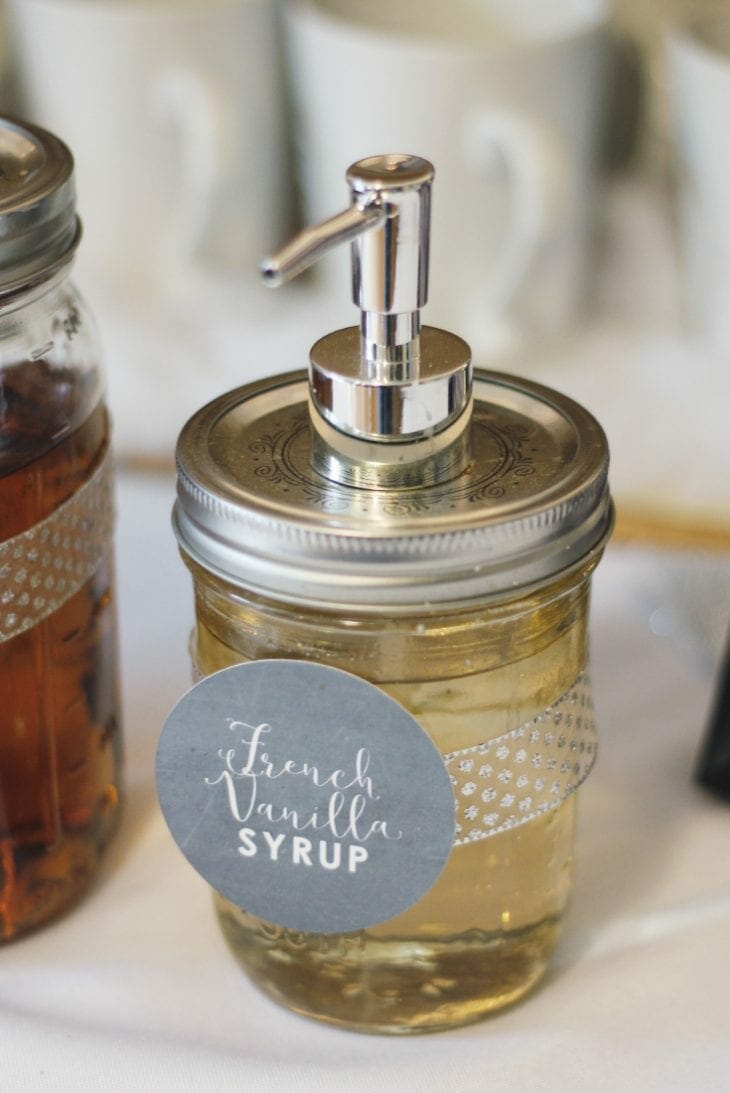
And then it hit me! All you need is an old soap dispenser pump (or pick up a soap dispenser pump from Amazon), a mason jar, and a drill. If you buy a soap dispenser but it hasn’t been filled with soap yet, then you don’t have to worry about cleaning and sanitizing the pump before using it.
This mason jar dispenser can be used for soap, lotion, syrups, sauces….and the list goes on. They really are the perfect thing and so simple to make! Buy your friend’s favorite lotion and then put it in a cute DIY mason jar dispenser as the perfect Christmas present. Here’s how to do it…
Instructions
Start with your pump. Find a drill bit that is the same width as the widest part of the soap straw that goes through the lid.
Next, decide what the dispenser will be used for.
If it will hold soap or lotion, mark the center of the lid. If you are using it as a syrup dispenser, you will want the pump to be more towards the edge of the lid so that the mugs can fit under the pump. Lesson learned. I realized this after I had already drilled my holes. Lucky for you, I’m sharing that little tidbit now so hopefully you don’t make the same mistake.
Before you start drilling into your lid, place a piece of thick scrap wood under your lid because your drill bit will go through. Now drill your hole through the lid. The best way to drill through metal is to put even pressure on the lid and make sure you give the drill enough oomph. I was nervous metal was going to start flying so would go slow at first and then the bit just slid around on the lid. Trust yourself and just do it.
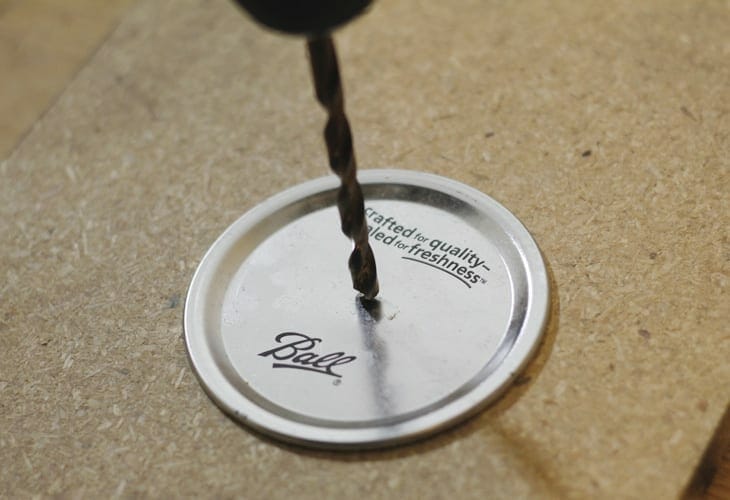
The first time I made a mason jar dispenser I drilled a hole that only fit the long pump and didn’t realize there was a wider piece of the pump that covers the spring towards the top so I ended up needing to drill more. If you don’t have a drill bit large enough, use the largest one you have and then with scrap wood below your lid, wiggle the lid around while drilling until you’ve carved a large enough area for your pump to fit through the lid.
This size will totally vary depending on your pump.
If you have sharp pieces of metal on the underside of your lid, I recommend using a hammer or flathead screw driver to flatten the pieces so they don’t later cause damage to someone trying to clean the dispenser.
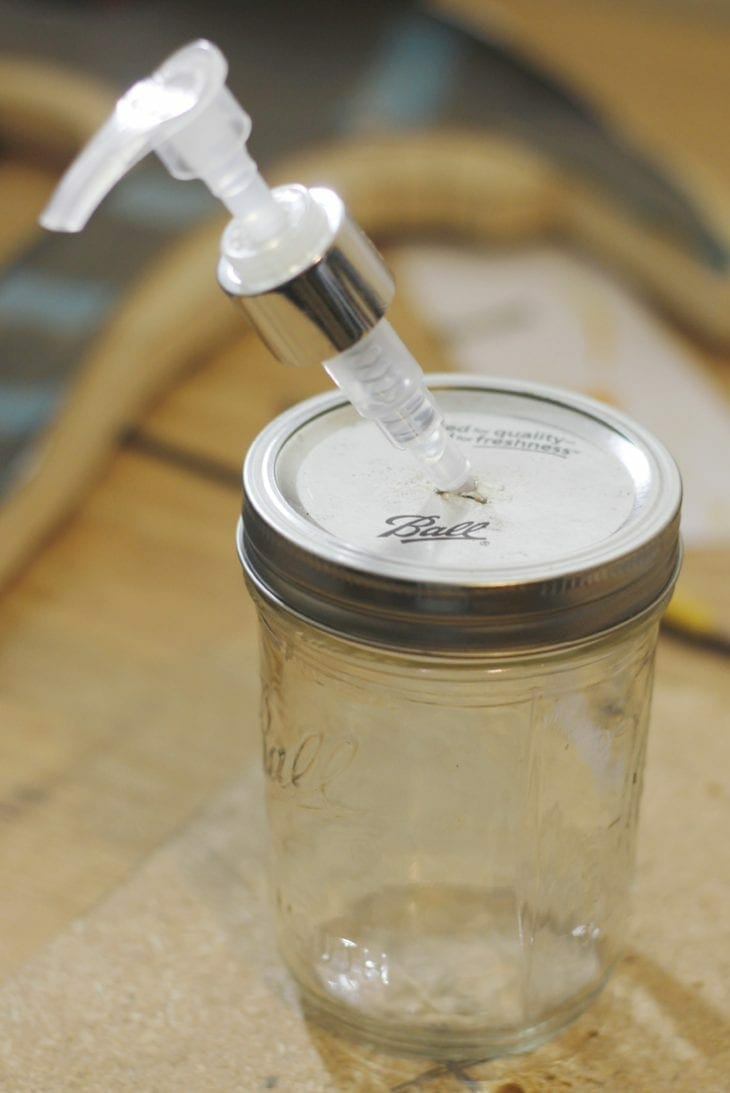
And that’s it! Fill up your mason jar, screw your lid on, and put your pump through. If this is going to be a permanent piece, I recommend grabbing a strong glue adhesive (like E6000) and gluing the pump piece to the lid. Honestly though, we didn’t glue on the pump and it worked great!
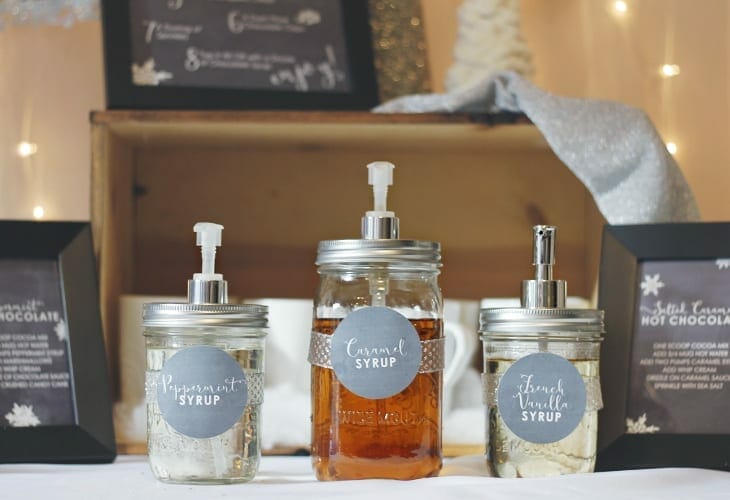
I love how they turned out! I attached some matching ribbon and our chalkboard labels to the front of the jars and they were the perfect addition to the hot chocolate bar. If you missed the post with all the hot chocolate bar details and free printables, be sure to check it out here!
What do you think? What would you put in your mason jar dispenser?
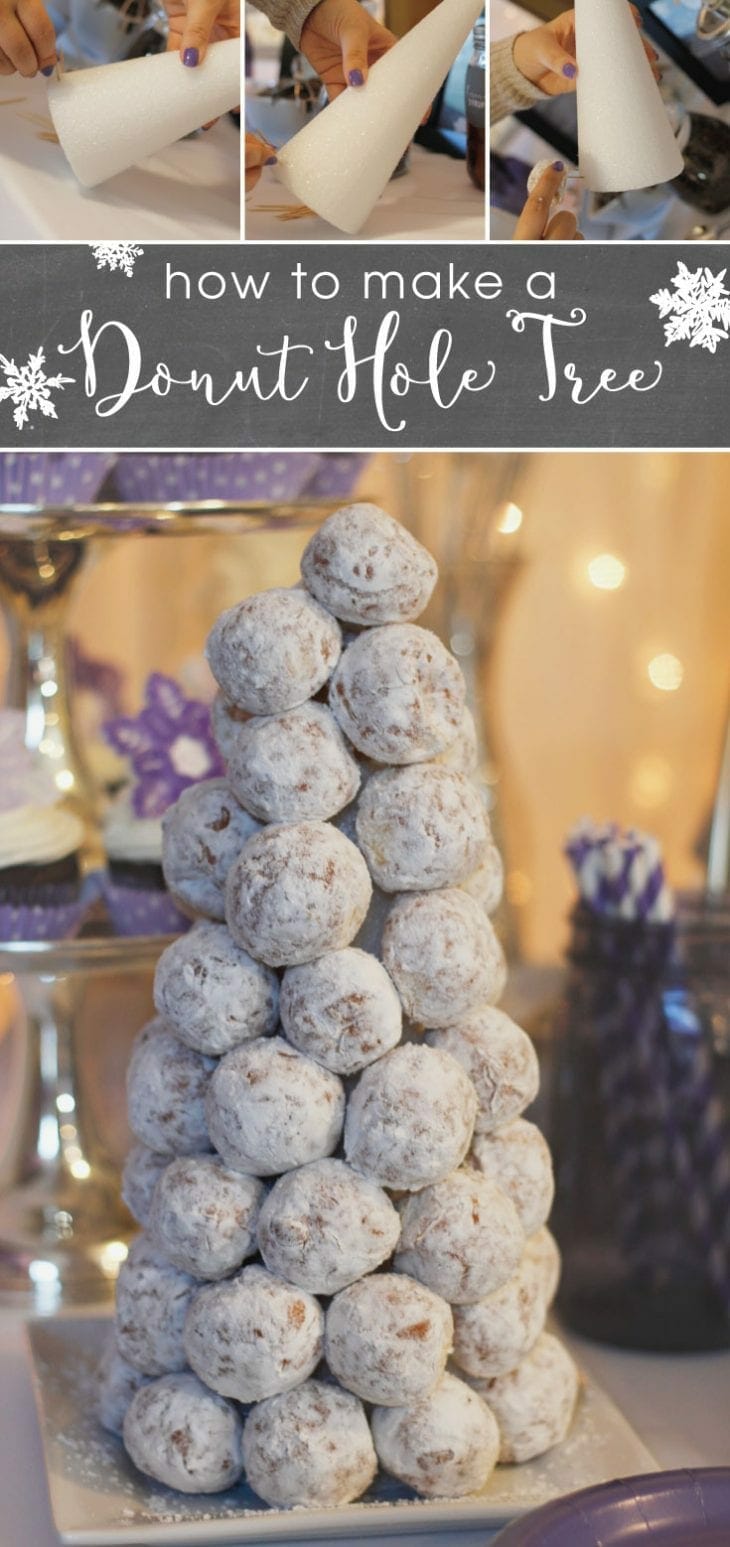
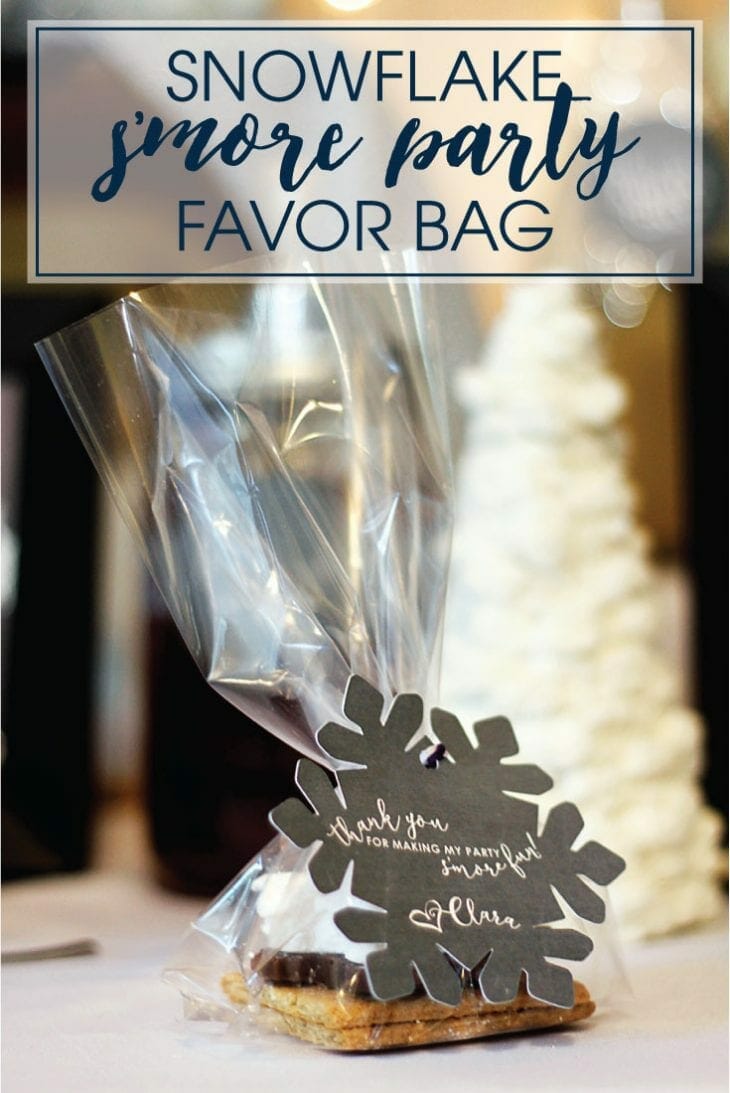
To see the other post’s from this party, click the photos below.

Like this post? You will also love this…
Are you hosting a winter wonderland party or maybe a Frozen-themed birthday party? These DIY snowflake s’mores favors are the perfect gift to give your guests!
I’m new to Kenarry and have just seen my first Christmas link party. Just wanted to thank you for your very clever, cute and usable gift idea of the Mason jar pumps. Your hot chocolate bar must surely have been a huge success, and your donut hole tree idea is great. Thanks again and have a terrific Christmas! ~Sandy
Love the fonts you used for your labels. Would you mind sharing which ones they are?