I used to peruse my local Goodwill a few times a week. I was often standing in line at our local Goodwill outlet on Sundays and Mondays to get first dibs on the best stuff. That’s how I nabbed this IKEA dresser to makeover and completely transformed this little play kitchen for under $3!
Anyways, I’m excited to be joining some of my blogger friends for another Thrift Store Challenge! We all headed off to the thrift store and are showing you what we’ve done.
I walked away with five fabulous different items last week (thank you, Marie Kondo) and I’m excited to transform them all. Today I just want to show you how I gave this stoneware jug a makeover.
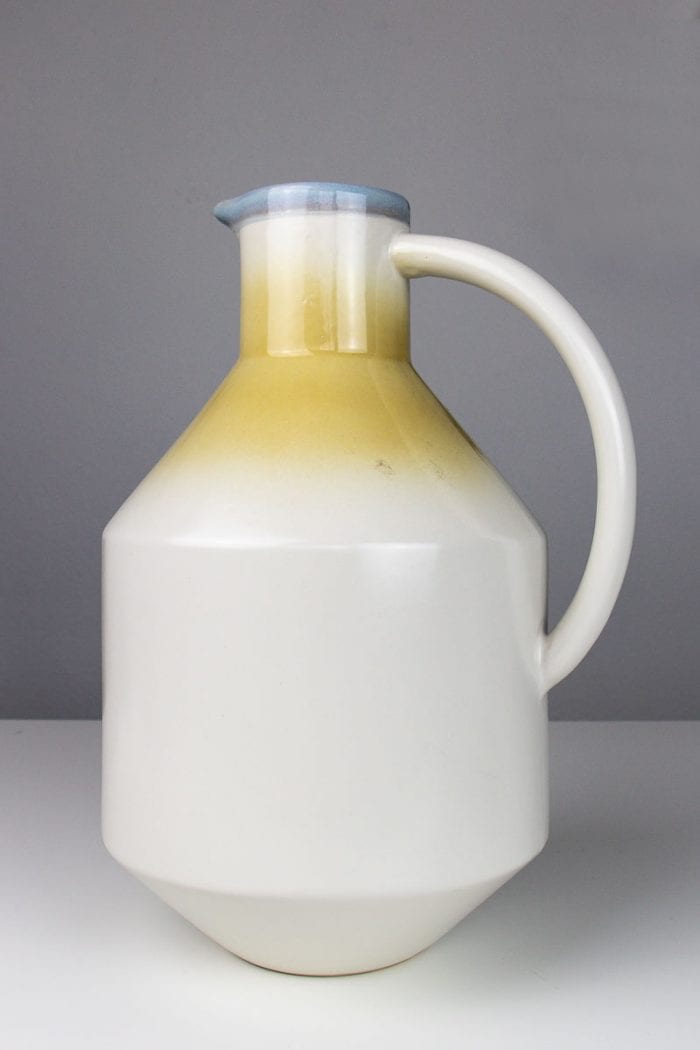
What do you think of it?
My initial reaction was “wow! it’s in great condition!!” So, funny story…..
Some of you might recognize this. I didn’t. When I was applying my first coat of the white base layer, I looked at the bottom of the jug, and what’d you know, it’s a Project 62 jug from Target! It was a shock to me that the jug I thought was 50 years old was brand new!
I long since got over my fear of making over something brand new if it wasn’t exactly what I was picturing or didn’t fit my style perfectly. As long as an item has good bones and I have an idea of how I can make it work, it’s worth giving it a shot.
That’s what I love about these thrift store makeovers. You’re forced to take something that has been rejected by someone else and turn it into something awesome!
So, let me show you what I did.
Supplies
- This chalked spray paint
- Flat white spray paint
- Painter’s tape
- Spray paint trigger
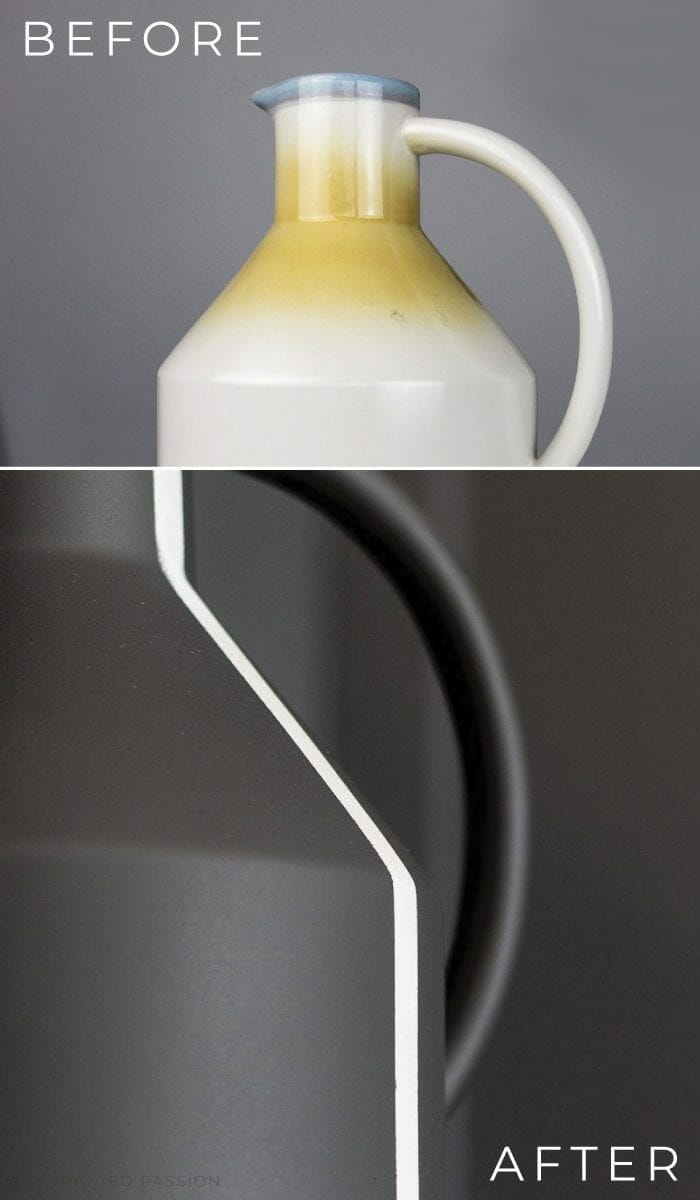
Before and After
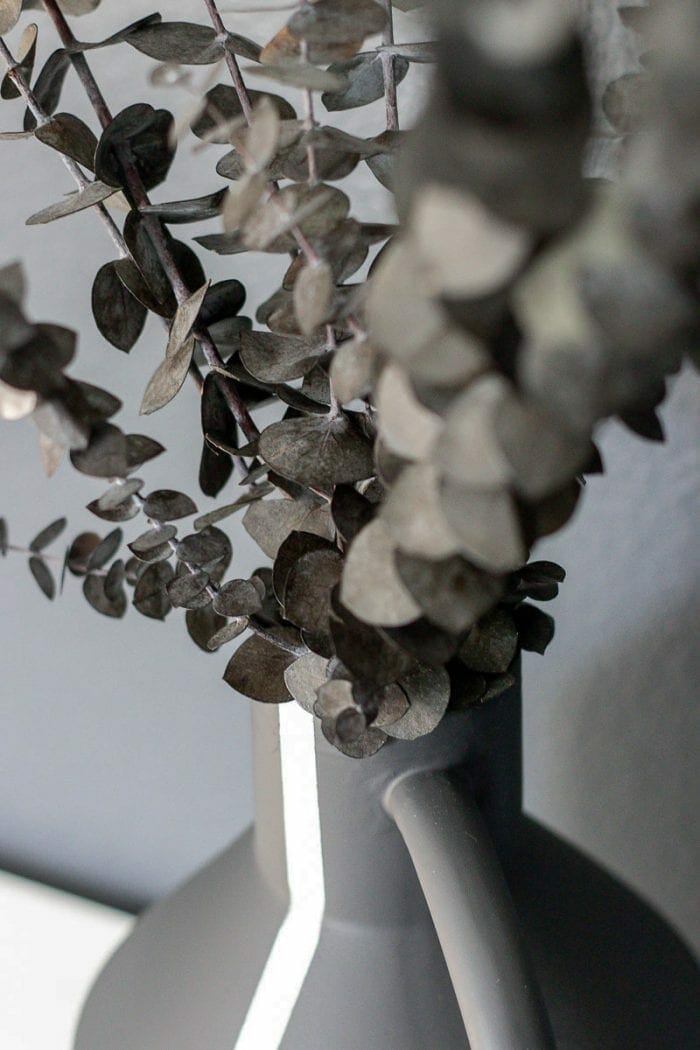
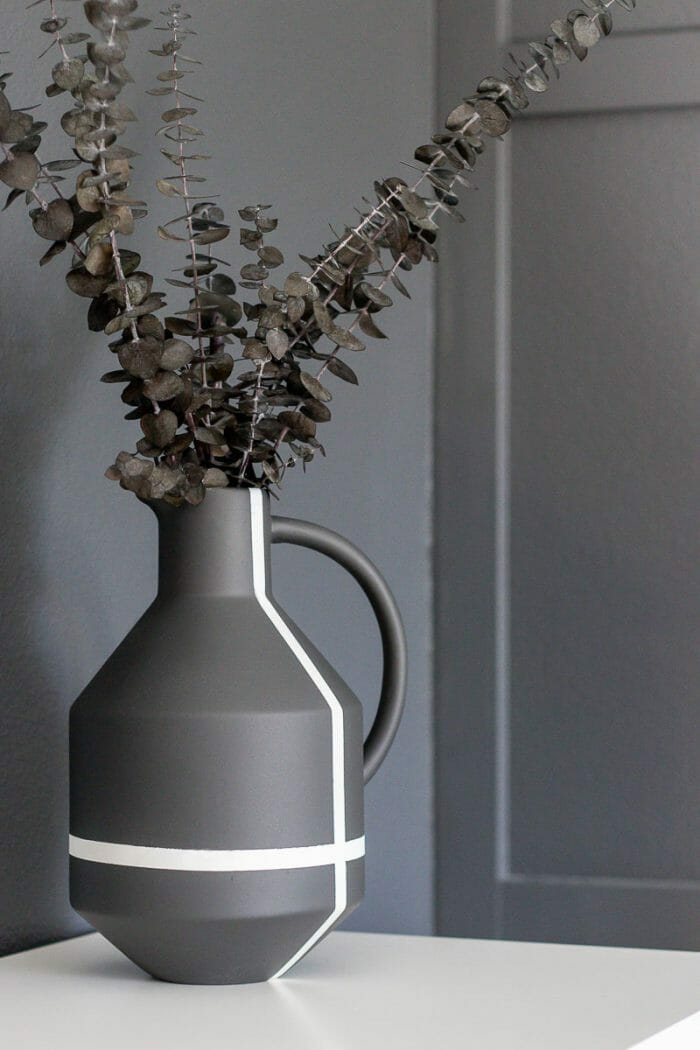
This jug has an awesome shape that is perfect to use as a vase on your shelf. While the vintage look had me fooled, and is great for a lot of people, it doesn’t exactly match the black and white modern aesthetic of the rest of our house (well, the look I’m working on getting our house to if I’m honest).
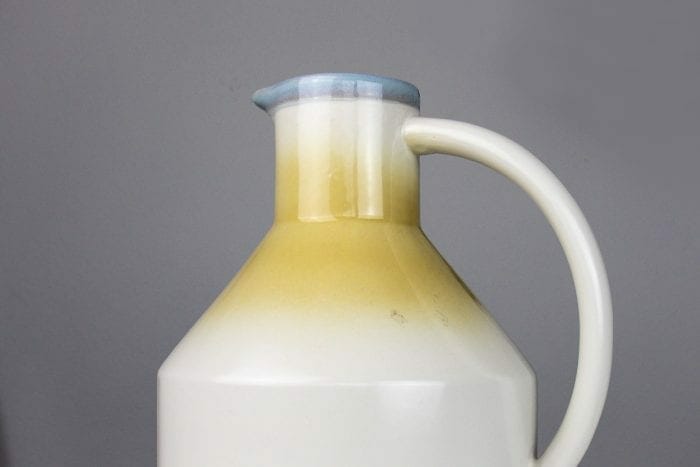
1. Clean
Before you start painting, give your surface a good cleaning. It’s best to use rubbing alcohol to get all the dirt and grime off of it.
2. Base Coat
Next, add a couple layers of the base coat. I knew that I wanted the jug to be mostly black so I started with a flat white base coat so that I could cover that with the tape so that when I applied the black top coat I could remove the tape to reveal the white.
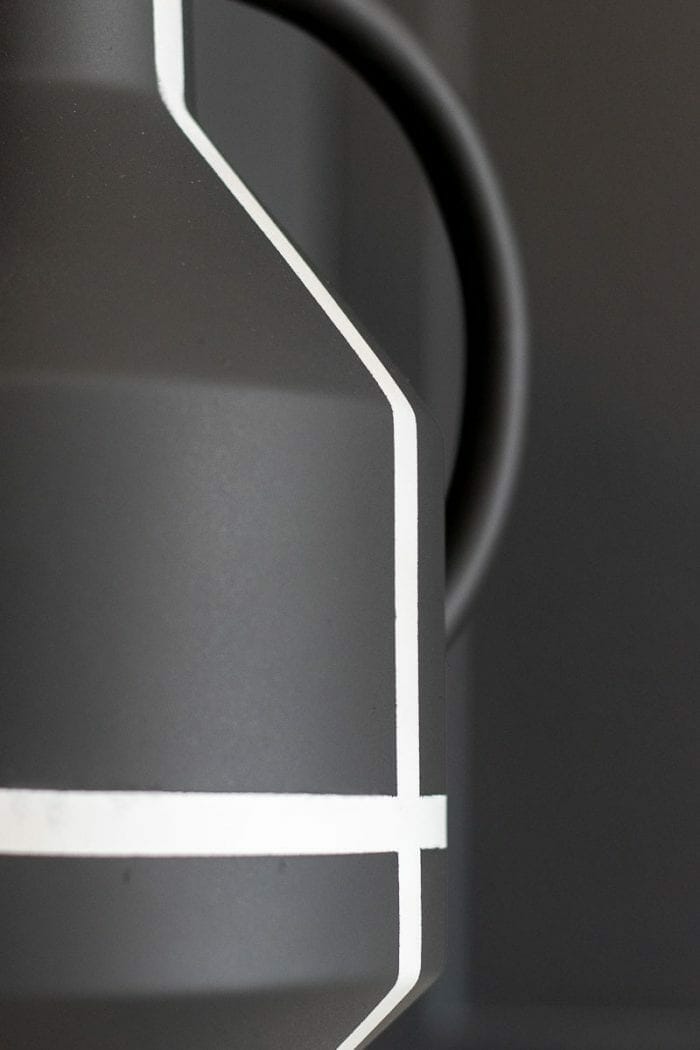
3. Tape
The hardest part here was that I didn’t want to use the full thickness of the painter’s tape for the white detail and washi tape wouldn’t be sticky enough to work effectively. To fix this problem, I pulled out a large piece of the painter’s tape and placed it on my cutting mat. I then took out a straight edge and cut the tape down to the thickness I wanted.
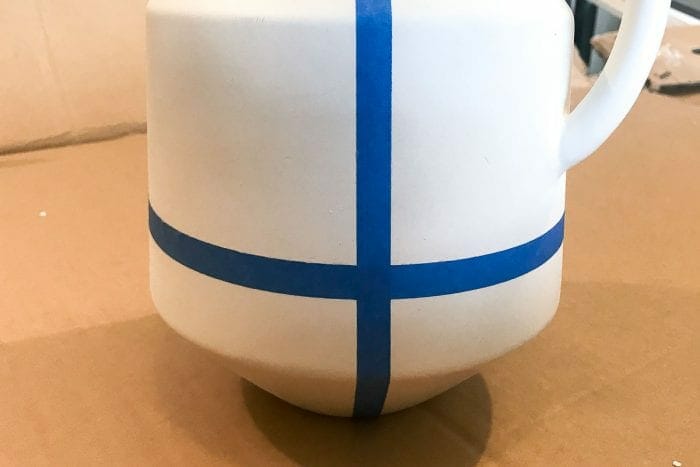
After I had my first bit of tape cut down, I placed the tape on the jug, starting at the top of the jug, carefully smoothing it down the side of the jug, trying to keep it as straight as possible.
After that, I cut another piece of tape to wrap around the jug. A little tip here…make your piece of tape longer than you need it. It’s much easier to cut off the extra than it is to add another piece to cover the gap.
If when you wrap your piece of tape all the way around and realize that you didn’t cut your tape exactly the same thickness on both ends, don’t worry about it. Align the end of the tap to either the top or bottom of your starting position and cut another piece of tape a little bit narrower than your first piece so that you can cover the gap.
4. Chalky Coat
After applying the tape, all that is left is to apply a few layers of the black top coat. I found this chalky dark gray spray paint that matches the look in our monochrome bedroom.
Once you get it sufficiently covered and the paint is a little tacky, remove the tape and you’re done!
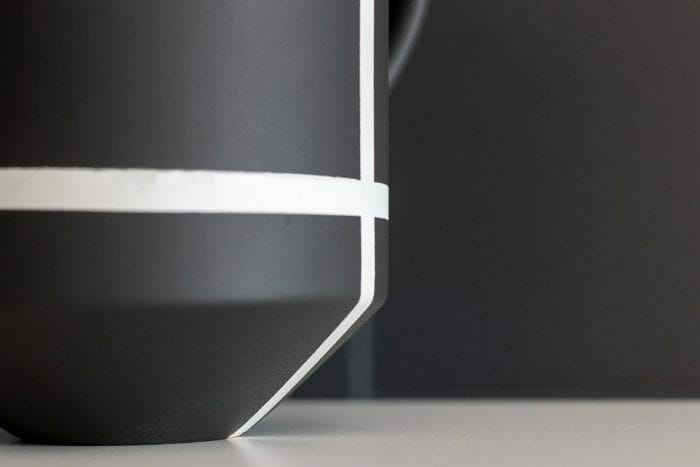
This makeover was super easy and I love the end result! A couple easy steps were all that it took to take this vintage-inspired jug and change it into a modern masterpiece! I hope you love it as much as I do.
Thrift Store Challenge Makeovers
If you love my thrift store makeover, be sure to take a look at these awesome makeovers done by some of my favorite people.
DIY Lumbar Pillow from Love Create Celebrate
DIY Lampshade Upcycled Sweater from Amber Oliver
File Cabinet Makeover from Love and Renovations
White Farmhouse Pitcher from Making Manzanita
Sled Makeover with Dark Wax from Green with Decor
Painting Furniture With Chalk Paint from Small Stuff Counts
DIY Picture Frames from Home Beautifully
