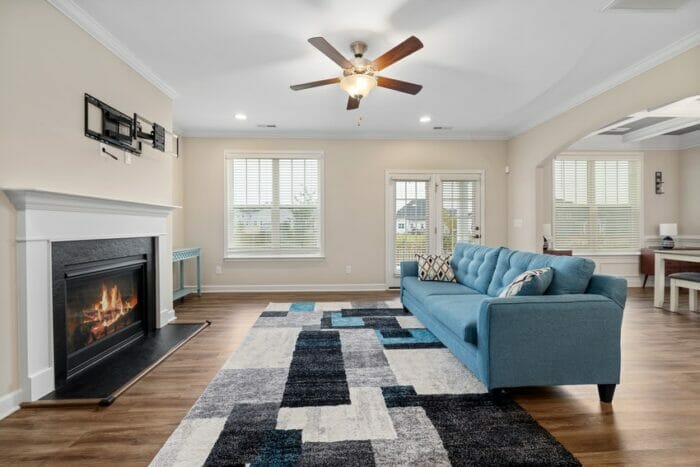
A ceiling fan is a wonderful fixture to have in your home. While it can’t actually make your house hotter or cooler, it can circulate air in such a way that your home feels more comfortable. You can use it in the summer to create a cooling breeze in a part of your house where you spend a lot of time, such as the kitchen or the living room. You can reverse the direction of the fan blades in the winter to push warm air down from the ceiling, keeping you cozy and comfortable.
And it’s easy to install one yourself, as long as you have some wiring running to the spot in your ceiling where you want to hang the fan. For example, if you have a light fixture in the ceiling already, taking it out and replacing it with a ceiling fan should be a breeze (pun intended). Here’s what you need to do.
Cut Power to the Circuit
The most important thing to remember when working on your home’s wiring is to cut power to the circuit before you start. Turn off the circuit at your breaker box and test at the circuit by flipping a light switch on and off or sticking a voltage tester into an outlet on the circuit.

Remove Your Old Light Fixture
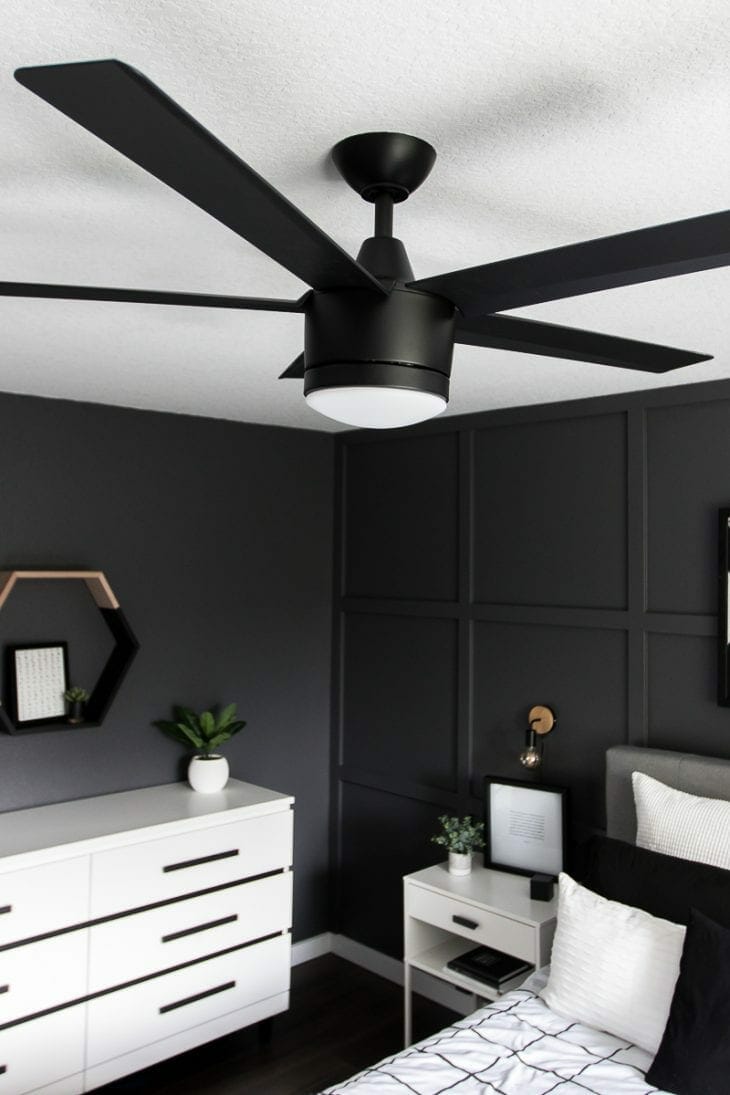
With the power safely turned off, you can begin working on your fan installation. Remove the screws holding your old light fixture to the ceiling, and pull it down to expose the wiring connections. Undo the wire nuts and untwist the ends of the wires connecting your light fixture to your home’s electrical system. If you want to retain the light fixture functionality, you can choose a ceiling fan with lights to replace your light fixture.
If you don’t have a light fixture in the room where you want to install a ceiling fan, you’re going to need to hire an electrician to run the wiring to the middle of the ceiling.
Attach a Fan-Rated Electrical Box to the Joists
If you’re replacing a light fixture with a ceiling fan, you’ll need to replace the light-rated electrical box in your ceiling with a fan-rated pancake box. Ceiling fans can weigh 50 pounds or more, and a light-rated electrical box simply can’t hold that kind of weight.
The weight of the fan also means that you need to anchor your electrical box to the joists in your ceiling. Sometimes, if your joists are placed just right, you can screw the electrical box directly to the joist using 1 ½-inch screws. If you have to place the fan between the joists, don’t panic – you can install a brace between the joists to support the weight of your new ceiling fan. You can either go into the attic above and screw a length of two-by-four perpendicularly between the joists, or you can insert an expanding metal brace through the hole in your ceiling from below.
Once you have inserted your brace and attached your fan-rated electrical box, you can attach the ground wire from your ceiling to the ground screw on your electrical box (that’s the green or bare copper wire coming out of your ceiling). Then you can pull the wires down through the electrical box and attach the fan mounting plate that came with your fan to the electrical box.
Wire Up Your New Fan Motor
At this point, you can begin to rely more on the instructions that came with your fan. They will tell you how to assemble the fan motor, which you should do on the floor before you attempt to wire it up. Your instructions will also tell you how to attach the downrod to the mounting plate, if you’re using a ceiling fan that has a downrod.
Once you have the fan motor assembled and the downrod, if applicable, in place, you can wire up your new fan motor. The black wire in your ceiling connects to the black wire coming out of your fan motor. The white wire in your ceiling connects to the white wire coming out of your fan motor. The green or bare ground wire coming from your ceiling should connect to the green or bare ground wire coming out of your fan motor. Connect the wires by twisting the bare copper ends together and securing the connections with plastic wire nuts. Once you have the wires connected, you can secure the fan motor to the mounting plate.
Assemble the Blades and Attach Them to the Fan
All that’s left now is to attach the fan blades and wire up the light fixture. Follow your fan’s instructions to fasten the blade brackets to the blades. Then you can attach the blades to the fan motor housing. On many ceiling fans with lights, the light fixture just plugs into the motor housing, but you may have to wire the lights up the same way you did the fan motor. Once the lights are wired up, you can put in bulbs and attach the bulb covers. Then all you have to do is turn the power back on and enjoy your new fan.