Make a fun, wooden giraffe growth chart with wood using this free printable for your kid’s room! This DIY project isn’t too difficult if you know how to use a few power tools and are ready to get covered in sawdust!
Do you remember standing against the door jam thinking tall hoping to get that extra little height so you could tell your friends how tall you are? And then one day your family moves. Goodbye growth chart. Goodbye memories.
So, now it’s time to start tracking your kiddos. And what do you do?
Rather than worrying about moving someday and having to leave the history behind, let’s make a growth chart that can go wherever you go and you can always look back and say to your kiddo “remember that summer where you shot up EIGHT INCHES?!” Or maybe that was just my husband.
No joke. Eight inches in one summer. He went from short and chunky to tall and lean in just a few months.
But…I digress.
So, when it came time to plan out Clara’s new toddler room last fall as part of One Room Challenge I knew I wanted a way to track her growth. Since everything else is giraffe-themed in her room I figured we might as well go crazy. So we did!
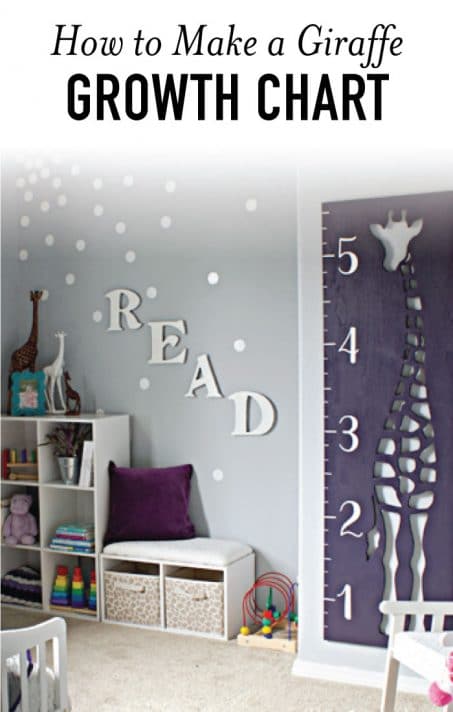
I LOVE how it turned out and I’m here to show you that you can make it too. Don’t be intimidated that you need big fancy tools. I’ll give you some tips along the way so that you can make your own giraffe growth chart.
![]()
Here’s what you need to make your giraffe growth chart:
- Wood — I used a 6′ by 18″ piece of plywood
- Stencil, vinyl, and cutting machine — PS I love my Silhouette! Or just the skill to freehand the shape you want.
- Drill
- Drill bits — you might want a few different sizes depending on the size of the spots
- Jigsaw
- Sandpaper — I used 120 grit sandpaper and 220 grit with my random orbit sander
- Paint
- Sawtooth Hangers
So, let’s do it!
Okay so start with a solid board. I used plywood cut down to 6′ by 18″. In all honesty, I would suggest splurging a little for a nicer board that won’t chip and crack so much with all the drilling and cutting. If you don’t have a circular saw or table saw to cut your board, just have the guys at the lumber store cut it for you when you buy it.
Once you have your shape cut in vinyl, apply the negative of the design to the wood. Or you can just draw out the shape so that you have a guide as you cut. Remember to leave enough room on one of the sides for the measurement lines and numbers.
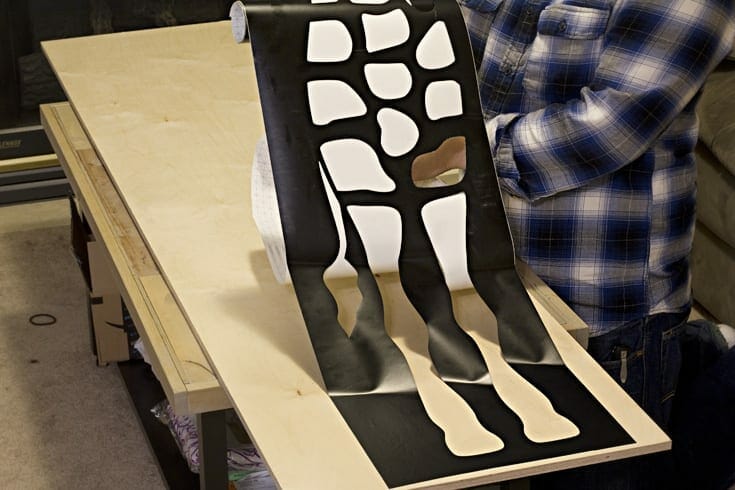
If you’re looking to do a giraffe like the one we did, here’s a free download for the vector design.
[convertkit form=4969266]
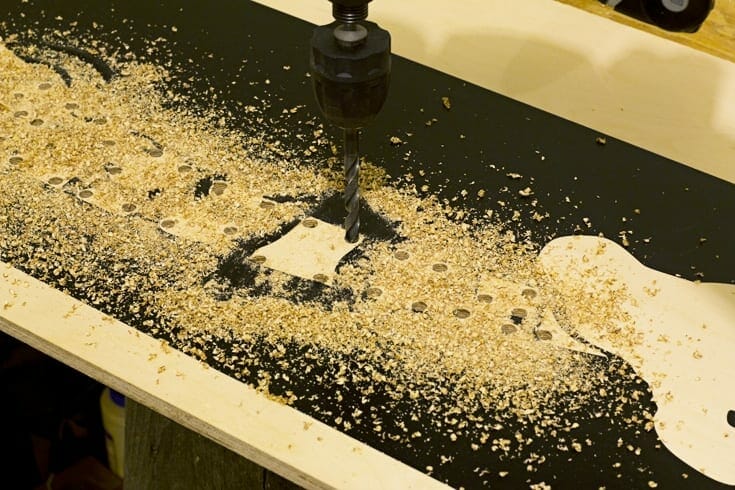
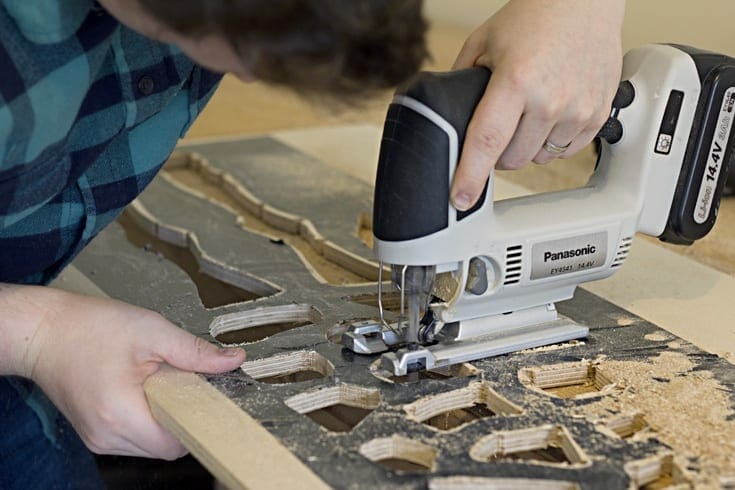
Before you start cutting with the jigsaw, it’s best to make holes to make it easier to get started. Grab your jigsaw and your drill bit set and use a bit that’s a little larger than your blade. We used a 5/16 inch drill bit.
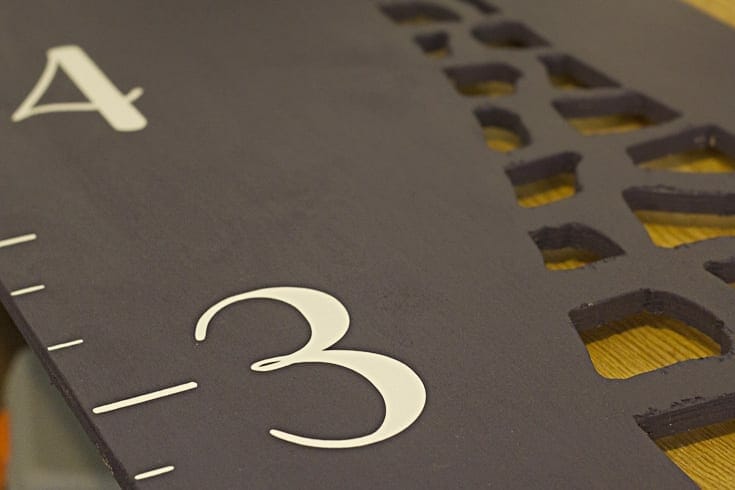
As you can see, most of the giraffe spots have four corners. Now take your drill and drill a hole in each corner — or wherever there is a significant angle that might be difficult to do with the jigsaw.
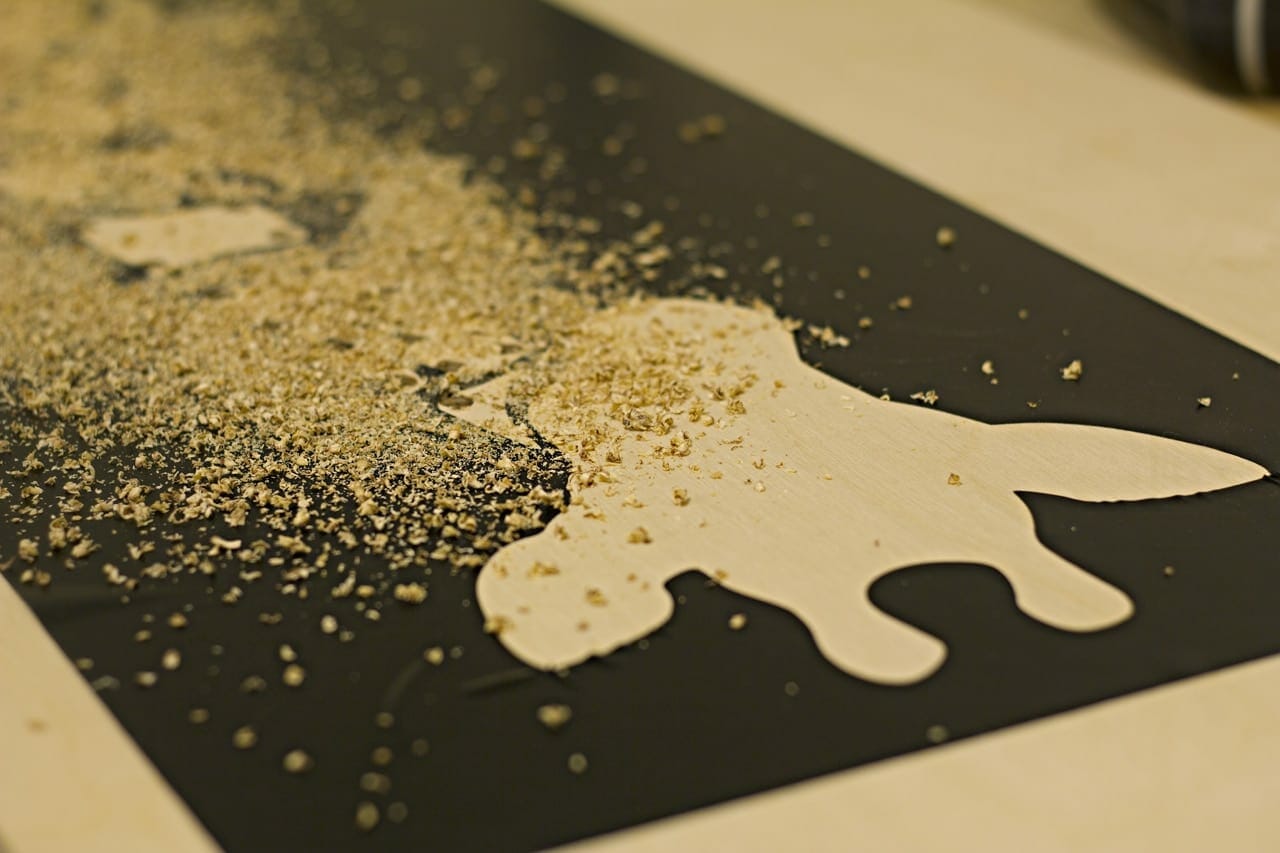
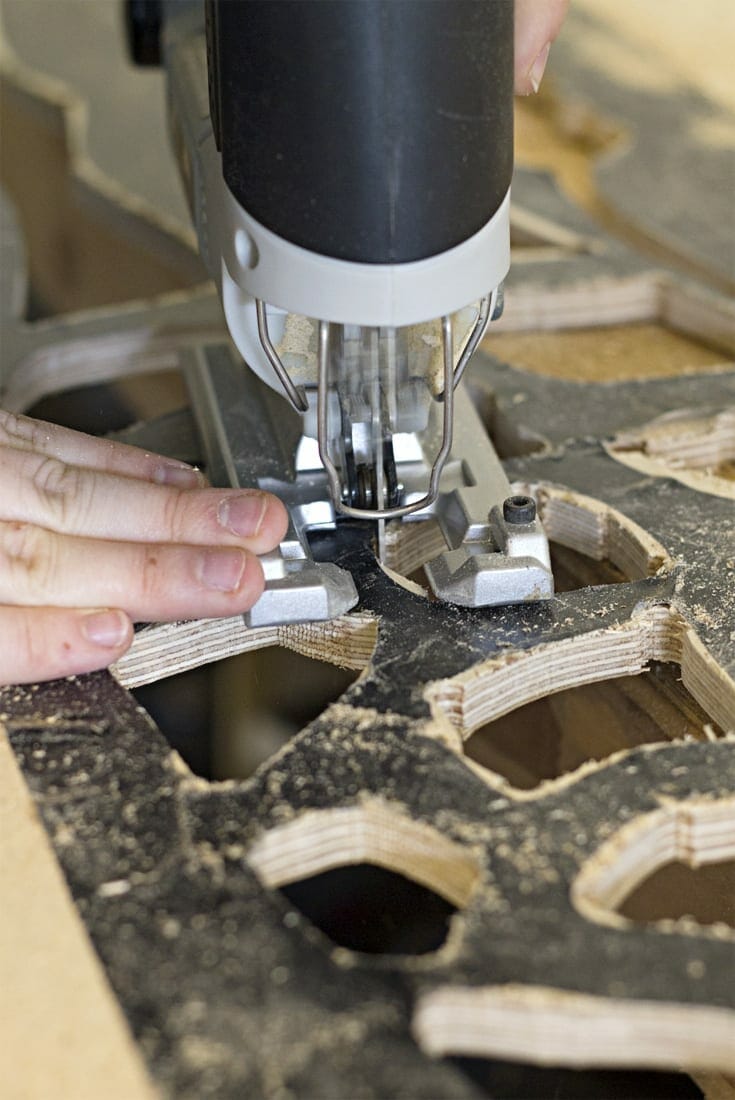
Once you have those starting holes you can take your jigsaw and do an adult version of the connect the dot game. Go crazy cutting out all those giraffe spots. This definitely is the most tedious part of the project, but totally worth it! Don’t get too worried about messing up or cutting too far. It all adds to the character and you can just change the spots as needed.
If you don’t have a jigsaw, you can still do this project it will just take longer. You can use a handsaw and manually connect the holes.
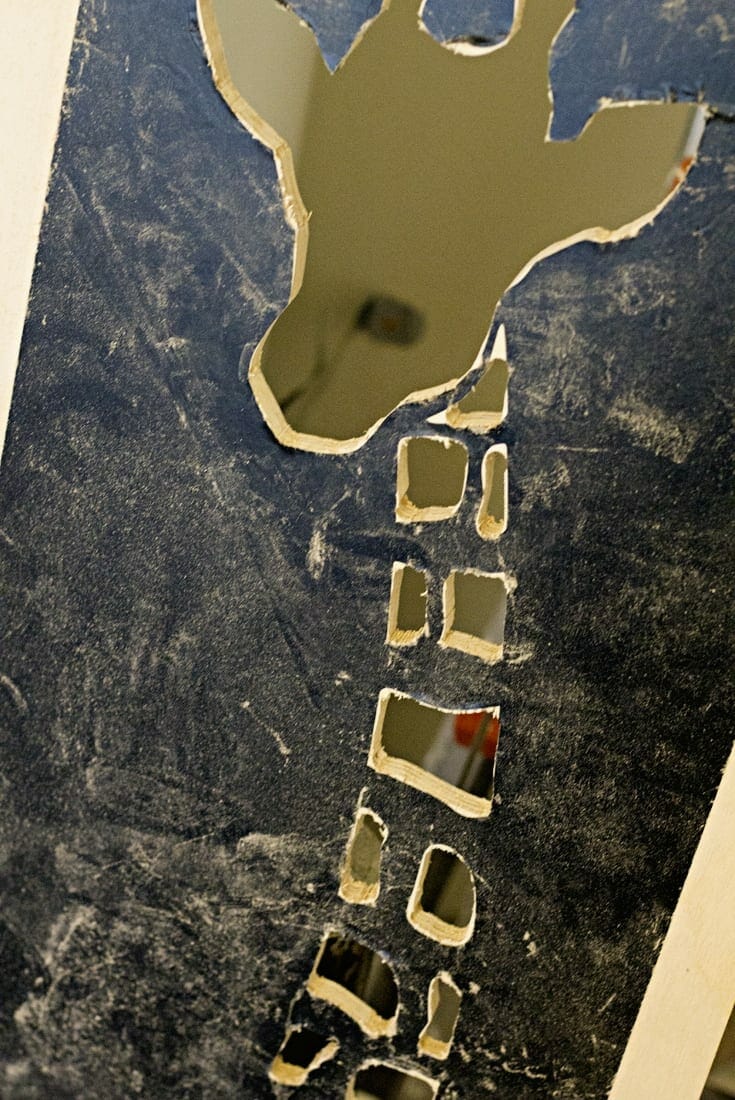
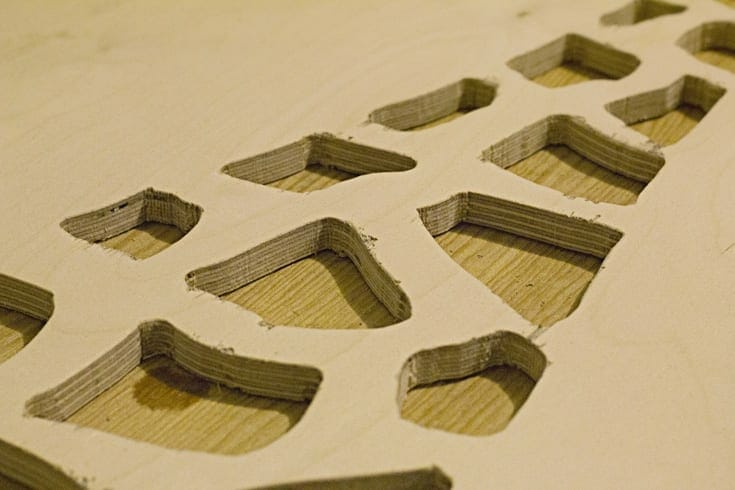
After you’ve cut out all the spots and gone through with the jigsaw a second time to round out the corners as much as you can, it’s time to pull up your vinyl and start finessing your giraffe. If you just drew an outline of your giraffe, then just keep on going.
Next, grab your sandpaper and soften those edges. I use 120 grit first and then I took my sander with a fine sandpaper to finish it off.
Before painting, be sure to wipe your board clean to make sure there are no leftover wood shavings. I keep this shop vac right next to my workbench and it saves me SO much time when working on projects.
If you need a workbench to get organized, get the plans for this simple DIY rolling workbench with a shelf we made last year.
Once your cut board is clean, time to start painting. I used the same Benjamin Moore Plum Royale I got from Orchard Supply Hardware during our painting adventures at the beginning of the six weeks when we started planning for the One Room Challenge.
After a few coats of paint it was time to turn this giraffe board into a growth chart. I used the same font that I incorporated throughout Clara’s toddler bedroom makeover, Magnolia Sky, and cut out the numbers and lines using this glitter white vinyl from Expressions Vinyl.
Sidenote: If you are not signed up for Creative Market’s weekly email list, go sign up right now. Each week they give away a free font and I’ve found some of my favorite fonts through them. Create an account here to get on their list. That’s where I found Magnolia Sky and I use it all the time!
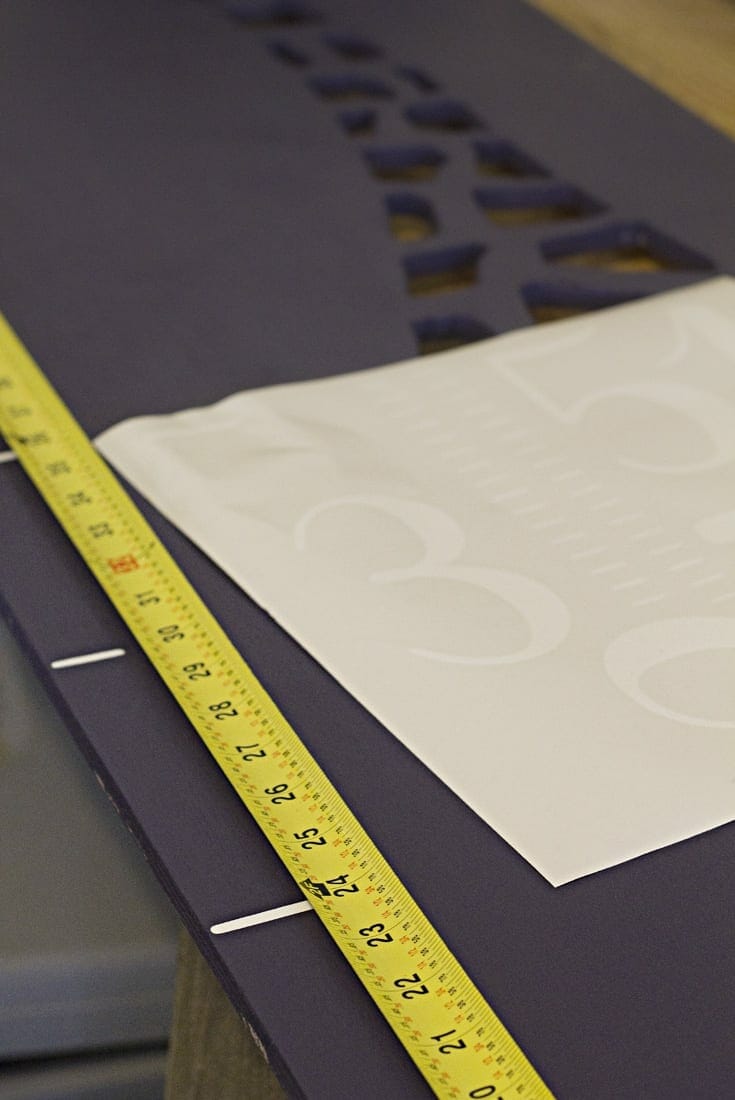
I planned on putting the growth chart off the ground 6 inches so decide where your growth chart will be hung before you start putting down the lines or drawing them on the board. If you have taller baseboards you might need to start your measurements closer to a foot.
Now, attach two sawtooth hangers on the back of the board near the top and you’re ready to hang it! You might need a second person to help you hang the growth chart to make sure you hang it 6 inches above the ground.
In case you haven’t seen Clara’s complete toddler chic bedroom makeover, get all the details here and see all the fun DIY projects in this Montessori-inspired room.
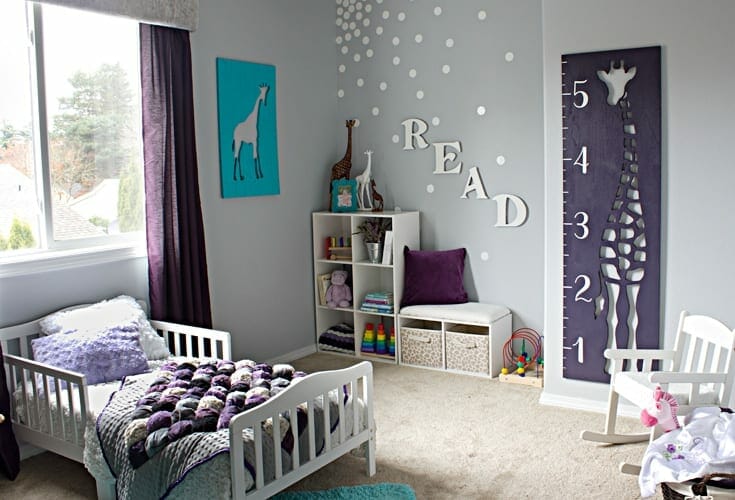
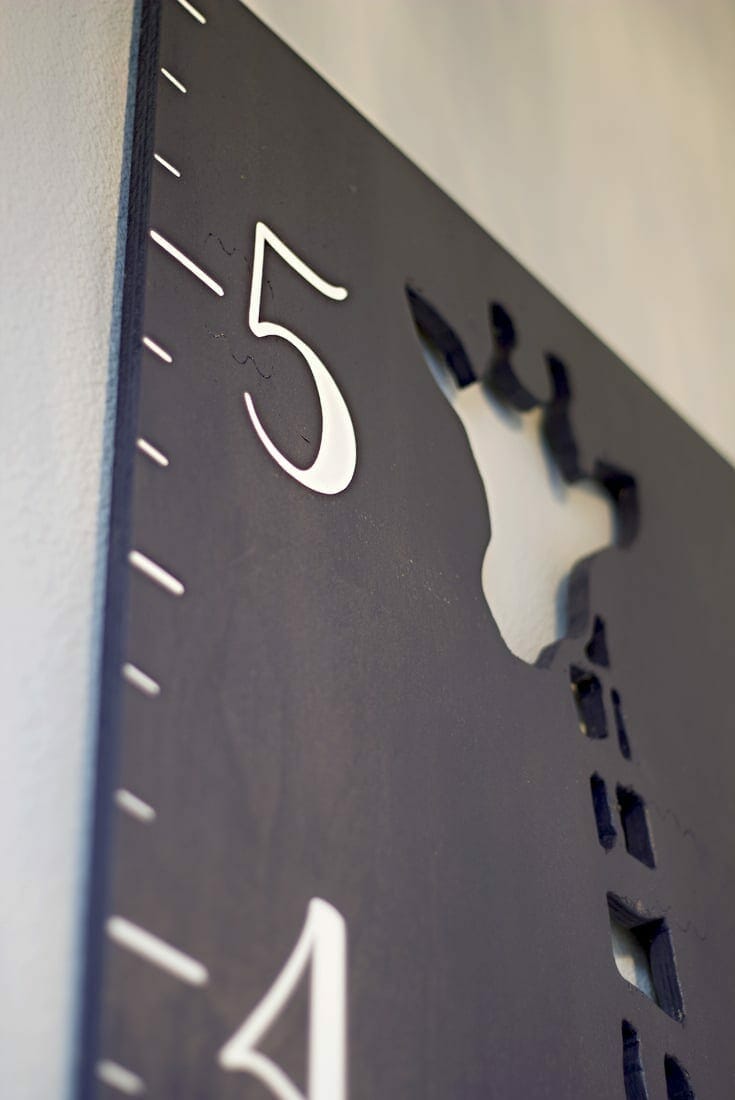
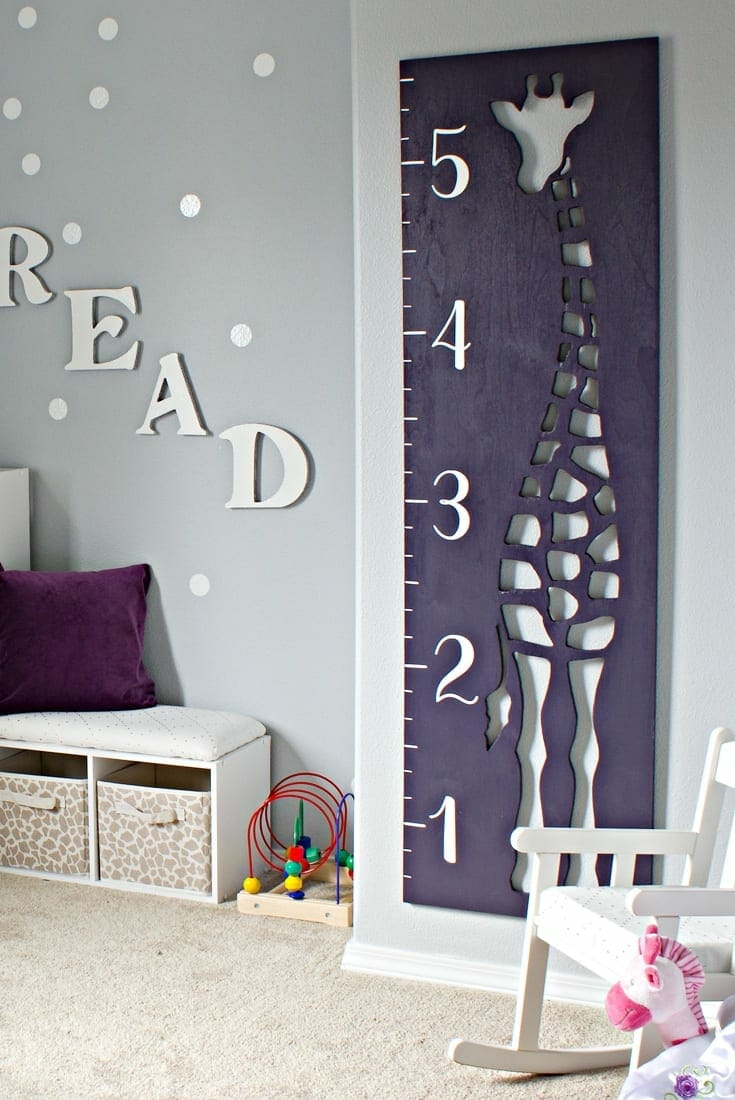
And there you have it! I love how this growth chart turned out and it’s even better than I imagined.
One tip, add a command strip to the bottom of the board to secure it to the wall before tiny hands knock it down.
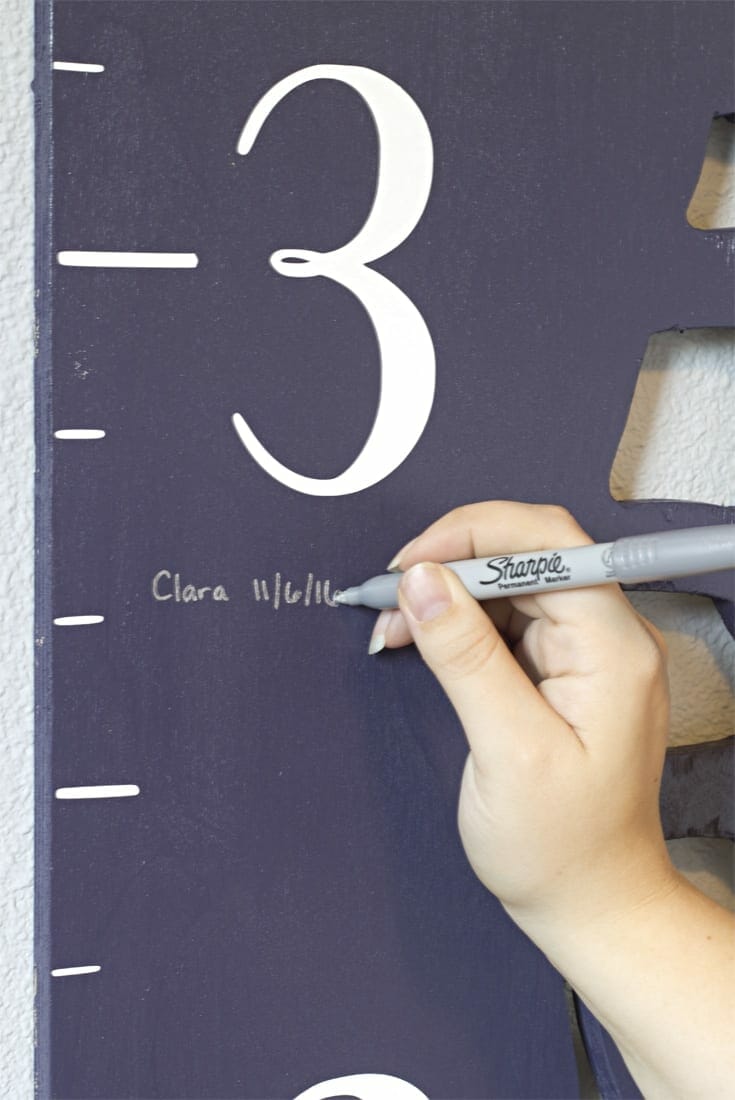
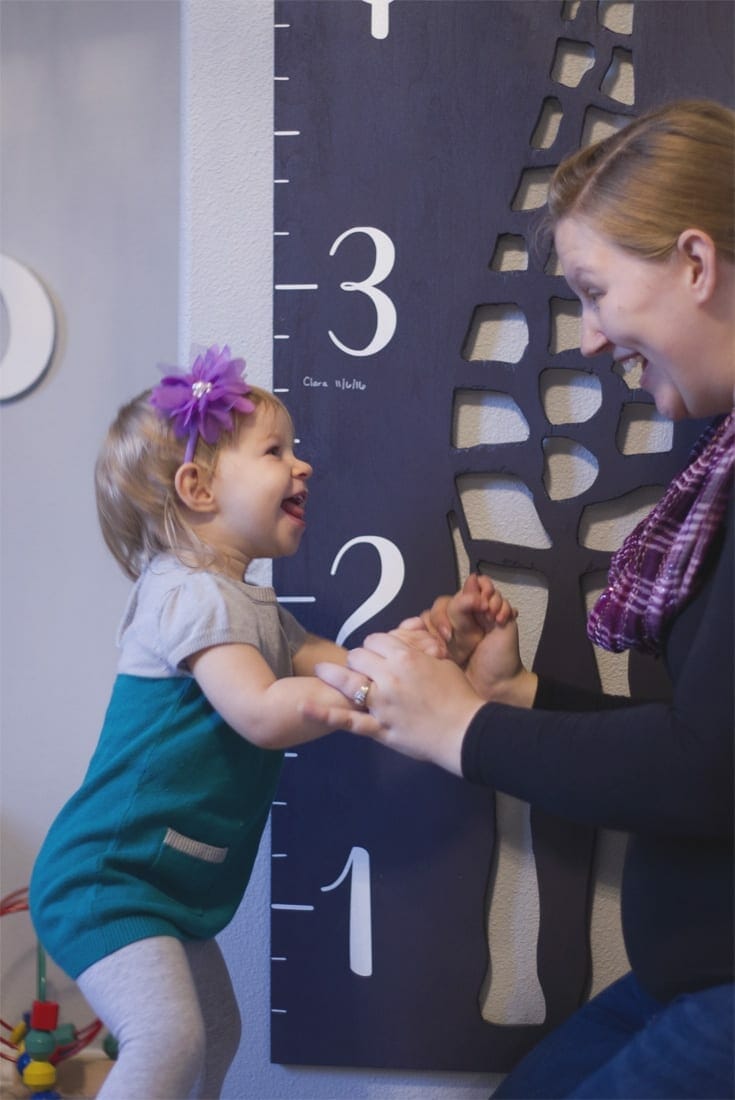
Also, if you paint your growth chart with a dark color, I found a silver sharpie works the best. Clara was so excited to get measured and I can’t wait to see how she grows over the next few years.
Oh my goodness, this is too cute! Thanks so much for sharing.
I love this! Thank you for the giraffe pdf. I also love the growth chart numbers. Is that on a pdf also that could be made into a stencil? Or how did you make it? Thank you for sharing!!!
Hi, I am so impressed with what you do. I will be following you for inspiration. Also love to decorate and create. Thanks, I ordered your giraffe outline – cant wait to try it for a school project. Thanks for sharing! Liezl
Please send over the PDF of the giraffe. Thanks!
I LOVE THIS!! was looking around etsy for a “classy” giraffe growth chart but couldn’t find one that didn’t look cartoonish, and love what you have done! Would you ever think about selling a ready made one? thanks!
What kind of plywood did you use? Thickness and type.