
Ripping up old floors and laying new ones sounds like a job for the pros, yet it has become one of the most popular first DIY projects around. The reason is luxury vinyl plank, a floor designed to be forgiving, affordable, and genuinely doable in a weekend. For a nervous first-timer, it changes everything.
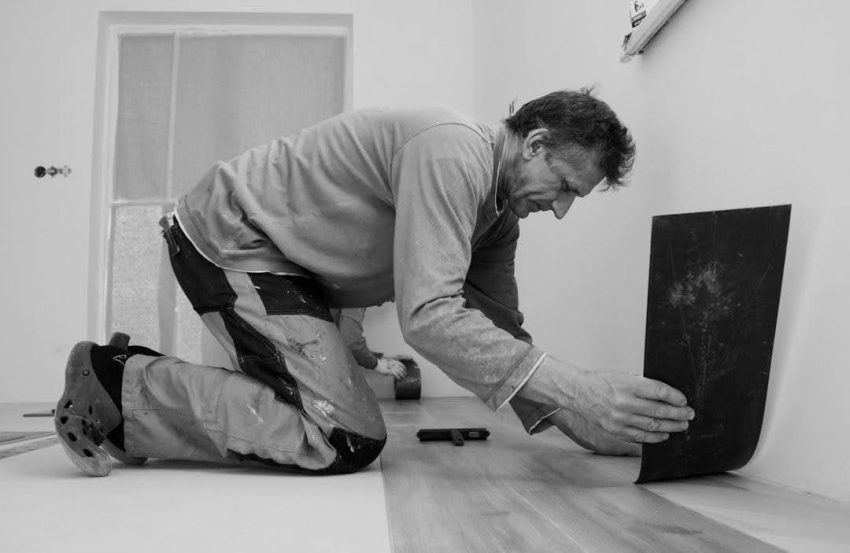
If you are ready to tackle your first floor, the right product matters. Choosing beginner-friendly flooring sets you up to succeed rather than struggle. Here is why luxury vinyl plank may be the best beginner flooring of all.
What Is Luxury Vinyl Plank?
It is vinyl, reimagined. Luxury vinyl plank, or LVP, is a durable synthetic flooring that mimics wood or stone. It clicks together without glue or nails.
The look is convincing. Modern LVP replicates real timber grain and texture closely enough to fool most guests. Few budget floors look this good in person. Embossed surfaces even add the subtle feel of real wood underfoot.
The appeal is practical. LVP is waterproof, tough, and warm underfoot in a way tile never manages. That mix suits busy family homes with kids and pets perfectly. Spills wipe up, scratches are rare, and it shrugs off the daily traffic that wears out cheaper floors.
Why Is It So Beginner-Friendly?
It forgives mistakes. LVP is built for people who have never laid a floor before. A few features make all the difference.
The design does the work. These qualities make LVP so approachable.
- Click-lock planks. They snap together like a puzzle.
- No wet adhesive. Nothing to mix, spread, or rush.
- Easy cutting. Score and snap, no power saw needed.
- Floating floor. It lays over most existing surfaces.
- Forgiving fit. Small errors hide under trim.
Start with the basics. A guide to DIY renovation projects for beginners shows how manageable a first floor really is. Confidence grows plank by plank.
How Do You Prepare the Subfloor?
Preparation still matters. Even a forgiving floor needs a sound, level base beneath it. This step is where beginners save future headaches. If your project involves glue-down vinyl rather than click-lock planks, the same care applies to choosing the right vinyl flooring adhesives for a lasting bond.
Level it first. Learning how to fix an uneven subfloor prevents bumps, gaps, and clicking sounds later. A flat base is the foundation of a clean result. Self-leveling compound handles low spots, while high spots may need sanding before you begin.
Control the moisture. Because LVP often goes in basements and kitchens, managing moisture problems protects your investment. A dry subfloor keeps the finished floor stable for years. Trapped damp can lead to mold beneath even a waterproof floor, so fix leaks and seal concrete first.
How Do You Install It Step by Step?
The process is repetitive and calm once it begins. After you lay the first few planks, the rhythm quickly takes over. Work methodically, row by row, for a tidy floor.
Take it row by row. Acclimate the planks in the room for 48 hours, start along the longest straight wall, and stagger the seams for strength and looks. Leave a small expansion gap of about a quarter inch around the edges, hidden later by trim. Slow, steady progress beats rushing every single time, and a tapping block keeps the joints tight.
Enjoy the reveal. The finished floor can transform a tired room completely, often more than any other single upgrade. That first walk across a floor you laid yourself is deeply satisfying. Add the trim and baseboards back, and the transformation looks entirely professional.
What Should You Check Before Buying?
A little research pays off here. Not all LVP is equal, and the small details genuinely matter. Check a few key things before you commit your budget.
Mind the wear layer. A thicker wear layer, measured in mils, handles heavy traffic better and resists scratches. For busy homes, aim for 12 mils or more, and 20 mils for the hardest-wearing spaces. The wear layer, not the total thickness, is what protects the printed design underneath.
Consider air quality. Choose low-emission products, since guidance on formaldehyde notes that some flooring can off-gas indoors. Reputable brands publish their emissions testing openly. Look for recognized low-emission certifications on the label, and air out a newly installed room for a few days.
What to Keep In Mind
- LVP is a waterproof, click-together floor that mimics wood or stone.
- Click-lock planks make it ideal for first-time DIYers.
- A level, dry subfloor is essential even for forgiving floors.
- Acclimate planks for 48 hours and leave an expansion gap.
- Choose a wear layer of 12 mils or more for busy homes.
- Pick low-emission products and check their testing.
Laying Your First Floor With Confidence
Luxury vinyl plank has earned its reputation as the friendliest floor for beginners, and for good reason. It is affordable, waterproof, and forgiving enough that a careful first-timer can achieve a professional-looking result. By prepping the subfloor, working row by row, and choosing a quality product, you can transform a room yourself. Start with the right beginner-friendly flooring, and that first project rarely stays your last.
FAQ
Is Luxury Vinyl Plank Good for Beginners?
Yes, it is one of the most beginner-friendly floors available. Click-lock planks need no glue, nails, or power saws, so mistakes are easy to avoid. Most first-timers can finish a room in a weekend.
Do I Need to Prepare the Subfloor for LVP?
Yes, the subfloor should be clean, level, and dry. LVP is forgiving, but bumps and moisture still cause problems over time. Fixing these first ensures a smooth, lasting result.
How Thick Should the Wear Layer Be?
For busy homes, look for a wear layer of at least 12 mils. Thicker wear layers resist scratches and dents from daily traffic. Lower-traffic rooms can use a thinner layer.
Is Luxury Vinyl Plank Safe Indoors?
Quality LVP is safe when you choose low-emission products. Some flooring can off-gas compounds like formaldehyde, so check the manufacturer’s testing. Reputable brands are transparent about their emissions.