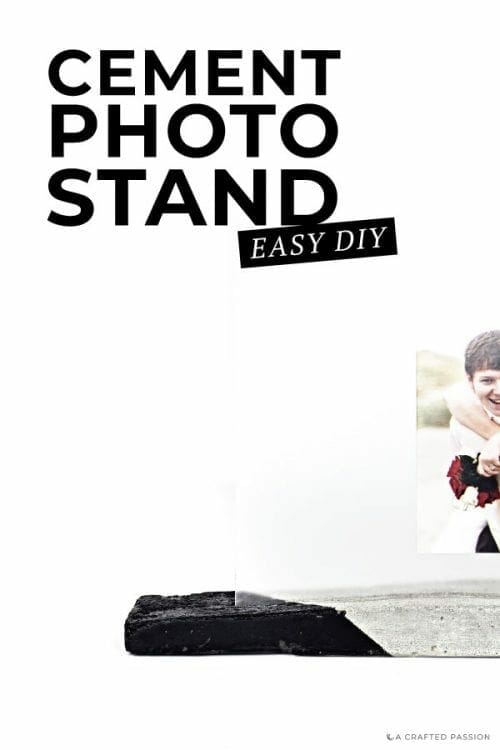
I love displaying photos around our home—especially in something I made—and this project is so simple. If you want to make your own DIY concrete picture stand, here’s a simple tutorial along with the list of supplies you will be needing.
Supplies for DIY concrete picture stand:
- Drywall shim
- Utility knife
- Measuring tape
- Cardboard
- Packing tape
- Cement mix
- Stir stick
- Sandpaper (80, 120, & 220 grit)
- Painter’s tape
- Paint
Instructions:
1. Cut
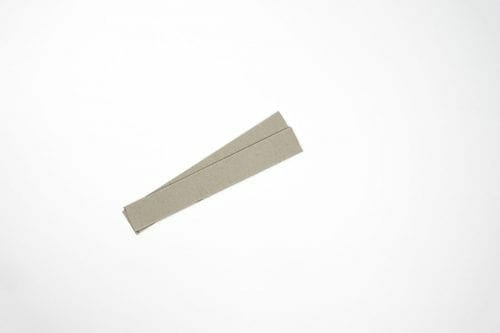
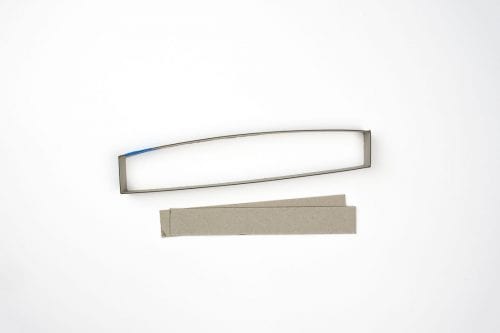
Make four scores with a utility knife on the drywall shim alternating between 13″ and 2″ sections
2. Fold
Fold the drywall shim along those scores to form your cement mold
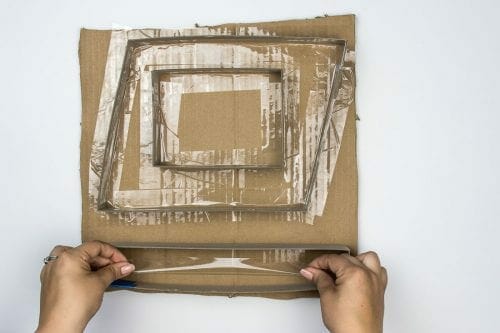
 3. Attach
Tape folded mold to a flat piece of cardboard making sure there are no holes
 4. Insert
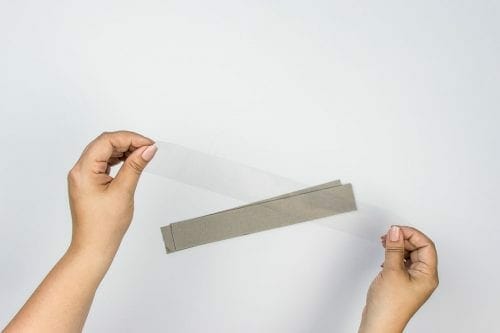
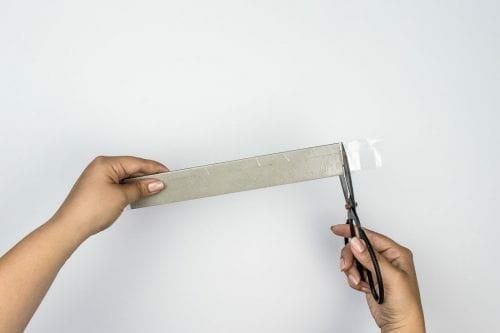
Cut a 2 separate drywall shims 11.5” long and wrap them together in packing tape. Set these aside for later.

 5. Cement
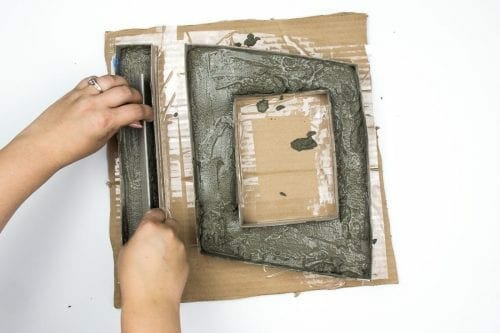
Now it’ time to make up the cement. Mix the cement according to the package you bought. Pour the cement into the mold you made sos it’s about 1″ thick. Tap down the mold strongly on a flat surface to get out any air pockets.
Grab your taped drywall shim and push into the concrete at least 1/4″ down into the center of the cement mixture at a slight angle leaning back.
Let this all dry for at least 24 hours.
6. Sand
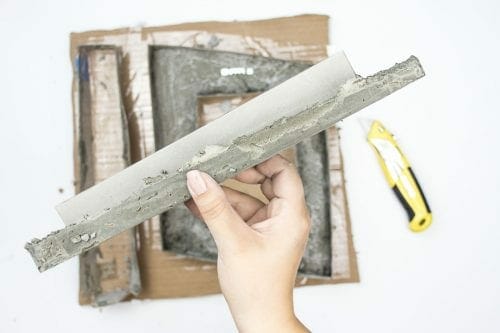
After it’s fully dried, remove the stand from the mold and pull the insert out of the middle. Since you wrapped it in smooth tape, it should just slide is smoothly.
Sand the cement stand with 60-80 grit sandpaper and work your way up to 220 grit to get it nice and smooth.
7. Paint
Tape off and paint your stand.
Sandwich your picture between two 8.5×11 acrylic sheets and you’re done!
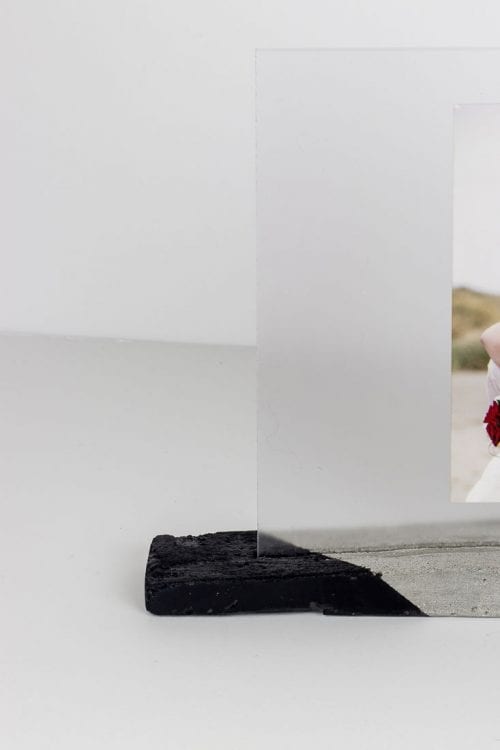
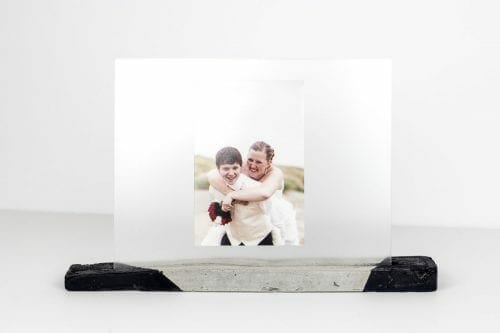
I love how this project turned out and is perfect for switching out photos. If you make this modern picture stand, I’d love too see how yours turns out!
Get the Supplies
Love this project? Check out all these simple DIY projects from my Naptime Craft Time series!

 3. Attach
 4. Insert
 5. Cement
