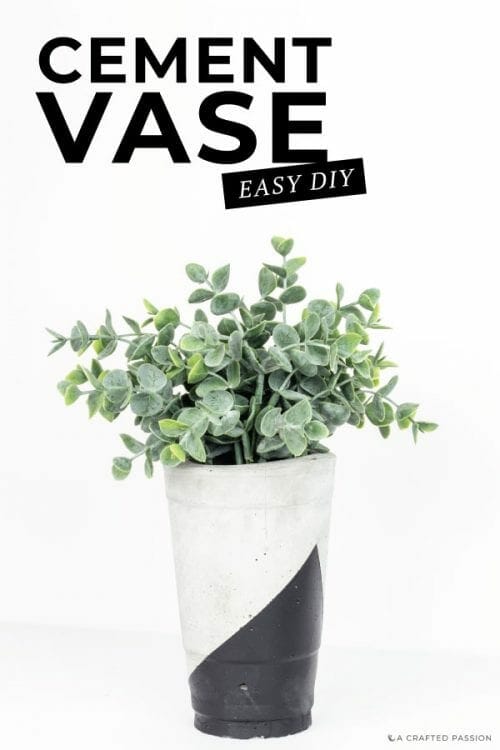
When I made our cement candle holders, I knew I wanted to make some more fun projects with cement. Well, today I’m excited to show you this super easy concrete vase.
SUPPLIES NEEDED TO MAKE A CONCRETE VASE:
- Large plastic cup
- ٚSmall plastic cup
- Cement mix
- Disposable container ٚ
- Stir stick
- Packing tape ٚ
- Utility knife
- Sandpaper
- Painter’s tape ٚ
- Paint
Instructions
1. Mix Cement
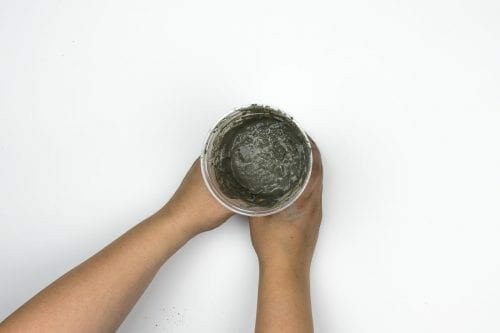
Mix cement in a large plastic cup until it’s the right consistency and filled about 2” from the top. Paint stirring sticks work really well for mixing cement!
2. Tap
Strongly tap the cup with cement on a flat surface to get rid of any air bubbles.
3. Center Mold
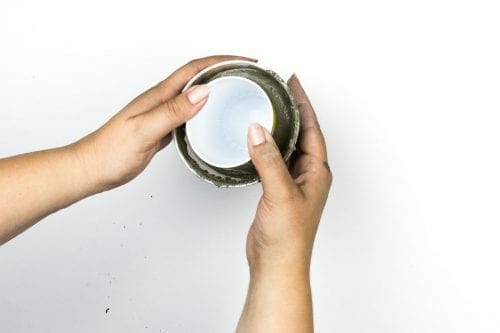
Push a small plastic cup into the center of the cement mixture until it’s level with the large cup.
4. Air Pockets
Tap the cup down again to get out as many air pockets as possible.
Related: [thrive_2step id=’15145′]Want a modern home on a budget? Grab this FREE guide![/thrive_2step]
5. Tape
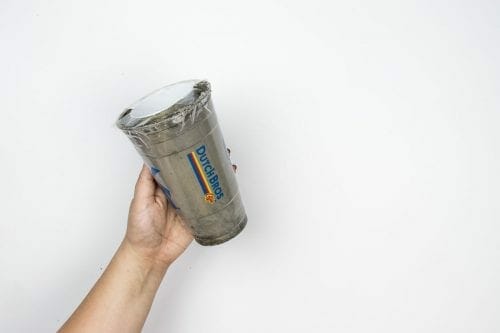
Tape over the top of the cups to hold the smaller cup in the cement mixture or place a heavy object on top to hold it down.
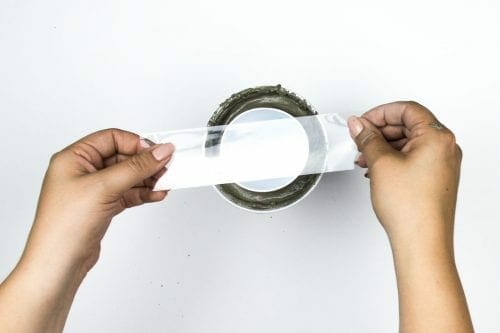
6. Dry
Let it dry at least 24 hours.
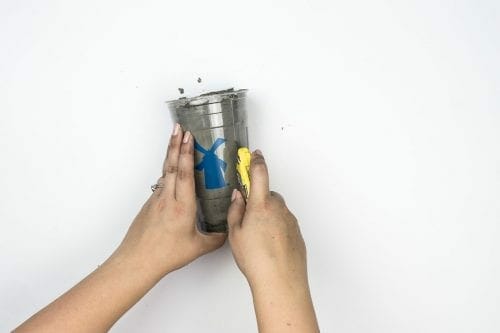
7. Remove
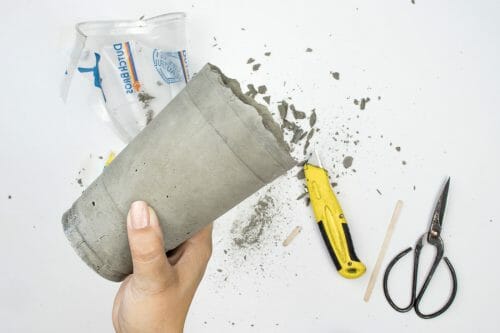
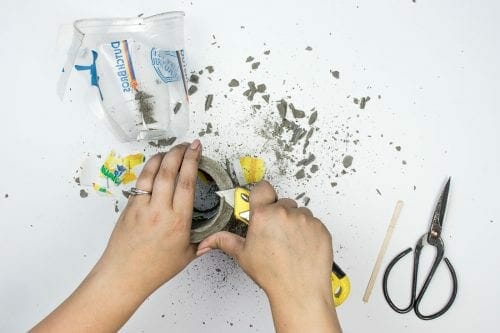
Now comes the time to remove the mold. Use a utility knife to cut off the plastic cup, if needed.

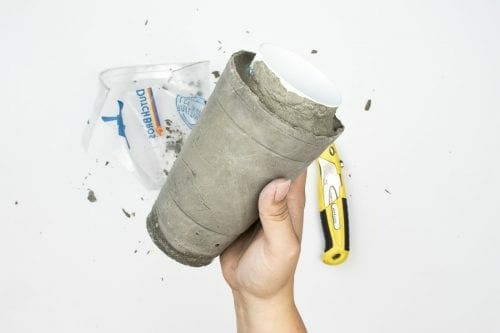
8. Smooth
Trim the rough cement around the top using the utility knife and smooth out the edge using sandpaper.
9. Paint
Once it’s cleaned up, tape off a design and paint it. After it’s dry, remove the tape and enjoy.
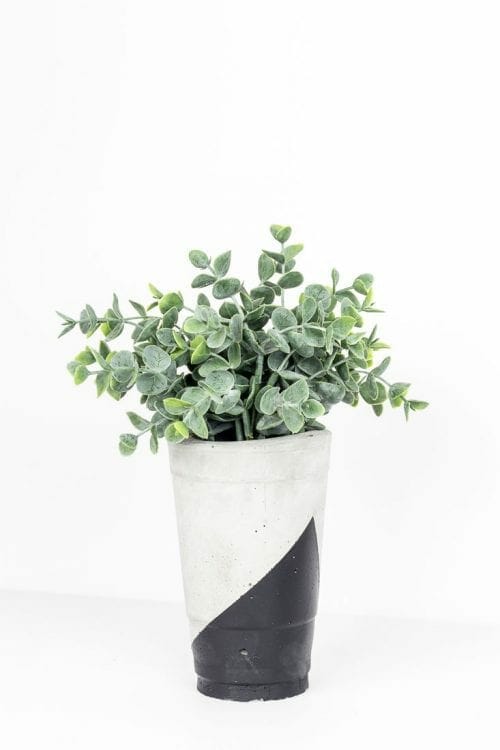
I love how this vase turned out and was such a simple DIY project! Projects don’t have to take hours or take lots of supplies.
If you love this project, be sure to check out all the projects in the Naptime Craft Time series.
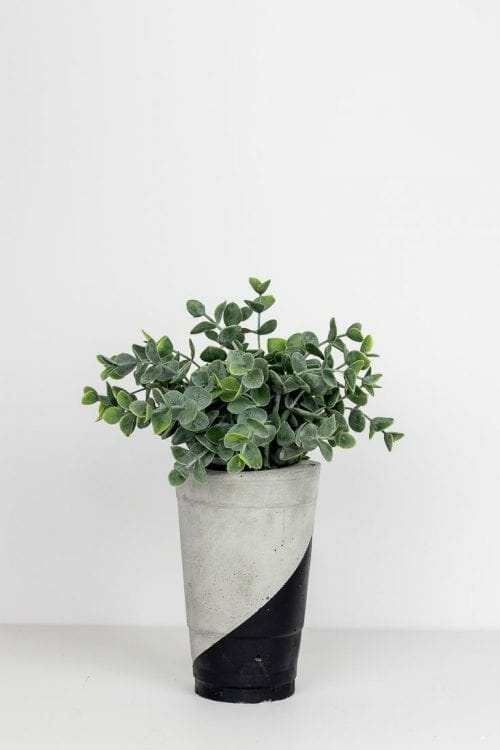



I’ve found that plants do not do well in newly solid concrete. Waiting a few weeks to plant while the new pot cures outside helps the plants survive.