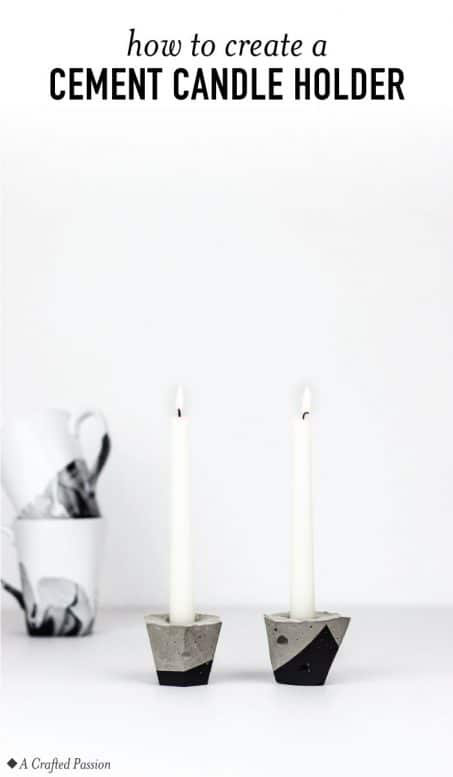
Learn how to make a geometric cement candle holder with this simple tutorial! This easy DIY project looks so great and is perfect to modernize taper candles.
Growing up, if my sisters and I were being a little too crazy, my mom would pull out the candles and say we’re having a “fancy” dinner and we could only whisper all meal long. Pure genius!
Now that Clara has reached the crazy stage, sometimes it’d be really nice to make dinner a quiet-ish meal and just enjoy a candlelit dinner. When I went searching for some modern candles though, I couldn’t find anything I really loved.
So, of course, I figured let’s just DIY some. This cement candle holder takes the taper candles up a notch and I love how they turned out!
*This post contains some affiliate links for your convenience (which means if you make a purchase after clicking a link I may earn a small commission, but it won’t cost you a penny more)! Click here to read my full disclosure policy.
Craft Time: 30 minutes
Waiting Time: 24 hours
Skill Level: Easy
Materials to make your cement candle holder:
- Cement mix
- Paint stir stick
- Taper Candles
- Hexagon plastic cups or these triangle plastic cups
- Cooking spray
- Painter’s tape
- Paint
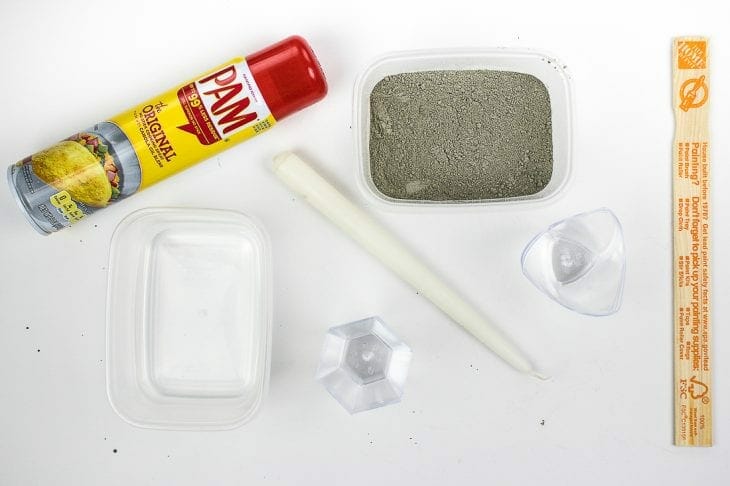
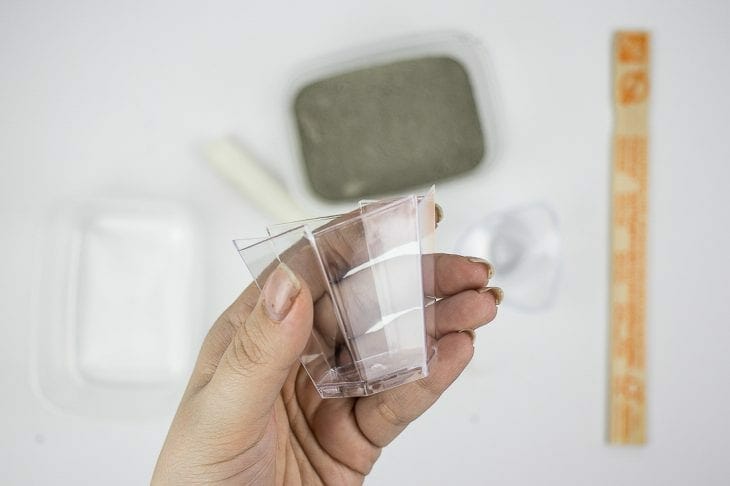
I just bought a small container of Quikrete cement for less than $10 and had enough concrete for 4-10″ footprint garden stones and plenty left over for my cement candle holders.
1. Mix Cement
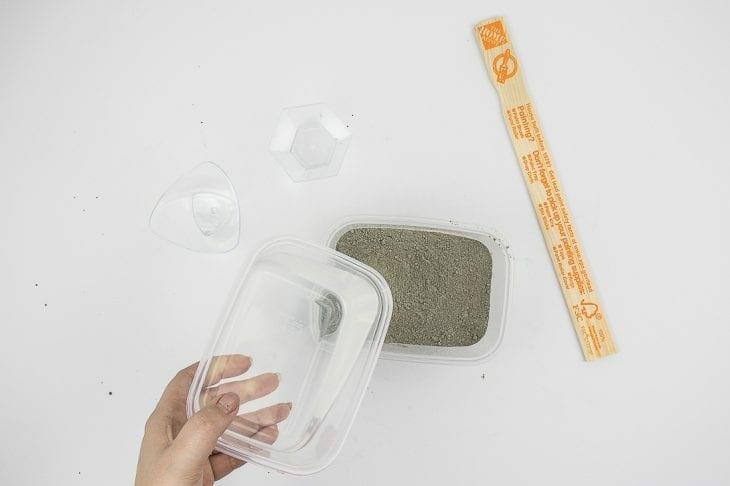
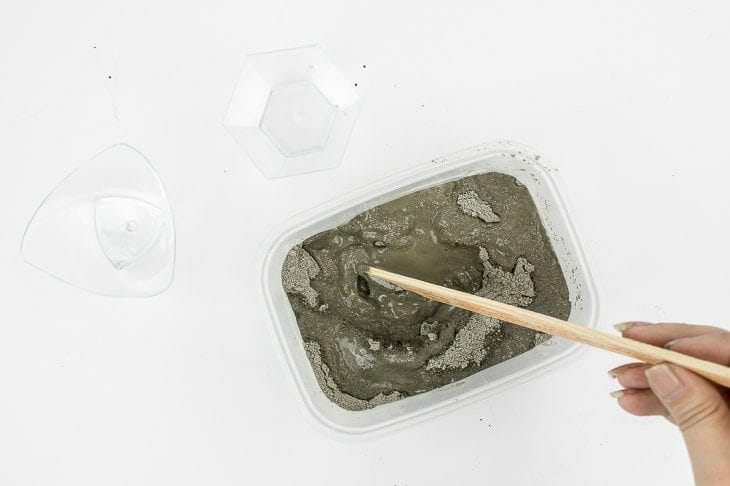
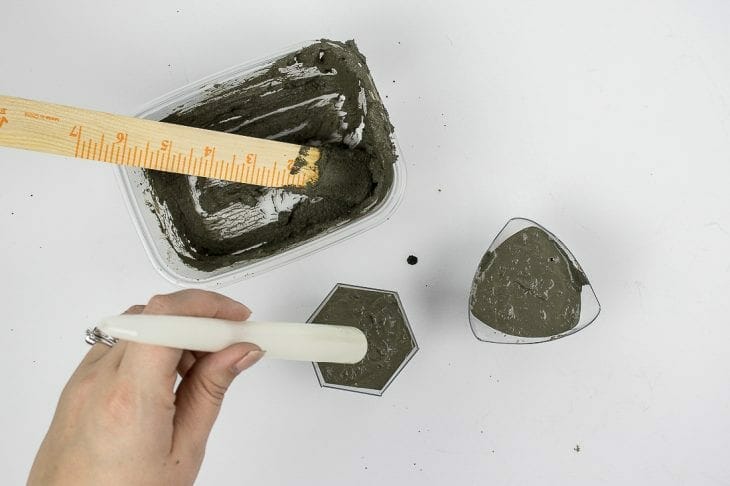
First, you need to mix up your cement. Put about 1 cup of the dry mix in a disposable container and add a little water at a time, stirring in between with a paint stick.
You want to mix your cement with less water than you think and then you can add more you go until it’s the perfect consistency. You want it to be just wet enough with no extra moisture pooling on the top.
2. Pour
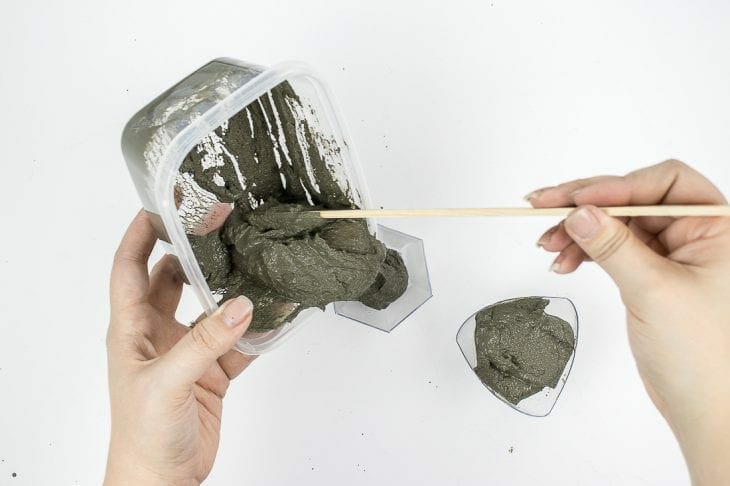
Now, take your plastic cup and pour your cement mix into it leaving about 1/4-1/2 inch of empty space at the top.
3. Tap
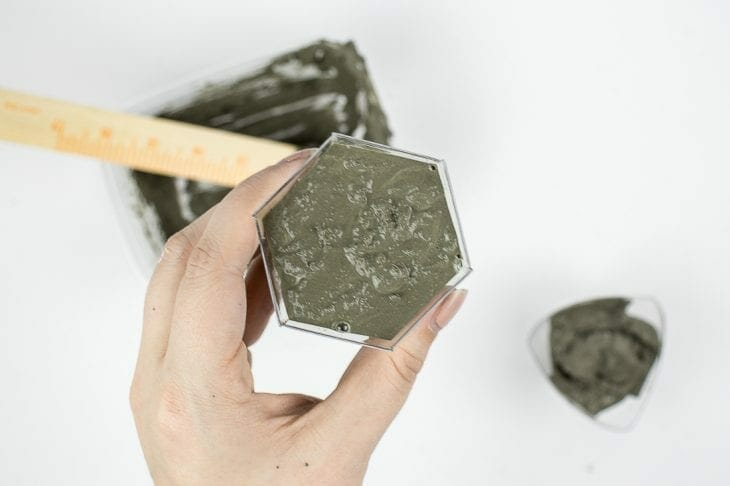
Tap your cup down on a hard surface to remove any bubbles or pockets of air. Add more cement if needed, but just be sure to tap it down again if you do.
4. Add Taper Candle
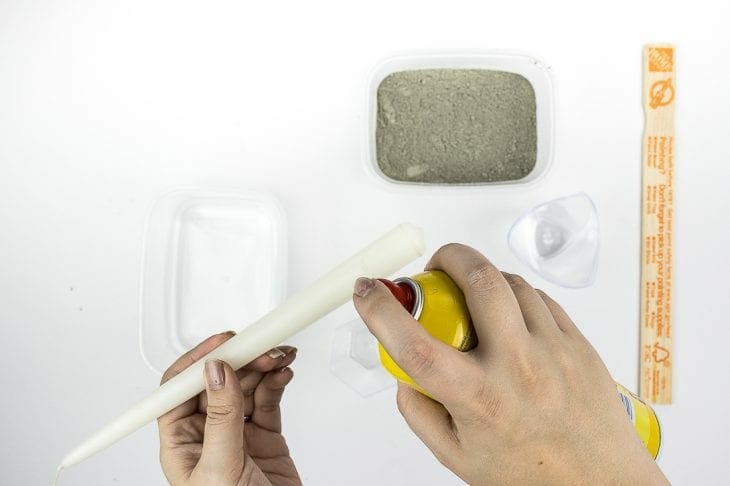
Take your taper candle and spray the bottom two inches with cooking spray and then push your candle into the center of your cement mix. Push it down until you hit the bottom. As the cement dries, it will push your candle up a bit and fill cement to the bottom.
6. Remove Candle
Ideally, the cooking spray will make it so that your candle can slip out after the cement has hardened for about an hour.
After about an hour, pull out the candle and it should keep it’s shape enough that it won’t fill the space where the candle was, but still loose enough that it hasn’t adhered to the candle holding it in place.
7. Remove Cup
After 24 hours, it’s safe to remove your candle holder from the plastic cup. If you have a hard time pulling it out, you should be able to just break off the plastic cup until it releases.
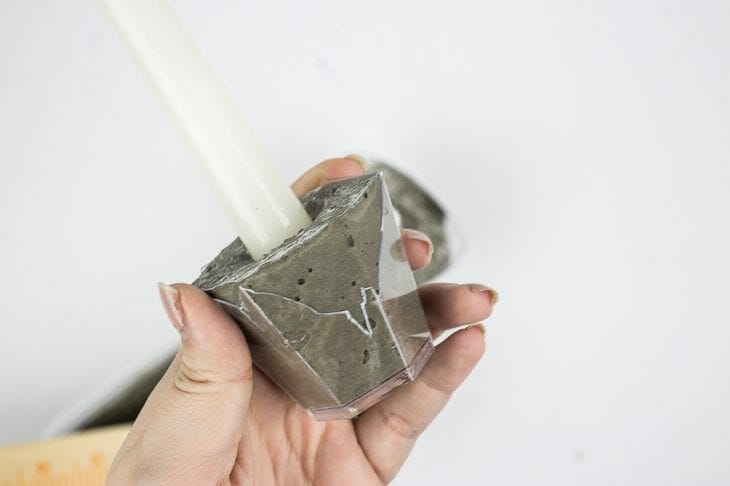
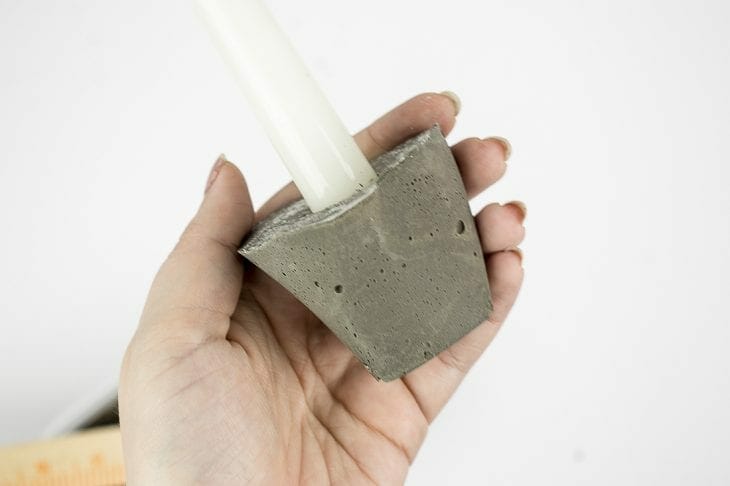
If your cement candle holder has any jagged spots, just take some sandpaper and lightly sand it down.
8. Paint
Once your cement candle holder has had another 24 hours to dry completely, it’s safe to paint it as you wish.
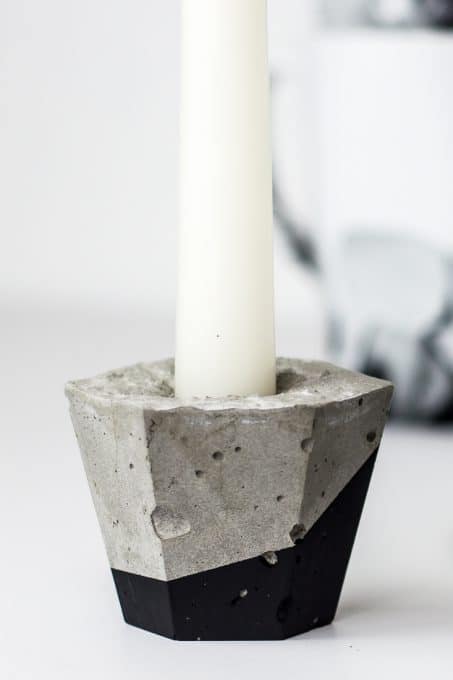
I love how these geometric candle holders turned out and they looked so cute at our Valentine’s dinner!
You may have seen these candle holders make a sneak peek appearance in our daddy/daughter Valentine’s dinner a few weeks ago. They looked so great on our table.
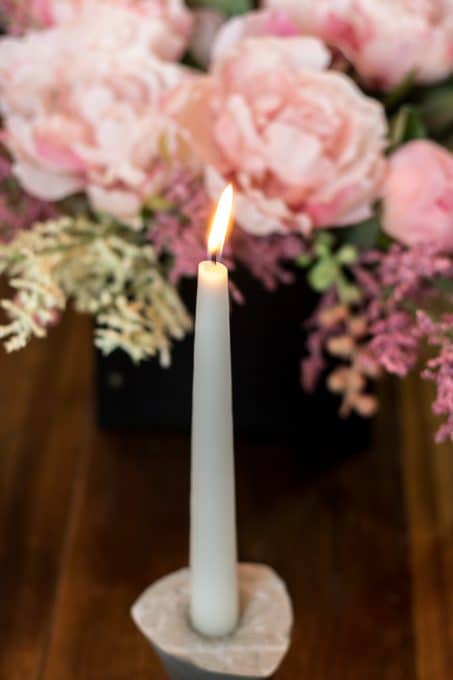
What would you use these cement candle holders for?

Learn how to make DIY pipe shelves using copper pipes and this simple tutorial. This modern shelf is perfect to add in your home and budget-friendly!
Create a simple clothespin memo board to keep important notes or display your favorite pictures with this easy DIY idea.





So cute! Love the way they turned out! Cement is something I’ve always wanted to play with!