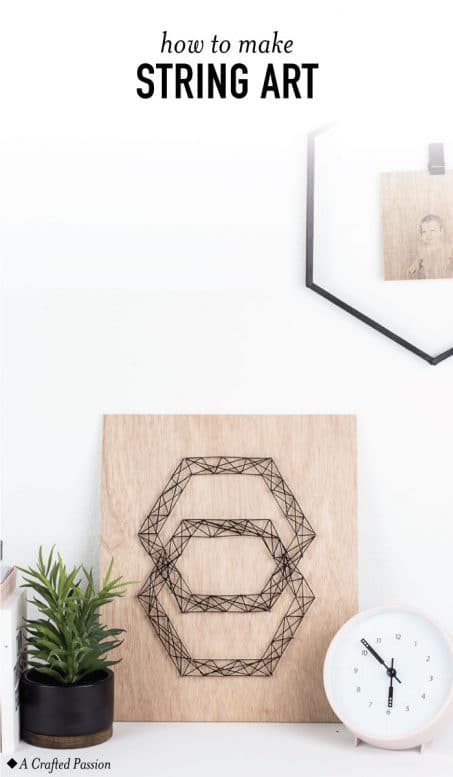
This geometric DIY string art is so easy to make with this simple tutorial and looks great on the wall. Plus, this modern hexagon design is too fun!
After creating the elephant string art for Little Miss’s nursery a year ago, I knew I needed to make one for us. Since I’m all over the hexagon thing right now, I figured let’s just stick with that theme. I love how this simple string art turned out. Let me show you how to make your own.
*This post contains some affiliate links for your convenience (which means if you make a purchase after clicking a link I may earn a small commission, but it won’t cost you a penny more)! Click here to read my full disclosure policy.
Craft Time: 30 minutes
Waiting Time: 20 minutes
Skill Level: Intermediate
Cost: $10
Materials to make string art:
- 1/4″ thick birch plywood
- Sanding block
- Paint
- Push pin
- Pattern
- 1/2″ Wire Nails
- Hammer
- Embroidery floss
1. Cut Board
First, you need to cut your board to size. Mine is 12×14. Sand the edges to smooth it out and get off any rough spots. Looking back, I might paint the edges black similar to this napkin holder so they edges don’t look so raw, but you can do it either way.
2. Paint Nails (optional)
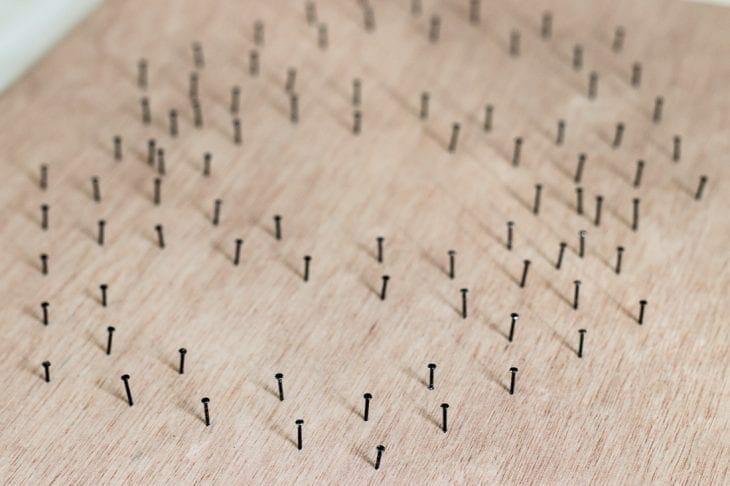
I chose to paint my nails because I wanted the nails to blend in with the embroidery floss. You can absolutely skip this step if you choose. Just throw a handful in an empty box, spray them with matte black spray paint, and shake the box around repeating spraying and shaking until they are covered.
You want to make sure your nails have a solid head on them so that the embroidery floss doesn’t slide off. I used #19 gauge 1/2″ stainless wire nails. You can grab some here.
3. Pattern
Tape your hexagon pattern to your board making sure it’s centered within the board. I used the same hexagon pattern with a 1/2 inch hexagon inside the larger one.

4. Push Pin
So, here’s my trick to making string art. Before you jump right into nailing your nails, first, go through and use a tack to make an initial hole on your outline. It’s kinda like when you pre-drill for a screw. You want to make that mark so you know it’s going to the right spot and it’s much easier to manipulate a thumbtack rather than holding a teeney tiny nail and hammering away at it.

5. Nails
Once you’ve marked all around your outlines where holes go you can remove your paper and nail straight into the board. Work your way around the outline starting with the nails closest to the center of your board. That way you don’t have to work around nails with a clunky hammer. Hammer your nails so that they don’t wiggle, but just make sure you don’t pop through the back.
6. String
Now, the fun part! Take your embroidery floss and tie it on to one nail, particularly one that is on a straight path rather than a corner so the knot isn’t so obvious. Now, work your way along the outside edge of one hexagon and loop around each nail as you pass it. Be careful where the two hexagons intersect that you stay on the correct hexagon outline. Once you make it all the way around one hexagon, start the outline of the inside piece of the hexagon.

I’ve found it looks best if you do the outline first and then criss-cross. Once your outlines are made then you can go crazy with the string. Start wrapping it around the nails and looping through with the density you like.
This whole design took me about 1.5 skeins of embroidery floss. You can grab a skein at Michael’s for like 50 cents and the nails cost less than 2 bucks, so really all you need to buy is the sheet of wood.


I love how this modern string art turned out and it will look great up on our wall. Once I decide which wall is it’s new home, all I have to do is throw a command strip on the back and hang it on the wall. Easy peasy!
What do you think of this design?

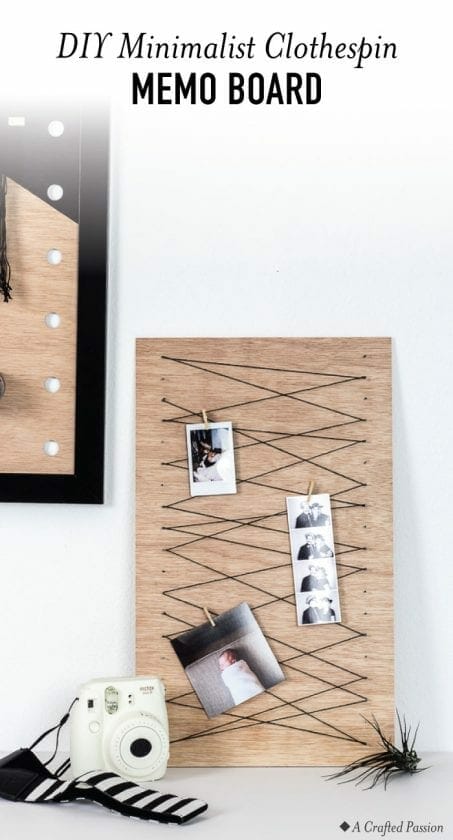
Create a simple clothespin memo board to keep important notes or display your favorite pictures with this easy DIY idea.
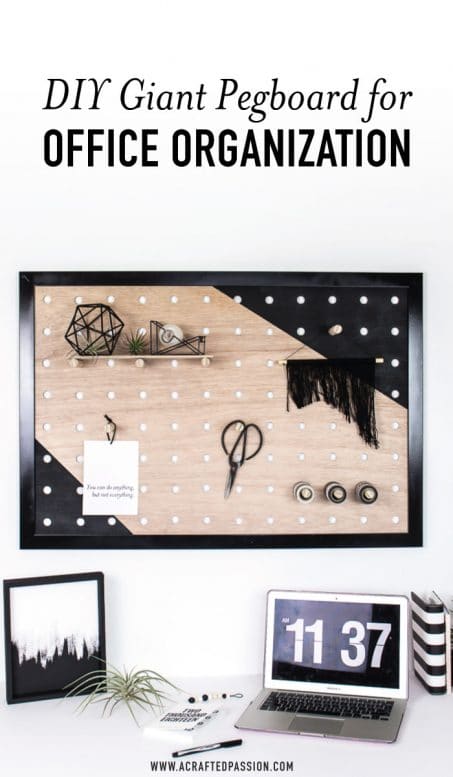
See how to make a DIY giant pegboard perfect to get your office organized. This modern oversized pegboard looks great and is functional.