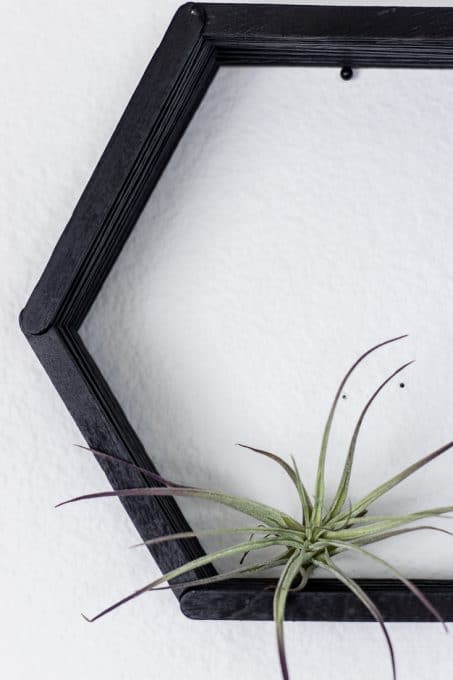
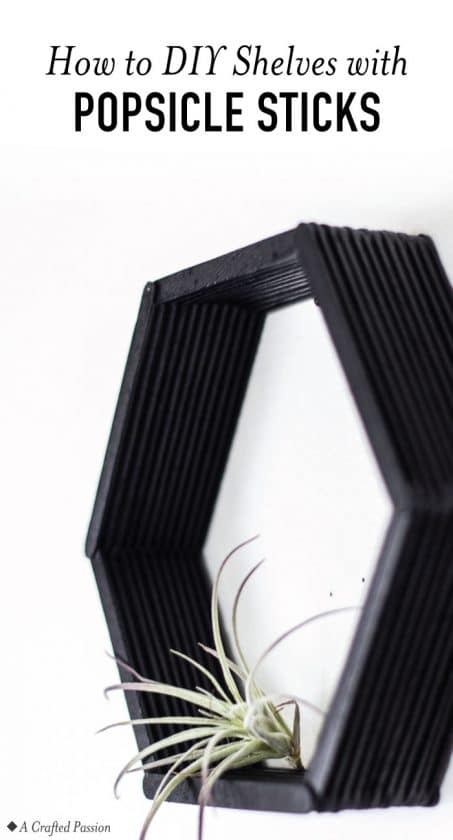
Make these DIY hexagon shelves using popsicle sticks for some simple honeycomb budget-friendly home decor!
On a mission to decorate our home in a simply, I’ve been busy thinking about more ways I could add some modern decor to our walls without breaking the bank. I was playing with Mini Me and some popsicle sticks one day when I remember seeing a few years ago some shelves made with popsicle sticks. I thought I’d see what I could come up with.
These hexagon shelves are super simple and look great on your wall!
*This post contains some affiliate links for your convenience (which means if you make a purchase after clicking a link I may earn a small commission, but it won’t cost you a penny more)! Click here to read my full disclosure policy.
Craft Time: 30 minutes
Waiting Time: 2 hours
Skill Level: Easy
Cost: $10
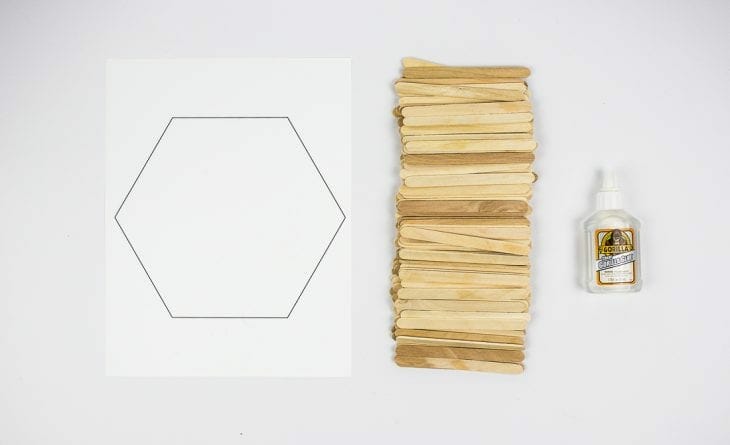
Materials to make your hexagon shelves:
- Hexagon outline
- Popsicle sticks
- Glue (see my suggestions below on what to use)
- Paint
1. Print Hexagon Pattern
I’ve found it’s much easier to create your shelves using an outline of a hexagon where each side is a little bit smaller than the length of a popsicle stick. The size will vary depending on what length popsicle sticks you get.
No matter how good you think your eye is, it’s always better to use the shape so that all your angles are the same. Learn from my mistake with the first one I made.
2. Make Base
First, set 3 sticks down on the hexagon pattern and then a drop of glue on each end. Place the other 3 sides on top connecting the sticks.
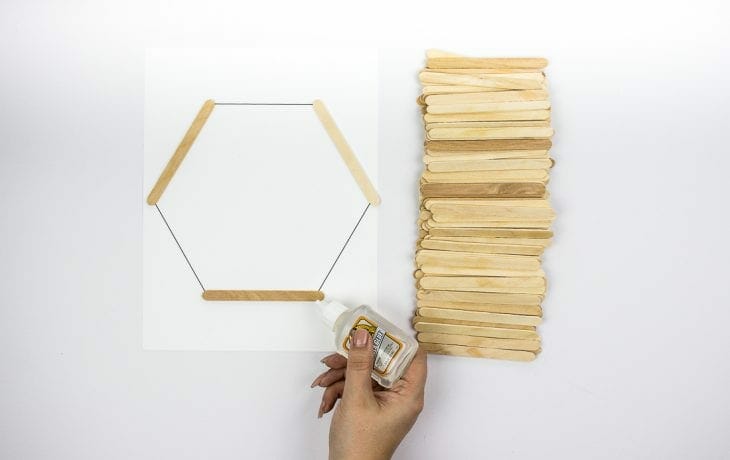
Make sure everything looks pretty uniform and the angles are the same and then let the layer dry.
I learned a lot about glue through my process of making these.
Gorilla glue — doesn’t dry quick enough and slips around
Hot glue — holds well, but too thick and it takes longer to make each shelf because the glue dries so fast
Tacky glue — works okay, but not super secure
Loctite Power Grab Express Construction Adhesive <– this was the winner! — grabs the sticks well, but doesn’t dry too fast
3. Glue
Once that base layer is solid, you can continue with the pattern until it’s as high as you want.
4. Dry
Make sure and let your hexagon shelves dry at least an hour before moving it, but this will depend on the type of glue you use.
5. Paint
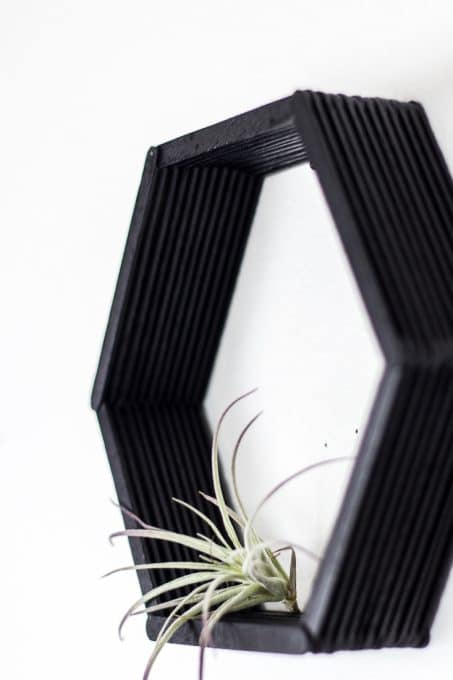
Once the glue is all dry you can paint or stain your hexagon. I painted ours with matte black and I love how it turned out!!
Depending on what you plan on putting on your shelf, you can either just set them on nails or you can add a sawtooth hanger to the back to make it more secure.
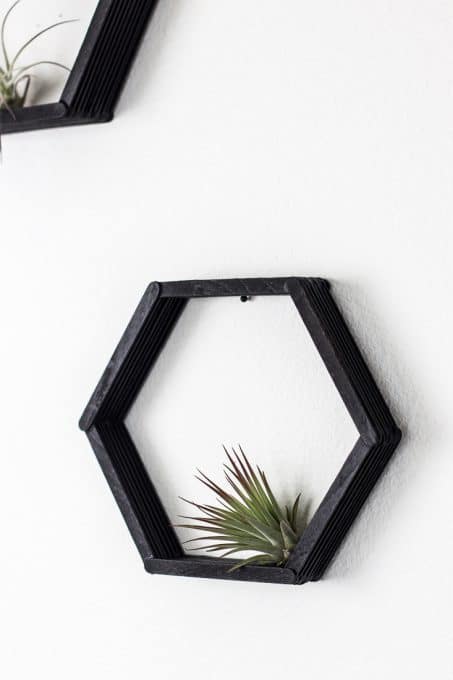
That’s it! These shelves are so simple that you could even get your munchkins to help with you if nap time didn’t go as planned. If hexagons are not your style, you could do squares, octagons, letters, or something more creative. Comment below with the shape you choose, I can’t wait to hear what you do.
