Are you expecting? Plan a fun DIY gender reveal party for family and friends with a DIY scratch-it to reveal the gender using this simple tutorial and other ideas.
I am so excited to be sharing our Gender Reveal Party with you all today! Besides the fact that you never need a reason to celebrate a new little one, gender reveal parties are uber popular these days so why not?! Months ago I started planning knowing that if I wanted to be frugal and find everything I wanted for the party on the cheap, I needed to start early. And I just have to say I think I nailed it! I am so excited with how everything turned out!
I’m going to walk you through the basics of our party and then in future posts will give more details about certain things {like the bow cookies I made or the paper bows that our guests wore}. If I leave something out though that you’re interested in, I’d love to hear from you in the comments below!
So here it goes…
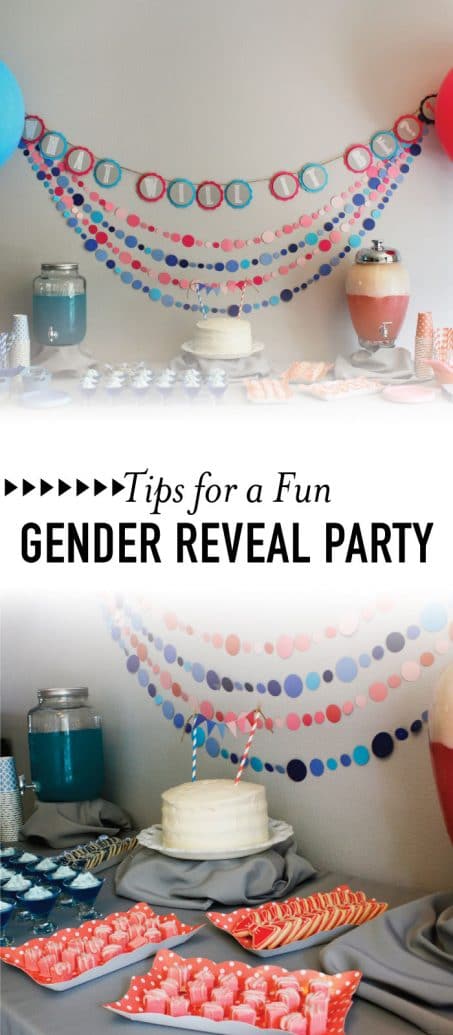
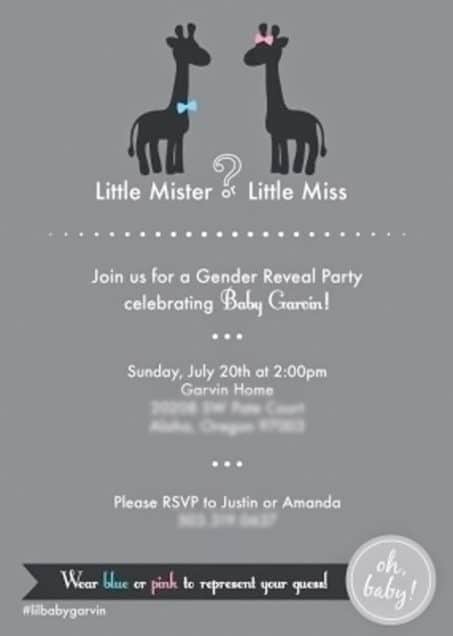
Our party started actually a few weeks before the big day when guests received their invitations. We wanted a very cohesive party so chose giraffes for our theme wearing little bows and had them throughout the whole party…on the invitation, on the envelope, on the banner behind the cake table, and throughout many other pieces of the party that you’ll see.
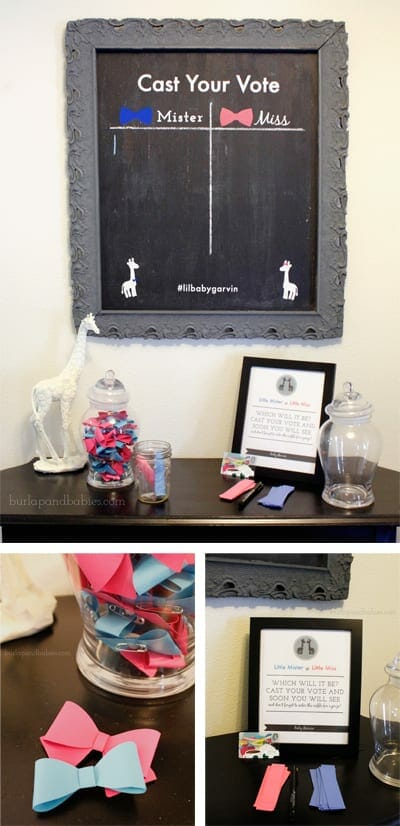
Gender Reveal Voting
As our guests entered our home they were welcomed by our entry table that had been transformed into a voting station. I painted the frame I bought at an antique store a few years back for our college graduation party and then cut out vinyl using my silhouette cameo to make the chalkboard text.
Guests were all asked to come dressed in either pink or blue to represent their vote and as they arrived they marked their vote on the chalkboard and put on either a blue or pink bow. {You can find how to make the gender reveal bows here.} Everyone also got to write their name on either a pink or blue paper and enter to win a $5 Starbucks giftcard. Once we knew the gender then we drew either a pink or blue piece of paper to choose the winner.
Gender Reveal Activities
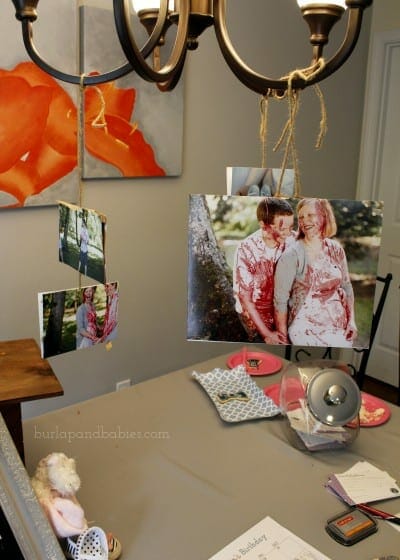
Then on to the activities table! We converted our dining room table using some little cutsey things I had around the house. I also made up the little baby chalkboard the morning of the party for a little something fun. I also hung up some pictures that were covered in brown craft paper I had laying around that I drew question marks on using my silhouette sketch pens. I managed to strategically place the blue tape in the middle of each picture so that I could hot glue the twine without damaging the photos. Then once we revealed the gender, we ripped off the paper to reveal photos from our paint fight gender reveal photoshoot. {You can see more pictures from that awesome moment in our lives here.}
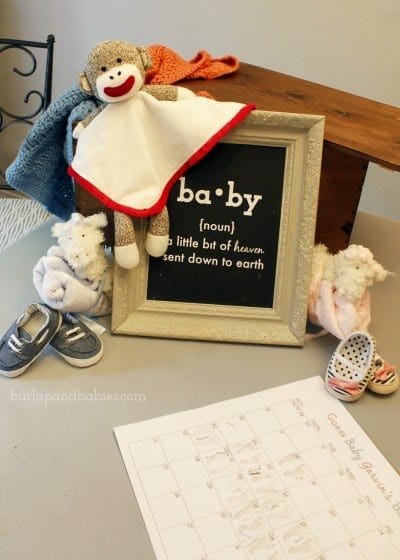
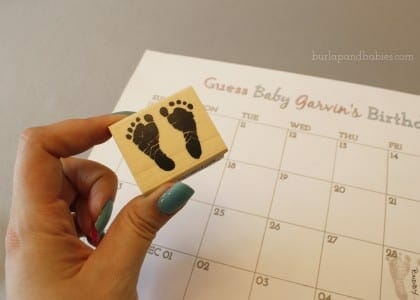
A few days before the party, I found a footprint stamp at Michael’s and with a 40% coupon we had it only cost about $3. I then designed a calendar with my due date right in the middle so that our guests could guess when our little one will be born. Using my silhouette sketch pens, I sketched out the calendar since the 12×12 paper wouldn’t fit in my printer and now I have a personalized calendar to show this little one some day all the people who came to celebrate her.
Next to the calendar, we made little “Dear Baby Garvin” cards for guests to also guess the weight, length, and write some words of advice. Some people wrote advice to the little one like “sleep a lot, mommy needs it!” Where others wrote advice to us. Like my brother-in-law who wrote “HAVE MORE!” Clearly, everyone in the family is excited to have little ones around finally!!
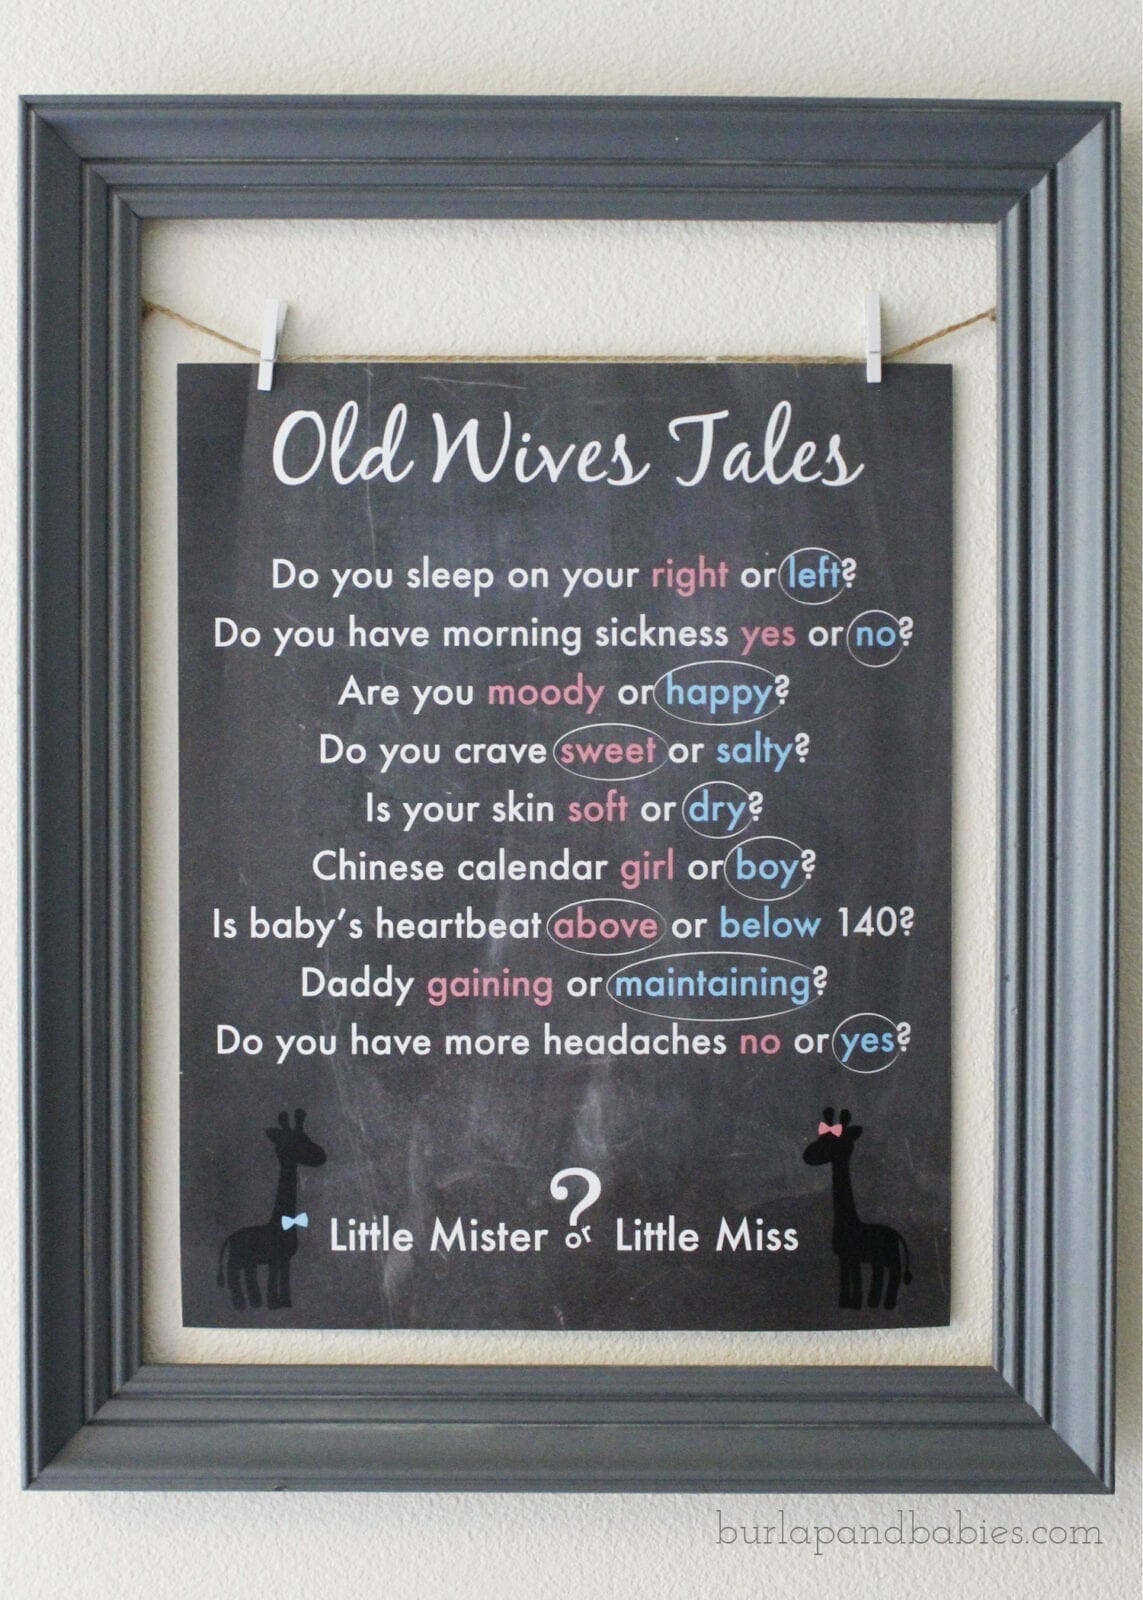
Around the corner, I hung up an Old Wives Tales poster I designed and had printed at Shutterfly.com when I received a free one in my email. Based on these Old Wives Tales, this little one should definitely by a little mister….but boy were they wrong! So much for believing the old wives.
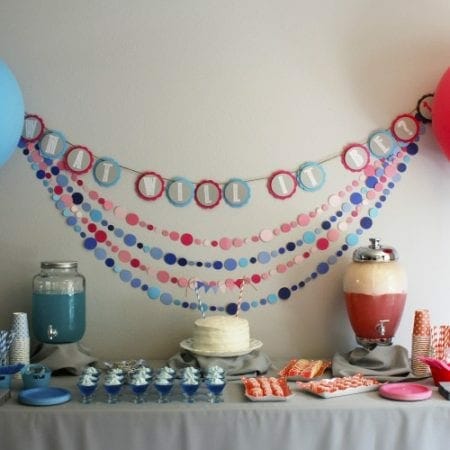
And then the best part of the party…..the food table!
Gender Reveal Party Food
On the boy side we had blue punch {Hawaiian punch mixed with Minute Maid Lemonade}, blue jello with some homemade whip cream mixed with a little blue food coloring, and then blue bow tie cookies.
On the girl side we had pink punch {Sprite mixed with sherbet ice cream}, pink lemonade fudge {recipe can be found here}, and pink bow cookies. These cookies took a big chunk of time the days leading up to the party but boy was it worth it! I just love how they turned out!!
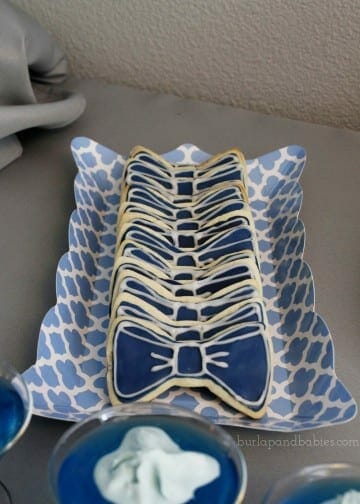
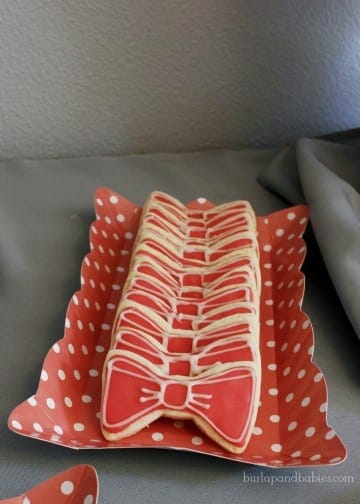
The giant, round balloons I dreamed of having since day one when I started planning this party. I had seen some big balloons floating around the blogosphere and knew we needed some to frame our dessert table. The rest of the decorations behind the table I made up using paper I found at Michael’s.
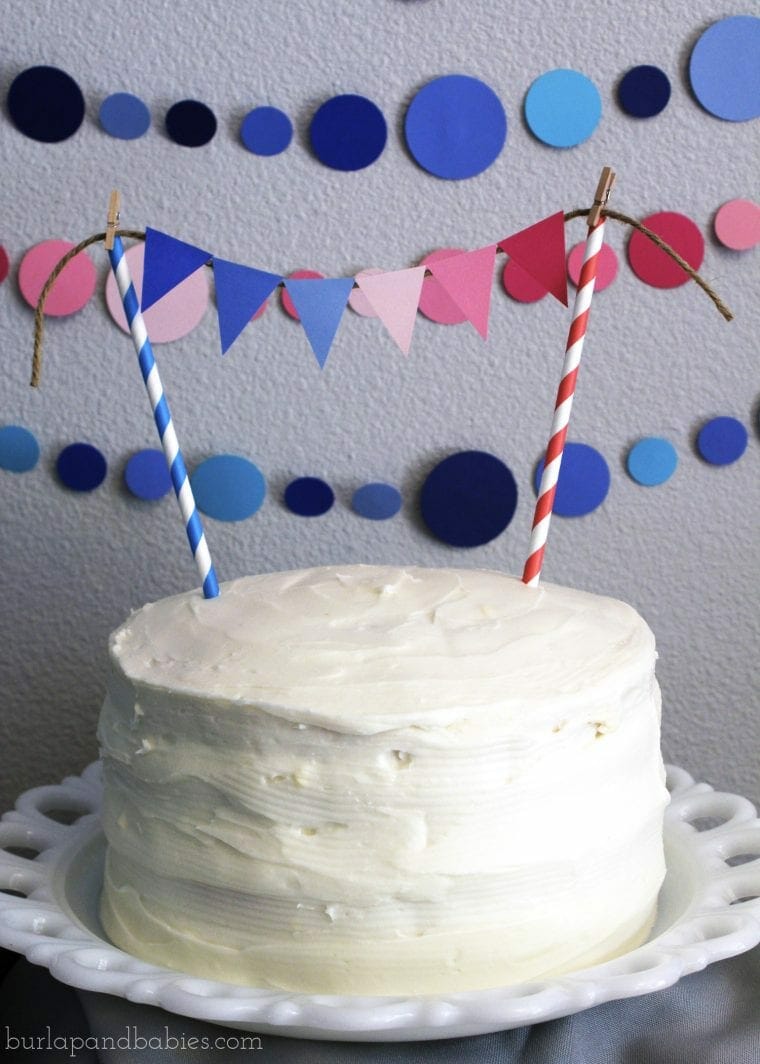
Now for the cake. I LOVED our cake! We bought just two plain white Betty Crocker cake mixes (enough to make four layers) and I made them up ahead of time and stuck them in the freezer. The morning of the party then we just had to cut each layer even and make up the frosting. On top of the cake we just wanted something simple since the rest of the party was so decorated. I made a little bunting flag using scraps of the blue and pink paper, two of the straws, mini clothespins I had on hand, and some twine. It turned out just perfect! Little did our guests know that it was just white frosting inside because we didn’t trust certain somebody’s to not stick their finger in early (*cough cough* mom!).
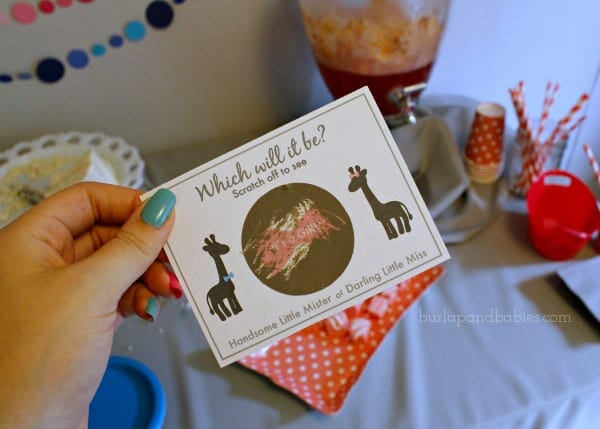
After we cut in to the cake we said “Just Kidding!!” And passed out some scratch-its I made up and then on the count of three everyone scratched off the paint to see “IT’S A GIRL!” {Read all about how to make your own diy scratch-it here!}
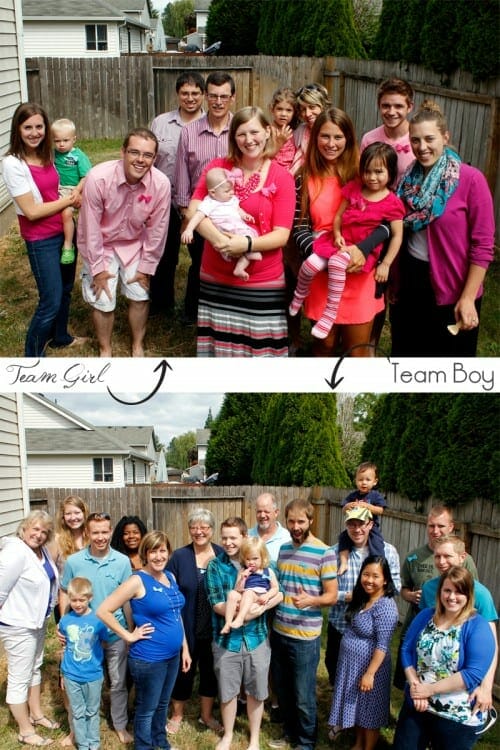
The party was SO much fun and we had a blast being able to celebrate this little one with so many friends and family. Throughout the afternoon I think we had a total of 30-40 people in our home and I wouldn’t have had it any other way! Here’s just some of the special people in our lives who joined us for Team Girl and Boy!
Tell me about your own DIY gender reveal party!
How did you reveal the gender of your little one when you were expecting?
I love hearing about how other people shared their news so I’d love it if you left a comment below or shared a link with me so I can read all about it. I feel like there’s major pressure for baby #2 now but we’ll cross that bridge when the time comes!


These are all such fun and creative ideas! Congrats.
xx,
Sherry
Thanks Sherry! I had so much fun planning it! :)
Amanda
I love the idea of guessing the baby’s due date :) Totally using that for the baby shower i’m helping throw! Thanks! P.S. I started following you on Pinterest and Facebook! So glad I found your blog!
Wow! This gender reveal party looks great! I especially like the team girl and team boy pics of everyone in their blue and pink!
I’m truly enjoying the design and layout of your blog.
It’s a ver easy on thee eyes which makes itt much more pleasant for me to come here and visit more often. Did you hire out a developer to create
your theme? Outstanding work!
I absolutely love your blog and find almost all of your post’s to
be just what I’m looking for. Does one offer
guest writers to write content to suit your needs? I wouldn’t mind composing a post or
elaborating on a number of the subjects you write regarding
here. Again, awesome weblog!
I enjoyed reading your blog. Your pictures are so cute. This is fun and really a great idea I love it!!!!! Thank you, Now I have ideas.
LOVE the scratch off cards. Congrats!
Thanks Katie!!
Hello I was wondering if you could please tell me how you did the old wife’s tale on Shutterfly?? I’m having a gender reveal party this weekend and I would love to have one.