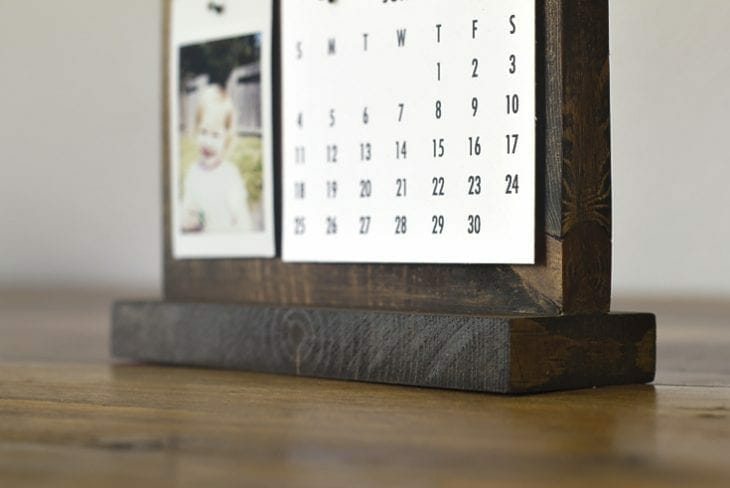
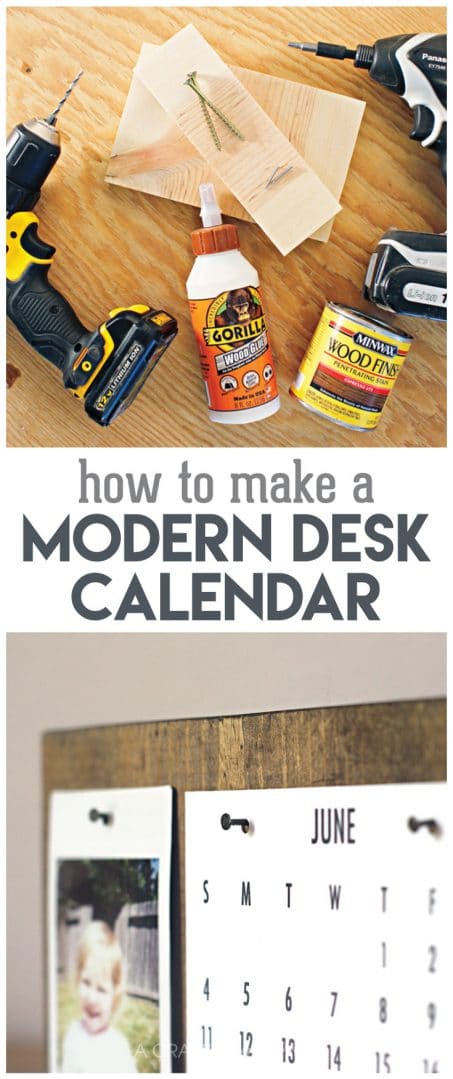
This easy modern desk calendar stand is the perfect display for a picture of your favorite person and a simplistic calendar.
I came to the realization the other day, as I looked around my home, that the only calendar in our home is stuck on three months past and is only displayed for the cute pictures of our kiddos. With technology, it seems our phones are used for practically everything: calendar, clock, the good ole’ telephone…..
But, I’ve realized sometimes we just need to know the date without being distracted by all the time sucks hidden on our phone: Facebook, Instagram, email, texts you haven’t replied to for a few days, etc. Sometimes it’s just handy to have a calendar to glance at. So, I set to work to create a simple desk calendar that could multi-function as a calendar and picture display, and I’m excited to show you how to make one for yourself today!
Here’s how to make a modern desk calendar to proudly display and maybe save you from being distracted by your phone while you’re working. It’s the perfect combo of cute pictures of your children and calendar.
Plus, it’s a super easy DIY project to make while your hubby is at work and the kiddos are napping. I made this one for my husband’s desk as a gift for Father’s Day this year!
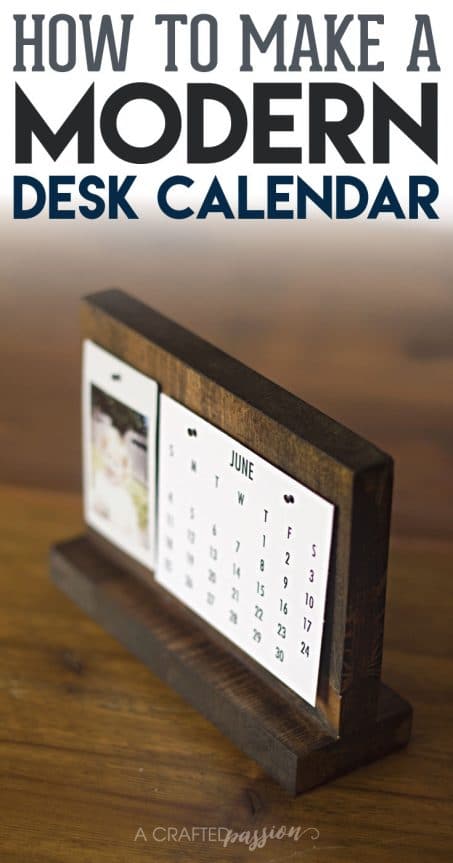
So, here’s how to do it…
What you need to make a modern desk calendar:
- Wood
- Wood glue
- Screws — I used 2 of these long wood screws that I had on hand
- Wood filler
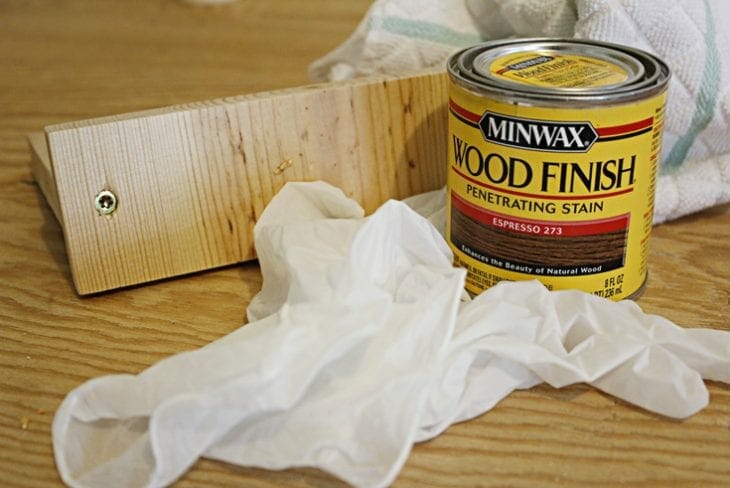
- Stain — This Minwax Espresso stain is my favorite to use on projects in our home!
- Small nails
- Hammered black spray paint
- Instax
- Calendar
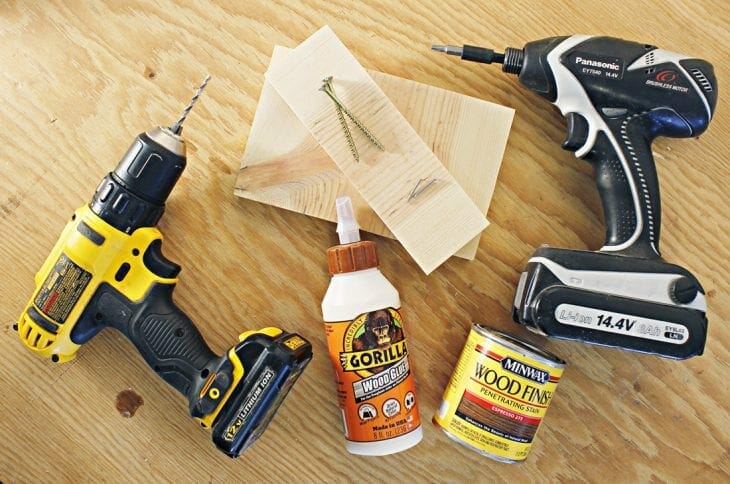
Tools
- A way to cut your boards — handsaw, circular saw or miter saw works great!
- Drill
- Hammer
- Hole punch
Instructions
1 | Cut Wood
Start by cutting your wood to size. I just grabbed a piece of pine that I found in our scrap wood pile. For the base you need 7.25″W by 2.25″H and the top is 7.25″W by 4.5″H.
With this size you have enough room to hang one instax picture next to a custom-made calendar that is 2x the width of the instax photo with a little extra room around the edges.
2 | Level
Often times the edge of a board won’t be completely flush. Choose which side of your larger board will be attached to the bottom and make sure it’s perfectly flat. Use your sandpaper or random orbit sander to even anything out that needs fixed.
3 | Pre-Drill
Grab your drill and pre-drill two holes through the bottom of your board and into the board that is standing upright.
4 | Glue
Now, grab your wood glue and liberally apply it to the bottom of your larger board edge and attach it to the middle of your base.
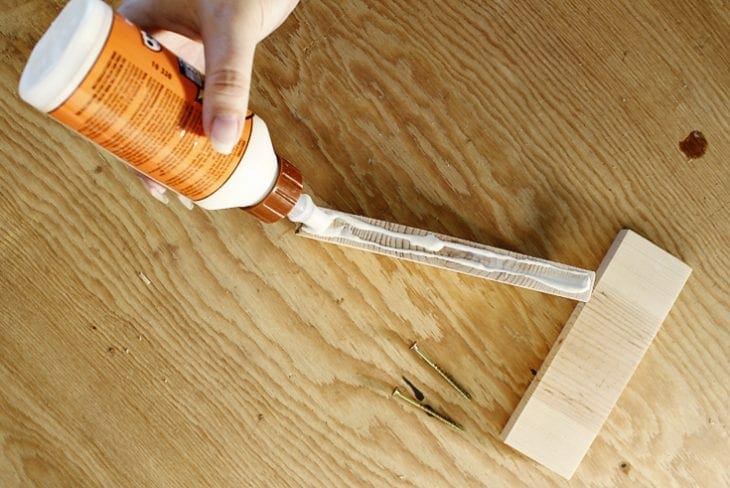
5 | Screw
Next, grab your two long wood screws and screw the boards together. These screws will hold everything together until your glue dries.
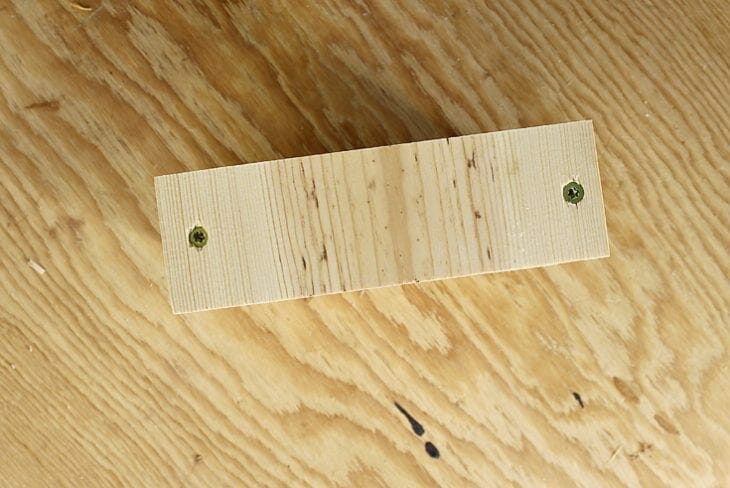
6 | Filler
Once the glue has dried, grab your wood filler and fill in all the cracks and areas where the boards join together. You can either use a putty knife or your finger to fill. Not going to lie, my long fingernails are the perfect tool for this type of job and I rarely use a putty knife anymore.
Read the label of your wood filler, but it’s best to wait at least a couple hours to let it dry. If you have deep cracks to fill wait at least overnight.
Apply additional coats of wood filler as needed.
7 | Sand
When wood filler is completely dry, sand the project in the direction of the wood grain with 120 grit sandpaper.
Vacuum sanded project to remove sanding residue and be sure to remove all sanding residue on work surfaces as well. Then, wipe your project clean with a damp cloth
Related: Get the easy instructions to build a rolling workbench here.
Next up it’s time to stain!
8 | Stain
Grab your stain, gloves, and a clean towel. Make sure your stain is mixed before dipping your towel into the stain. Working quickly, use your towel to rub the stain on your project in the direction of the grain. Depending on how saturated you want your project, wipe remaining stain off with a clean towel after 10-15 minutes.
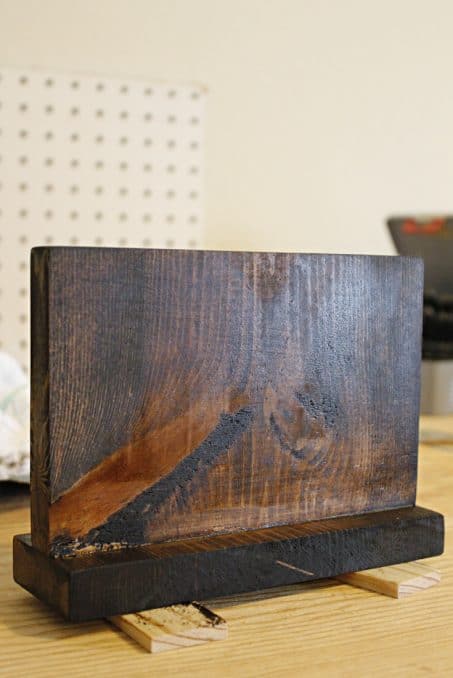
9 | Put It All Together
Next, it’s time to put it all together. Grab three small finish nails and spray paint them with hammered black spray paint to make the modern industrial feel of this project.
While that’s drying, grab your kiddos and your instax camera and head outside. Here’s the trick though! Take the photos with the camera upside down.
This way you’ll have the thick white top to hang the photo from.
I LOVE our instax camera and use it all the time! Don’t have an instax camera? This modern polaroid camera is so handy to have on hand to capture candid shots of your kiddos and the perfect party prop! Get yours here for less than $70!
Related: The secret to capturing that WOW factor in style using your instax!
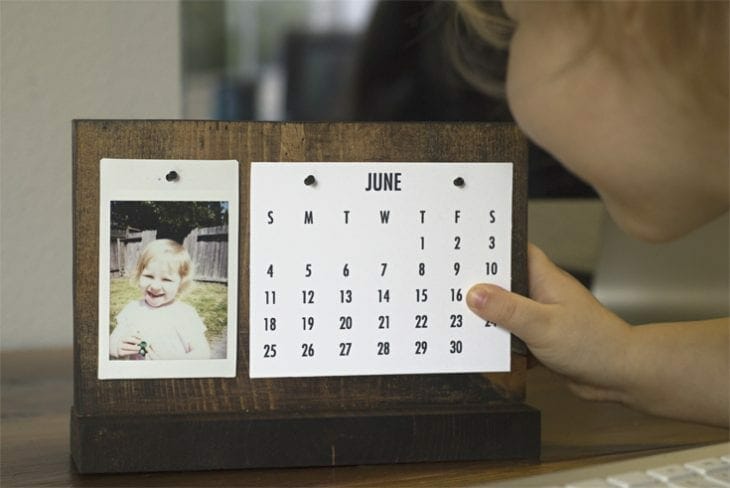
Next, make a simple calendar in any word processing program, excel, or even canva.com. You’ll just want your finished cut calendar to be 4.25″W by 3.375″H. This will make it as tall as the instax picture and twice the width.
Measure down 5/16″ and place a small circle before printing so that you won’t have to guess where to put your hole punch when cutting your holes on your calendar. Once you print and cut your calendar, use a small hole punch to punch out those two holes on your calendar.
Then, take your instax picture and align it to the top of the calendar and mark where the hole is centered horizontally. Punch out the hole on your instax and you’re almost done.
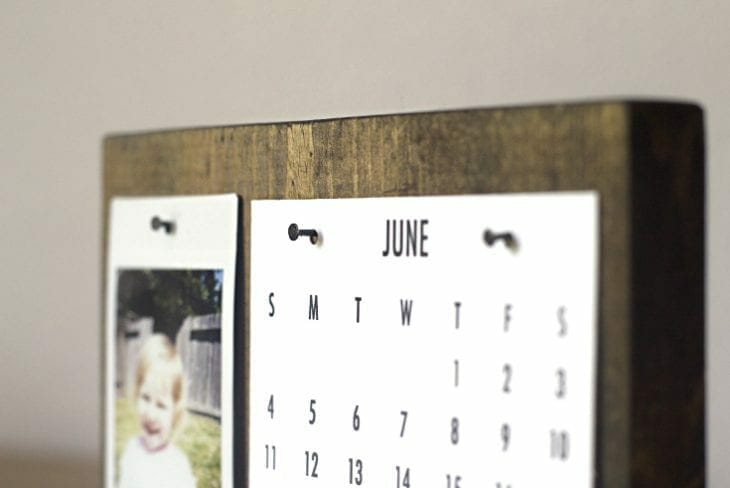
Once the spray paint has finished drying on your nails, hammer them into your board and hang your pictures and calendar.
If you want, you can either hang multiple pictures and all the 12-months or you can just hang one at a time. I wanted to go with the more minimal look so kept them separate.
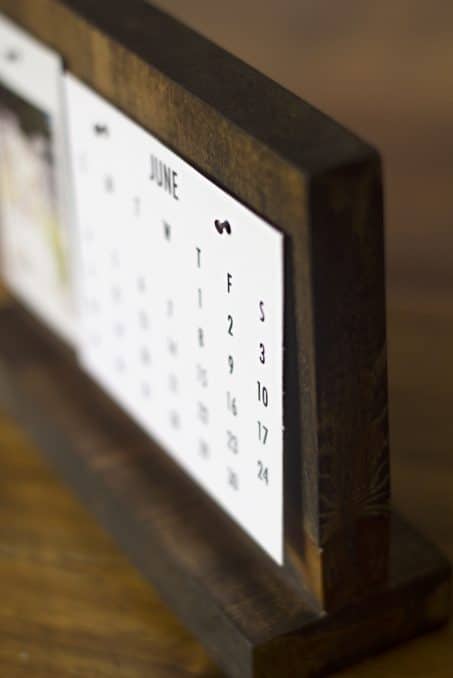
This project turned out so cute and the perfect gift for a dad who already has everything he needs — or so he tells me…
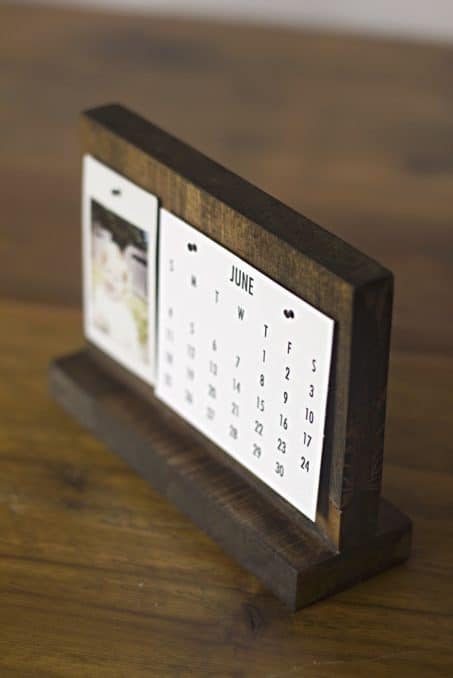
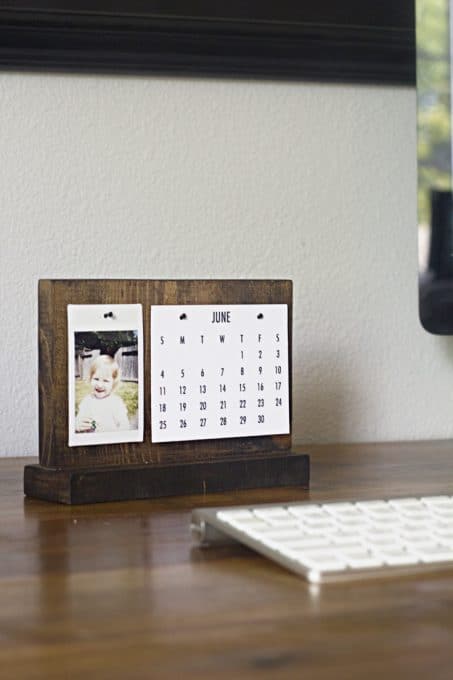
This desk calendar is the perfect addition to my husband’s modern industrial office and I’m sure would love great in your home too! So, what do you think?
Who in your life needs a modern desk calendar? Share in the comments below!
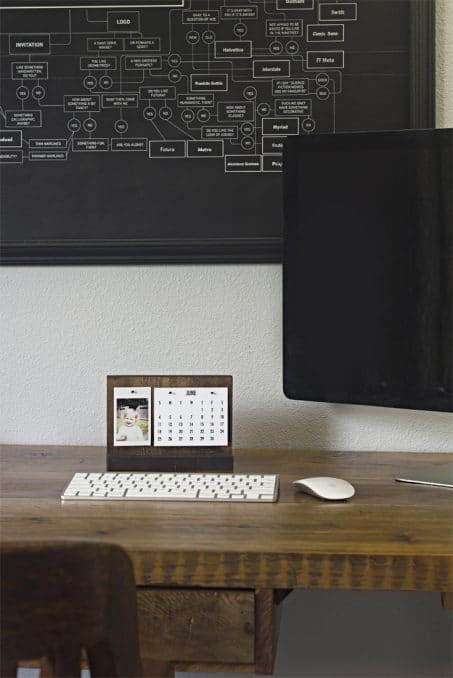



I love how this turned out!! I’ve made something similar before that had hanging tags with numbers 1-31 and then tags with the months so it could be used as a perpetual calendar. I love the way you are able to display cute pictures on this one. Great job :)