Want to learn how to make felt balls? This easy DIY craft project is way too cute and perfect for so many things — make a garland, rug, use as home decor…
Have you seen all the completely adorable things crafters are making with felt balls? Oh my gosh! From sweet, soft garlands for a nursery, to fun coasters, to decorative garlands specifically made in colors to suit every season – they are too cute.
One of the great things about felt balls is that you can make your own. It’s not hard, and if you love working with your hands, it’s really a lot of fun.
In fact, they’re so easy to make that you can create something new as often as creativity strikes. The felt wool isn’t expensive, it comes in plenty of colors and shades, and it’s easy to find. After some trial and error, here’s how to make felt balls.
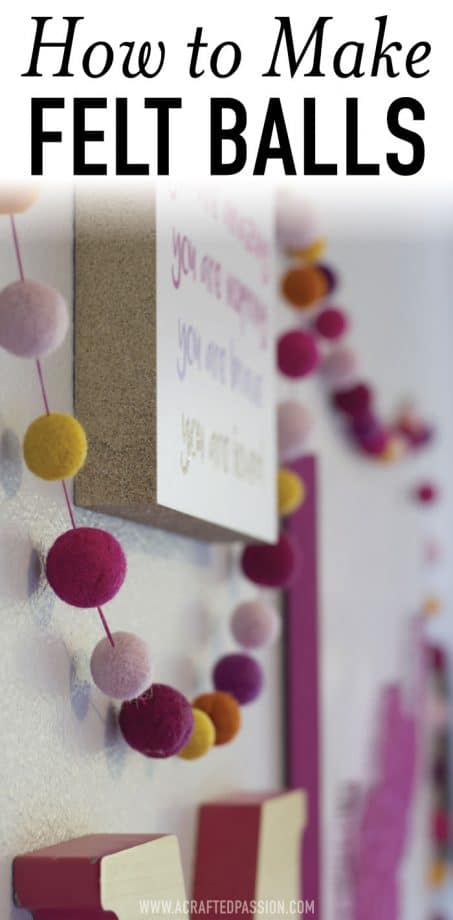
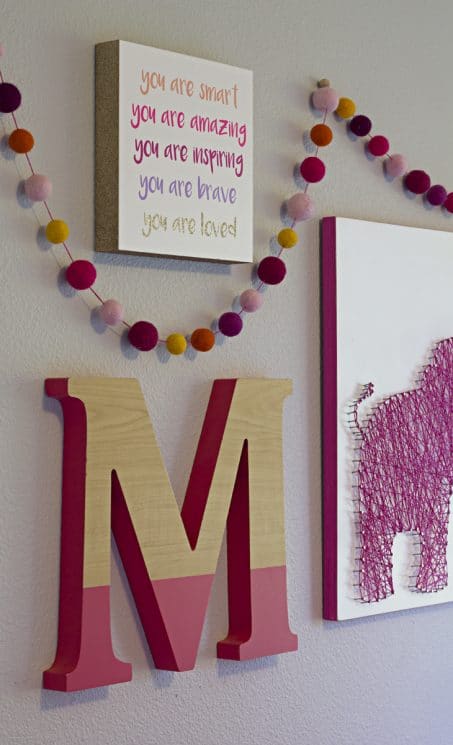
When I first started putting together my inspiration board for Little Miss’s nursery, I knew I wanted to include felt balls. Like Mini Me’s adorable toddler chic room, I chose a color scheme and wanted to incorporate it throughout.
The felt balls were the perfect way to tie everything in her nursery together!
*This post contains affiliate links. For more information, see my disclosure here.
Skill level: Easy
What you’ll need to make felt balls:
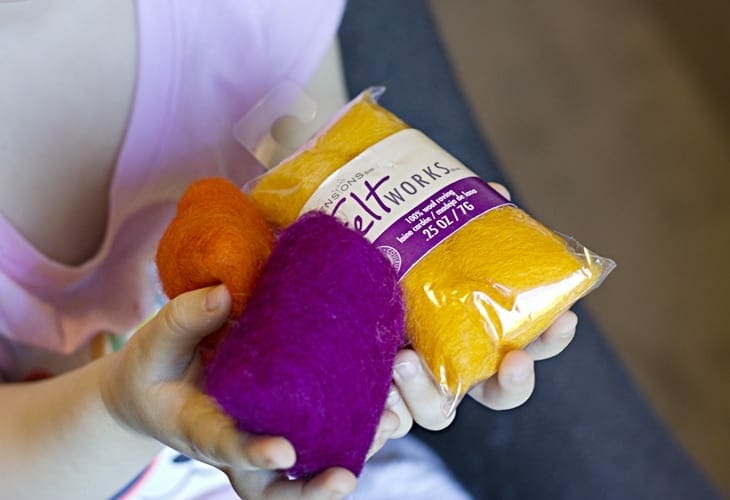
- Felt wool — SO many different, fun colors you can get for under really cheap. I used this orange-tomato pack, rose-cranberry, butter-cheddar, and this pink trio.
- Hot water
- Dish soap
- 3 containers: soapy hot water, warm water, & empty
- 2 towels
- Scissors
Instructions
Here’s a quick video tutorial I made to show you how to make these felt balls. I’ve also explained the steps below and given you some more tips. I will say it takes some practice, but I promise once you get the hang of it, this is an easy project to do while kiddos are playing in the afternoon or while you watch a show on Netflix in the evening.
1 | Cut
Cut the felt. While it’s not an exact science, cut your felt into about 4″ lengths. This will vary depending on what type of felt you buy, the width of your felt, and what size balls you want.
2 | Stretch
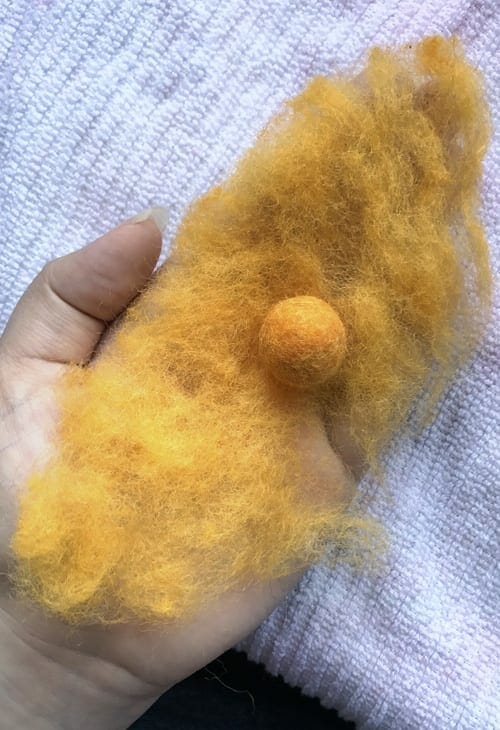
Stretch the felt. With your fingers pull the felt apart little by little until it looks like a piece of airy cotton candy. Hold it up to light to look for any dark spots. If there are any dark areas, spread that area more.
This is an example of what size ball the stretched felt will make for reference.
3 | Soapy Water
Put a quarter size amount of dish soap into an empty container. Add hot water. If it’s too hot to touch add just a small bit of cold water.
Dip in warm soapy water. Working with one piece at a time, dip the middle of your stretched felt into your soapy water.
4 | Rough Ball
Holding your felt in your palm, with your other hand start twisting the felt with your fingertips to pull the edges into the middle. This helps get all your felt wet and start forming a rough ball shape.
Once you have a very loose ball shape but it no longer looks like a rectangle, hold your felt ball over an empty container and pour a little hot water over it. At this step the ball will have a wet and dry side. Hold the ball so the wet side is on top when you pour the hot water so that the soap moves down to the drier side.
5 | Roll Loose Ball
Using the palms of your hands, gently begin rolling the wet felt into a tighter ball, adding hot water as needed.
Make sure the water stays warm and squeeze any excess water if it gets too soaked. You want the ball to be wet, but not dripping with water.
The point of rolling gently is to make sure all the fibers get connected. If you go too fast or try to form the tight ball too quickly than you risk the felt getting cracks. If you get a crack, separate the two sections where the crack is, pull out some of the felt so there are strings filling the crack on either side and now slowly start rolling the ball between your hands again. This should help the two sides go together.
I’ve shown you example below so you know what I mean.
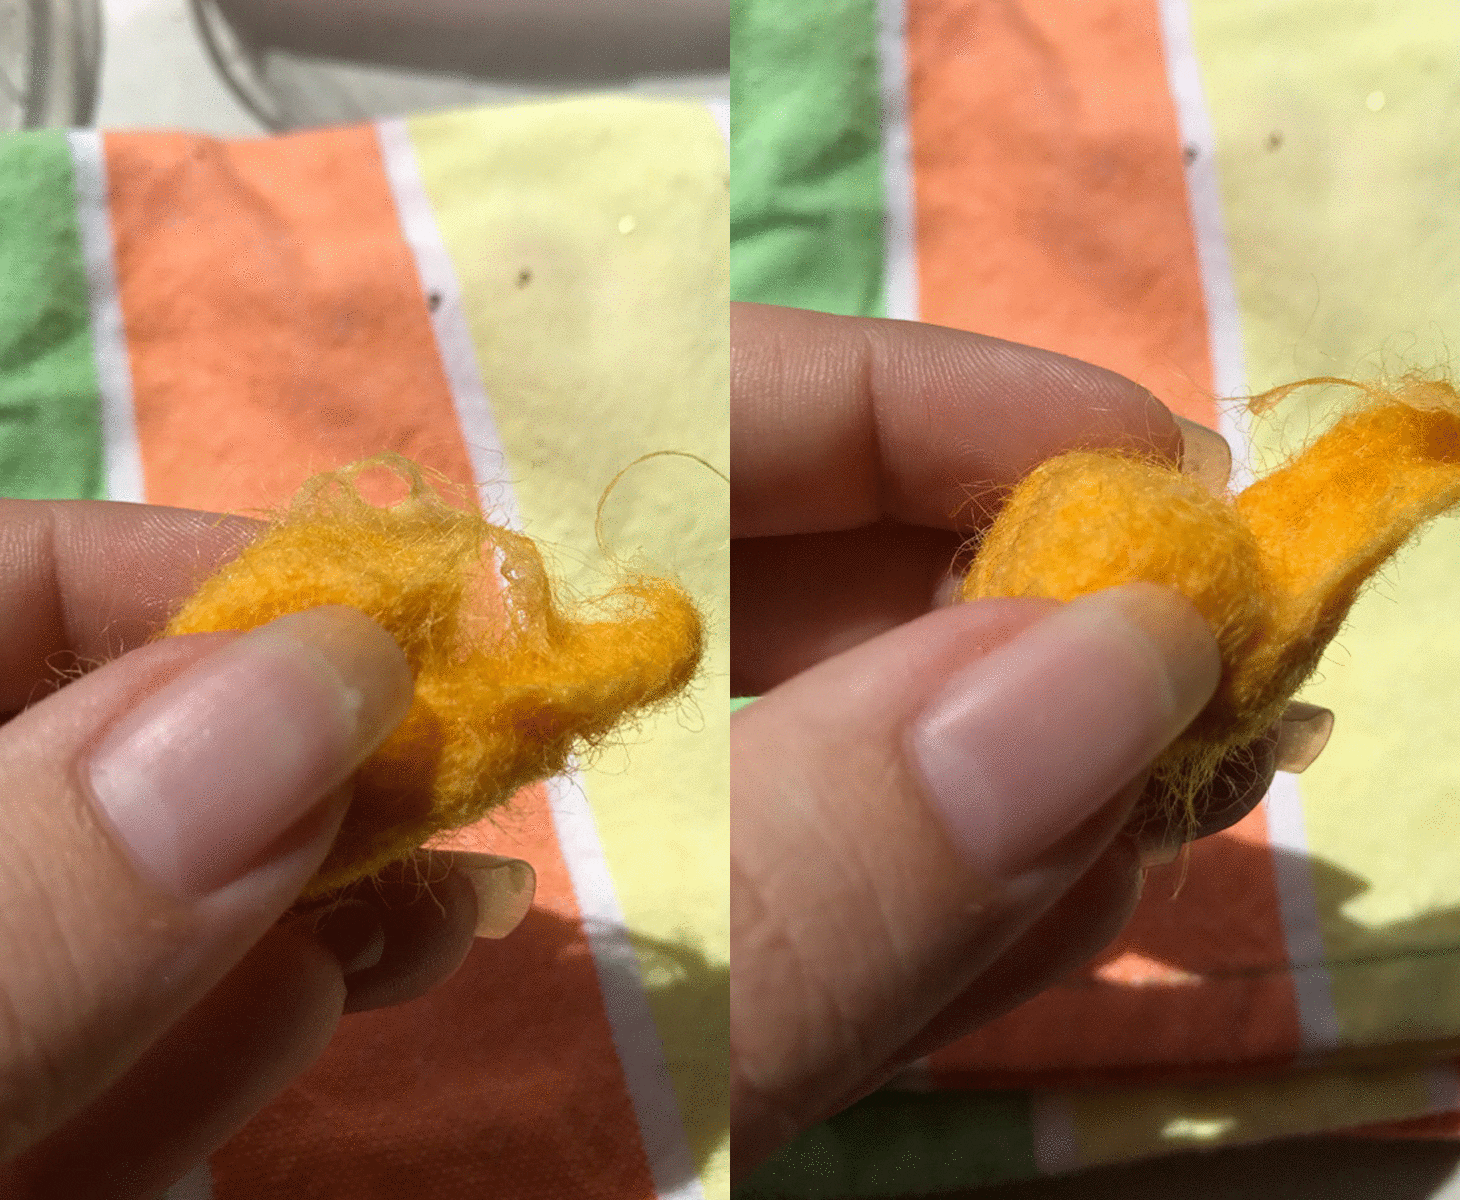
This process takes some practice getting the hang of it, but I promise it gets easier. Start loosely rolling again to make it form a ball again.
6 | Tight Ball
Once you have a well shaped loose ball and there are no cracks, start to press down harder, and just continue to roll until you have a felt ball the size you want. You’ll know it’s the right size for the amount of felt you started with when you squeeze the ball between two fingers it isn’t able to compress much.
Here’s an example of the difference between steps 5 and 6.
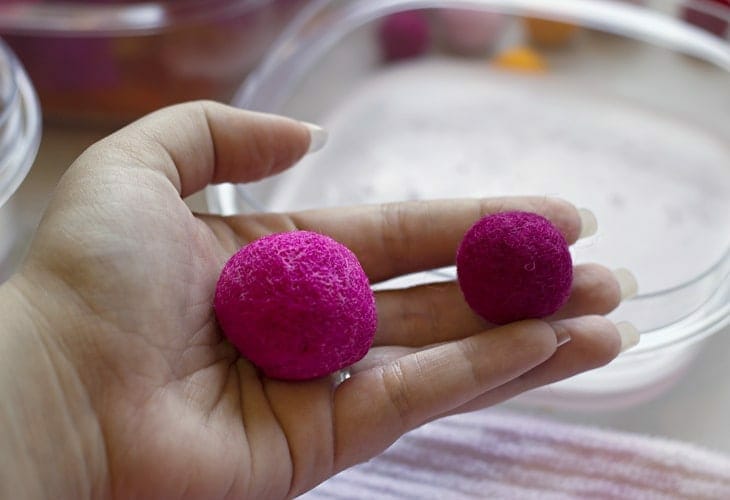
If you push down too hard too quick then you’re more likely to get cracks, so that’s why you need to take things slowly. Note that as the felt balls start to dry they will expand a little bit
If your ball (and hand) end up looking like this, job well done! Just use a little bit of water to rinse the ball off and set the ball aside to dry.
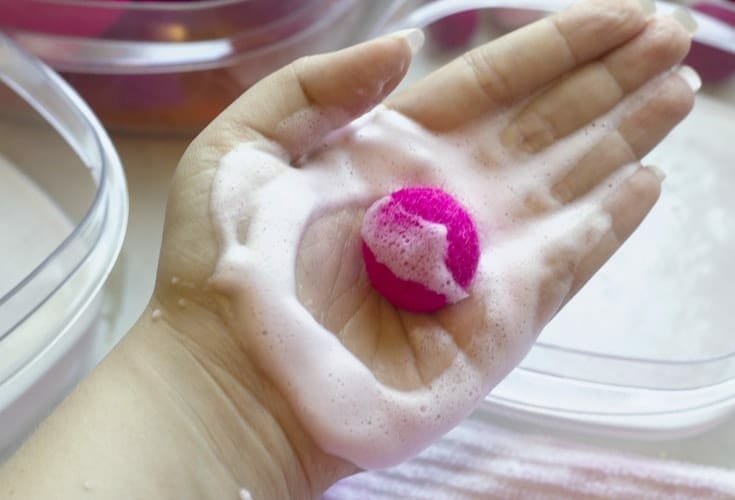
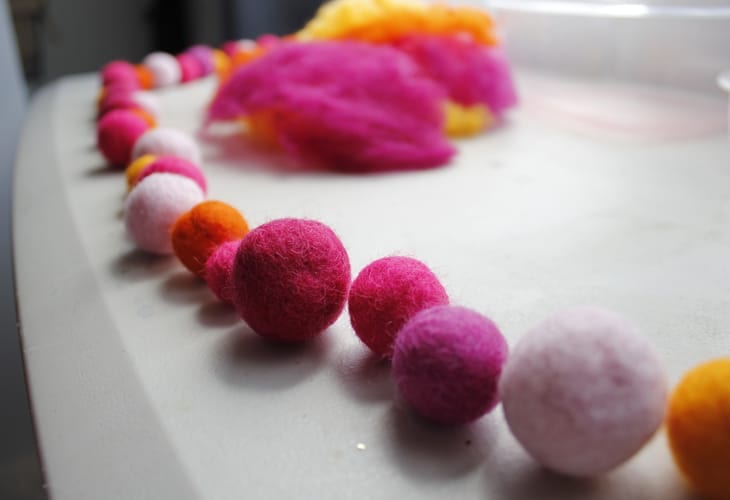
Once all your felt balls have dried you can decide what you will do with them. I made these to go into Little Miss nursery and they were the perfect touch for her colorful nursery!
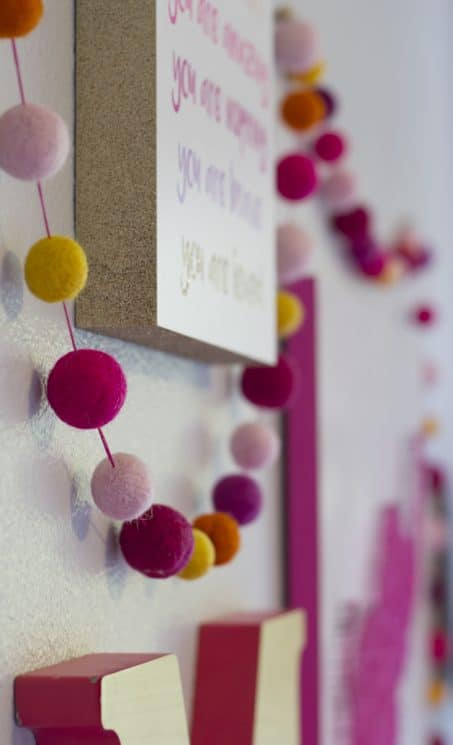
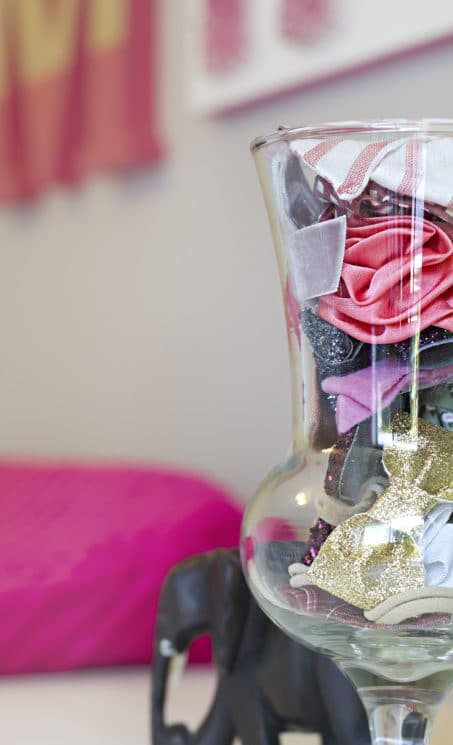
P.S. I might be addicted to Little Poppy bows! They’re pretty much the best and fill the bow chairs in both my girls rooms. If you don’t know what they are, check out how to start your own affordable bow subscription here!
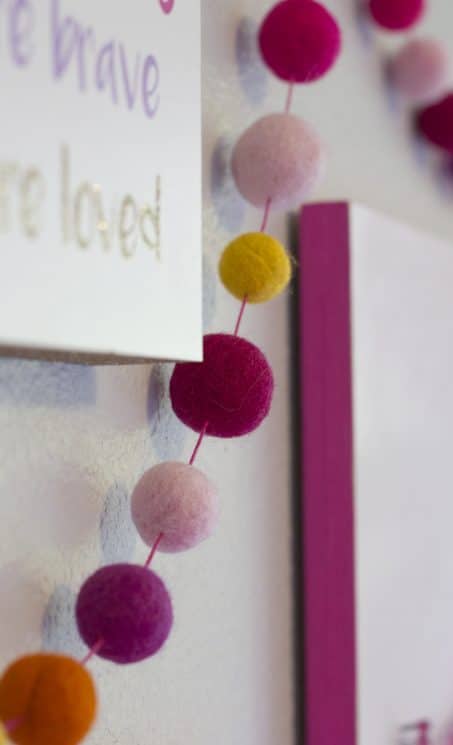
Don’t have time to make felt balls yourself?
What do you think? Are you going to make your own felt balls? I’d love to know what your experience is when you do. Come back and tell me all about it, and what kinds of beautiful crafts you made with them!


How many felt balls does one package make – using the size of balls that you made in your tutorial? Trying to gauge how many bags I would need to order.
This is going to be the 4th tutorial I’ll try, lol. Funny how they’re all different! I’m keeping my fingers (and eyes) crossed that this one works out better!