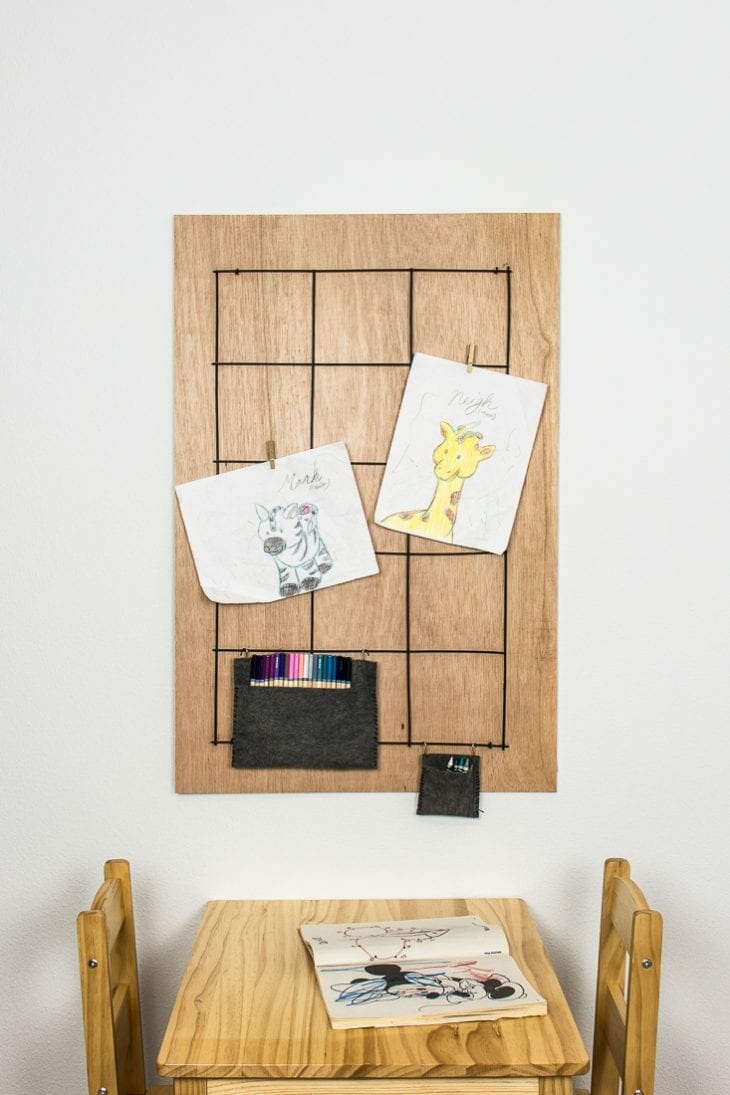
Create a kids art display with a board, rebar, and some clothespins. This DIY idea is perfect to hang on the wall for children to show off their latest creations.
There comes a time in every mom’s life where you realize you can’t keep hoarding every single picture your little one colors or puts her handprint on. But what about the special ones?
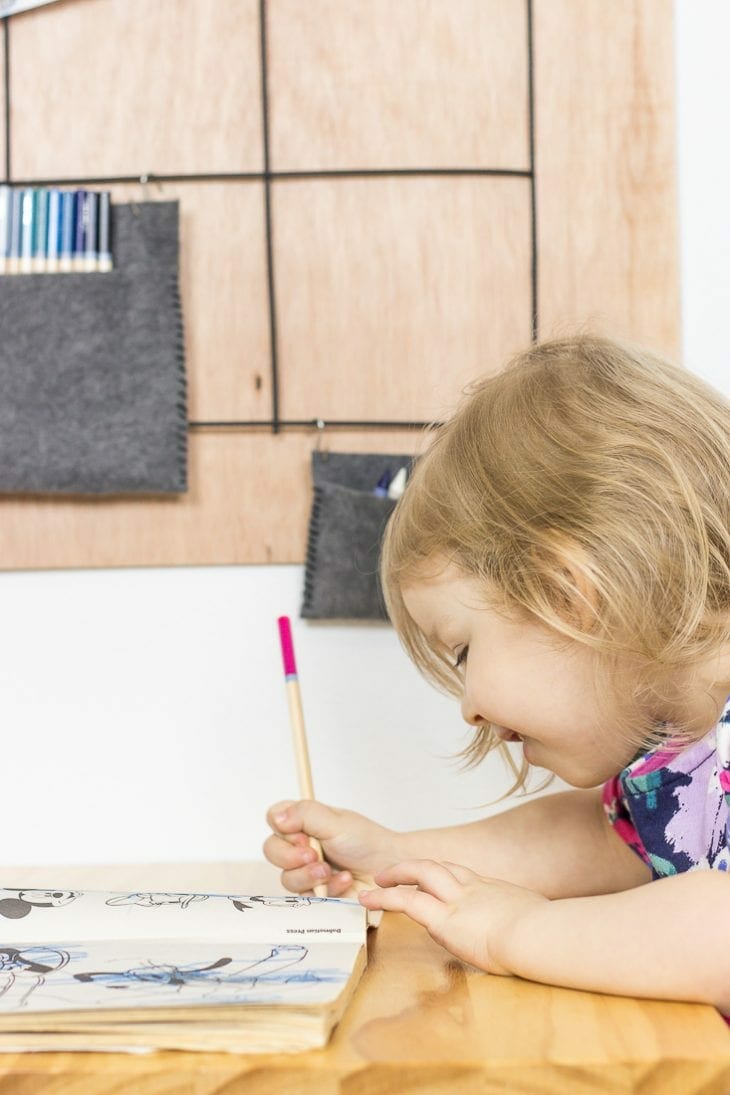
My 3 year old is a coloring machine! Her daddy is a graphic designer and started drawing when he was really young. He’s working hard to pass that on to his girls and so far it seems like Clara is a major art lover like her daddy.
It was time we figure out a better system for organizing all her art and make a kids art display and organizer.

*This post contains some affiliate links for your convenience (which means if you make a purchase after clicking a link I may earn a small commission, but it won’t cost you a penny more)! Click here to read my full disclosure policy.
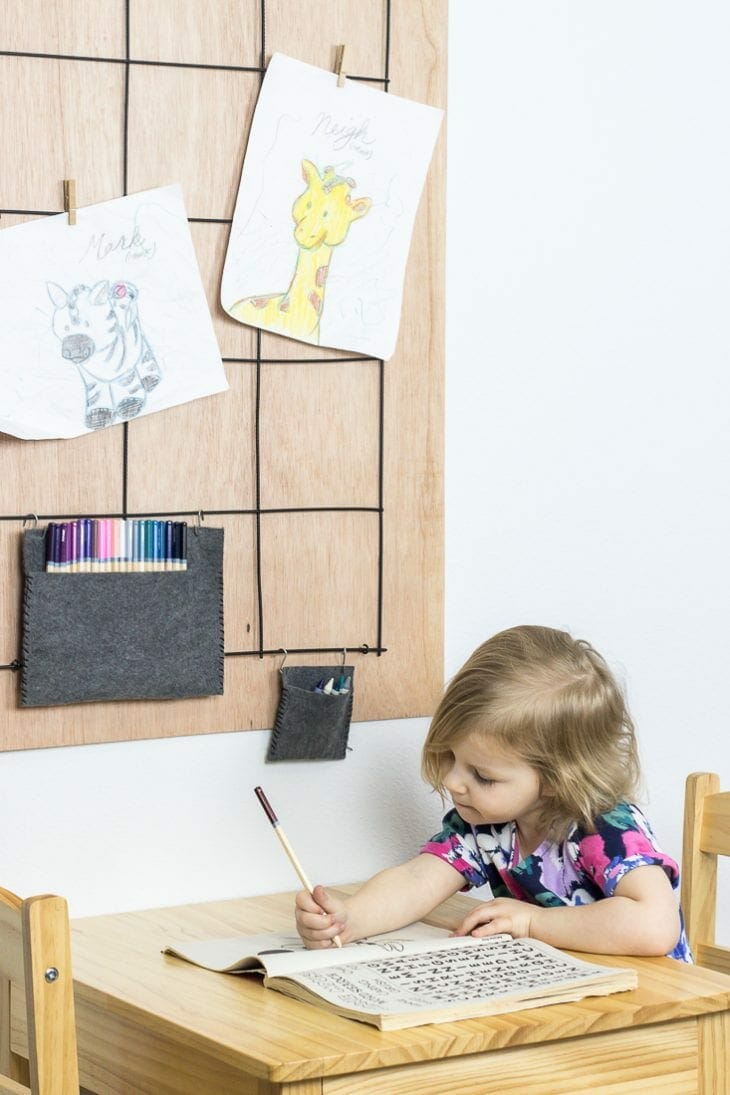
For Clara’s 2nd Christmas we got her this small table and chairs and that is probably the most used piece of furniture in our home. She spends hours coloring and practicing her circles and letters at that table. It was time to jazz it up a bit, get some better organization for her colored pencils, and have a spot to display some of her favorite art.
Craft Time: 30 minutes
Waiting Time: 1 hour
Skill Level: Intermediate
Cost: $15
Materials to make kids art display:
- 2’x3′ 1/4″ birch plywood
- 18″x30″ remesh sheet
- Matte black spray paint
- Ceiling hooks
- Clothespins
- Command strips
Tools:
- Sander
- Bolt cutters or grinder
- Metal file
- Drill
1. Prep Plywood
First, you need to cut your plywood to size. Ours is 2′ by 3′ and I just ran it through the table saw to get it to size. If you know the measurements when you buy your material, you can have them cut it down for you at Home Depot.
Once it’s cut, sand down the whole piece to smooth out the edges and top and bottom. Little hands might be running all over this so you want to minimize the possibility of splinters.
2. Cut Remesh
This wire mesh from Home Depot is used to provide support in a concrete slab. It’s like small rebar and is super strong. You can buy a 42″ by 7′ piece for about $8 and that is more than enough for a large kid art display grid.

The squares are 6 inches so you can cut a 3×5 grid to attach to your 2’x3′ board. The best way to cut your remesh is with bolt cutters. These are usually used for cutting locks, but also super handy for cutting this remesh. If you have an angle grinder, this would actually be the best thing to use, but we didn’t have one on hand.

Cut your remesh down as close as you can get to the joint and then use a metal file to round the corners.

Clean your cut remesh with rubbing alcohol before painting.
3. Paint
Give your cut remesh a few coats of matte black spray paint.
Looking back, it’d be fun to have painted the back board similar to how I did with the giant pegboard.
4. Add Hooks
Now, it’s time to add hooks to the board for the remesh to hang from. Measure in from the corner 4 inches from the side and 3 inches from the top and drill a small hole right there with a bit that’s a little smaller than the hook screw.
Screw in the small 1/2″ hook from this pack.
Repeat this with every corner of the board. Since the remesh is meant to be in concrete, it isn’t perfectly straight so having a hook in each corner will help it not hang so wonky.

Don’t worry if the screws poke through the back. Just add a dot of hot glue to be safe, but the command strips when you hang the board are thick enough that the screws won’t reach the wall when hung.
5. Hang
Once the paint on your remesh has dried, it’s time to put it all together.
Add two large command strips to the top of the back and one medium size command strip in the center on the back of the bottom of the board. This is plenty to hold the board plus remesh up.
Once it’s attached to the wall you can hang the remesh from the hooks. It might take a little finagling to get the remesh on the top hooks and slip on the bottom hooks at the same time.

All you need now is some clothespins and your kiddos favorite artwork.
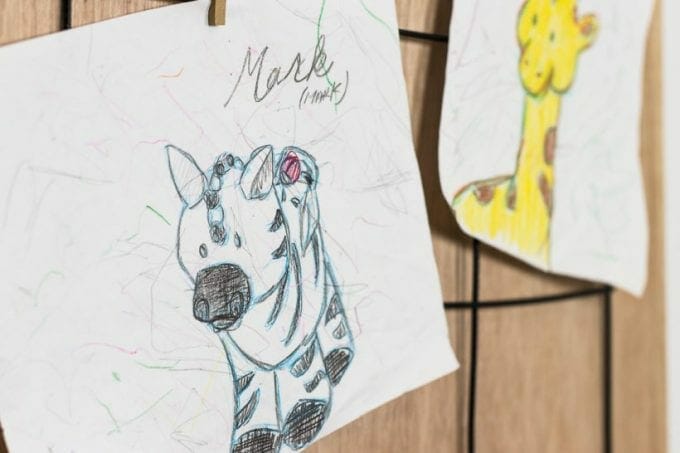
I love how this kids art display turned out! These two drawings are the some of Clara’s favorite that her daddy drew for her and then she helped color, Neigh the giraffe and Mark the zebra.
Stay tuned for the colored pencil holder DIY coming your way tomorrow.

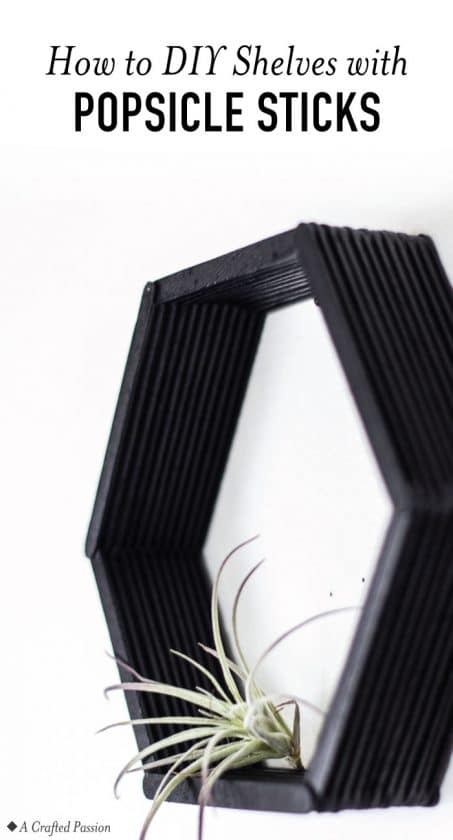
Make these DIY hexagon shelves using popsicle sticks for some simple honeycomb decor. This look amazing!
Make these homemade cork coasters to protect your table. This modern geometric design can fit any style with a different cut or color. 