Make art supply organization for your little artist using felt and embroidery floss. This is perfect for kids and organizing small spaces in your home.
When I made the new art display for the art corner in our living room, I knew I’d need to figure out a way to incorporate colored pencil and crayon storage. Before, we just had all the pencils tossed in a large mason jar so every time Clara wanted a new color she’d dump the whole jar. Super convenient, y’know?
I was planning on turning my husband’s old office into a playroom, so I had been holding off on figuring out art storage, but enough is enough. The office is too far away from the main part of our house, so I had to move to plan B.
And honestly? I think I love it more than plan A!
This art supply organization is super simple, but looks great! Plus, it’s easy for Clara to maintain! That’s always a major bonus!!

*This post contains some affiliate links for your convenience (which means if you make a purchase after clicking a link I may earn a small commission, but it won’t cost you a penny more)! Click here to read my full disclosure policy.
Craft Time: 10 minutes
Skill Level: Easy
Cost: $5
Materials to make your :
- Soft felt
- Embroidery floss
- Needle
- Scissors
- S hooks
1. Cut Felt
Cut your felt to size depending on what you’ll be putting in the pouch. For colored pencils, you want about 6″ for the front part and 7″ for the back.
Depending on the size of felt you get, you just need to fold the felt in and then trim any excess. It’s nice to have the backside a little higher than the front to hold in the pencils better.

2. Sew Sides
Cut an 8″ piece of embroidery floss. Tie a knot on one end and then thread your needle. Starting at the bottom, stitch up your sides. Just make sure and start on the back so the knot isn’t seen from the front.
Don’t worry about leaving space in your pocket for art utensils since the felt has a bit of stretch.
For large pouches, add a stitch right in the middle to hold the felt together a little better.

3. Add Hooks
Once you have both sides stitched and knotted, poke a hole in the top of your felt on the back piece for your s hooks and then hang that puppy up. I love how it turned out and can be moved around on our new kids art display depending on what art is being clipped up at the time.


Create a kids art display with a board, rebar, and some clothespins. This DIY idea is perfect to hang on the wall for children to show off their latest creations.

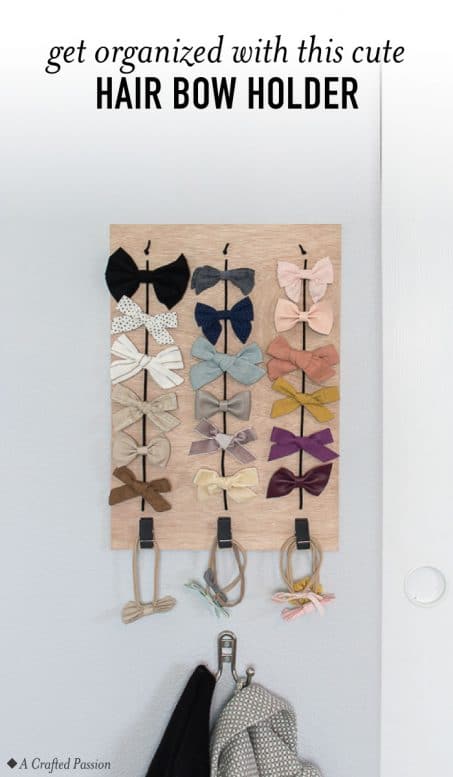
Learn how to make a simple hair bow holder to get all your cute little bows organized with this easy DIY idea.
How sweet! I have fallen in love with it!!! I’m an avid DIYer and always try to be busy with some new projects! Was searching for a unique idea. Yours made me stop and crazy to do it asap! In a hurry to start. Wish me a good luck Amanda! :)