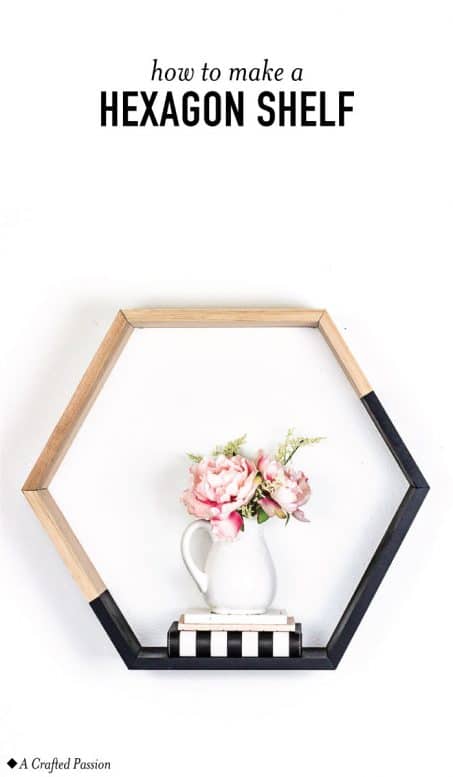
Make a large hexagon shelf to display cute decor in your home. This simple DIY is perfect to hang in your bedroom, living room, or bathroom!
Is it true?! Today is the last day in this series! I know I’ve said this already like 10 times, but this might be my favorite project of the series. It’s simple, easy, quick to make, but makes a big impact. This hexagon shelf is over 2 ft wide and gorgeous!
The mix of matte black and raw birch is clearly a favorite of mine for this series, so of course I had to pull it out for this last post.
Let me show you how to make your own hexagon shelf!
*This post contains some affiliate links for your convenience (which means if you make a purchase after clicking a link I may earn a small commission, but it won’t cost you a penny more)! Click here to read my full disclosure policy.
Craft Time: 45 minutes
Waiting Time: 1 hour
Skill Level: Intermediate
Cost: ~$30 (depends on the type of wood you buy)
Materials you need to make a hexagon shelf:
- 7 feet of 1×6 board — I used birch to match the rest of the raw wood projects in the majority of my home
- Miter saw
- Sander
- Wood glue
- Micropinner/clamps
- Sawtooth hangers
- Painter’s tape
- Matte black spray paint
1. Cut
First, take your 1×6 and cut 6 12″ boards measured from long point to long point at a 30 degree bevel.
Just like with the mini triangle shelves, you need to flip your board over after each cut to make sure your angled cuts are all going the correct way.

I’m not going to lie, I’m not the best at measuring. I’ve found it’s most accurate laying the first cut board on top of the uncut board with the long edges together. Line up the cut ends at the longest point and draw a straight line on the opposite side and then cut on that line.
You just need to make sure you’re consistent with which side of the line you put your blade each time.

2. Sand
Sand any edges that might have loose wood, but be careful to not overdo it or your joints might not match up perfectly.

3. Attach
Now, it’s time to attach it all together.
You’re going to need your wood glue (this glue is my favorite!) and a micropinner or brad nailer. I like the micropinner because I’d rather not see the nail heads.
Also, please tell me I’m not the only one who works in slippers. It was 32 degrees yesterday as I made this hexagon shelf and I had to run inside every 10 minutes or so just to get feeling back to my fingers again. Brrrr!

Add a line of wood glue to one edge of a board, spread it to get an even cover, and then join up the edges.

Once you get them aligned and flush, add in 2-3 pins to hold it in place until the glue dries. If you can, it’d also be great to add a clamp to each joint to keep it together well.

Once the glue has dried, it’s safe to give the joints a quick sand to make sure it all looks and feels even.
4. Paint
Next, use painter’s tape to tape off straight lines where you want to paint. Give it a few coats of matte black spray paint and then leave it to dry.

5. Hang
All you need to do once the paint has dried is to hang it up. You can just use two small nails to hang it from, but I’d suggest attaching 2 sawtooth hangers to the back of the center piece. These are the ones I like to use.

I love how this shelf turned out and was a perfect project to end our Naptime Craft Time series on. It’s not too difficult and I literally did the whole project from start to finish during naptime yesterday.
Confession, I might have been a little rushed for time because the girls apparently had a little pow-wow and decided it’d be a good day to not nap at the same time and I didn’t wait for the glue to dry completely, so do as I say and not as I do. #reallife

I can’t believe this series is over! What a crazy month!! I had so much fun and I hope you did too!
In case you missed some of the posts, you can check them all out here sorted by the approximate cost to make it easy for you to find what project you want to work on next.
Take a look and then I’d love to know which project you’re planning to tackle next!
See all the projects here

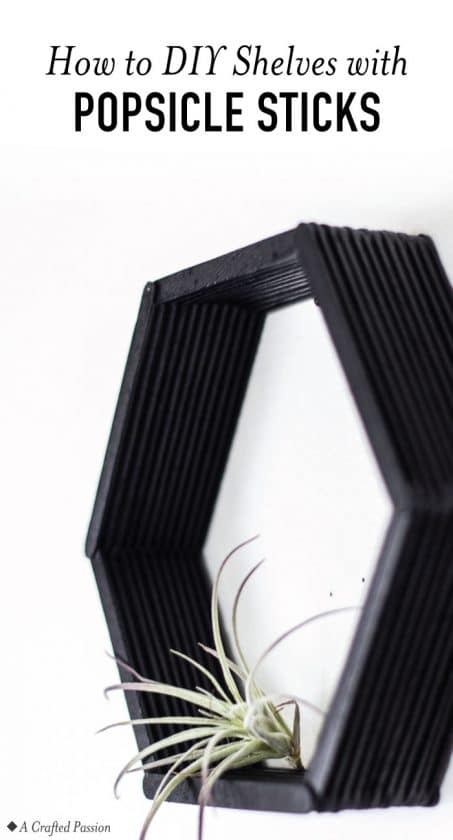
Make these DIY hexagon shelves using popsicle sticks for some simple honeycomb decor. This look amazing!
Learn how to make DIY pipe shelves using copper pipes and this simple tutorial. This modern shelf is perfect to add in your home and budget-friendly!
What a fun project! I love how you have painted some of the shelf in black! Super classy! I have only just recently gotten over my phobia of nail guns and am totally addicted now! Might have to try making this too! Awesome tutorial!
Thank you so much for sharing your Hexagon Shelf Project with us over at Waste Not Wednesday!