I can’t believe we have just one week left in our kitchen renovation! The past 5 weeks have flown by, but they’ve also gone so slow at the same time. I CANNOT wait to show you the final kitchen and dining room!
It’s not done yet, but I can see it all start to come together and it makes me giddy inside. I told Justin last night, “I can’t believe this is really our kitchen! I thought we wouldn’t have a kitchen like this until we were in our 50s at the earliest.” So grateful for Jeffrey Court for inviting me to participate in the Renovation Challenge to give me the little push I needed to dive right in.
PROGRESS REPORT
Wow! What a week! I warned you last week that I thought this week would be a big one…and boy did it not disappoint. Life with a 2 and 4 year old, one stay at home momma trying to hustle her bum, and a daddy who only gets to see the kiddos a few hours a day before bed time, makes for some very late nights.
Check out this week’s video diary and all that we got done. It’s been busy and the kitchen is turning out amazing!
We had to move everything on our project calendar up a few days because we had a death in the family and the funeral is on Saturday three hours away. Since we were already behind by about a week from originally planned, it made for some very late nights and calling in some help, but….
But YA’LL!!! We did it! We checked everything off the list. We’ve only got a few small projects we’re wrapping up and then it’s time to label alllll the things, but I’ll get there.
I am so grateful that my mom’s husband and father-in-law were able to come over and share their expertise to help with some of the tougher projects like cutting the butcher block for the sink and attaching the two corner pieces together last week. Drilling into your gorgeous new butcher block counters is a little terrifying and it’s not like you can fix it if you mess up.
The stress level was very high for a few days, but we did it and we all still like each other, so that’s a plus!
These are the clamps we got to attach the corner pieces of counter together.

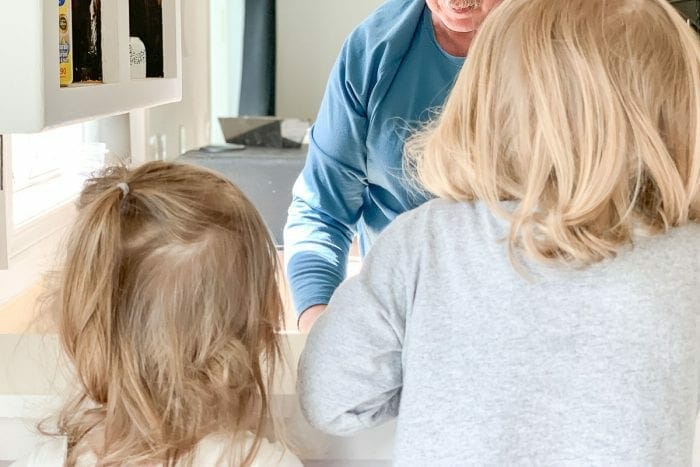
The girls got a lesson on what hot mud is from grandpa.
The sink was an adventure. I’m grateful my mom’s husband used to do corian countertops full-time and has lots of experience cutting out sink holes. We called him up when it came time to attach the sink to the counter and he had all sorts of tricks up his sleeve to make sure everything went down without a hitch.
Hot gluing wood blocks on two sides to align everything was one of those little tricks he taught us.

Another trick we learned was to spray the inside of the sink with cooking spray so that the silicone would easily just pull right off from the sink and only remain between the sink and counter.
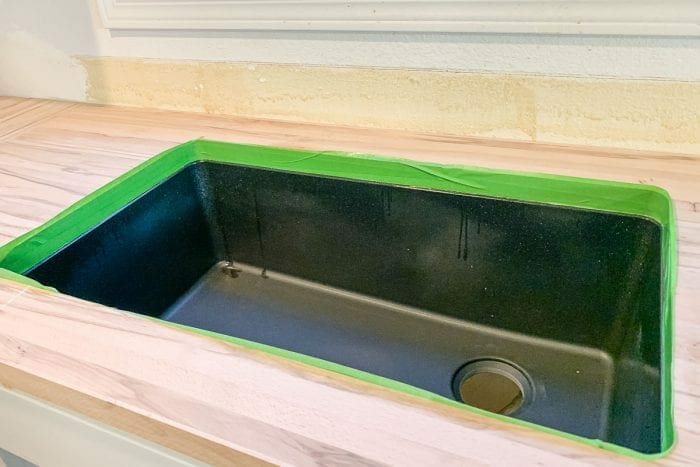
Worked like a charm!
In case you were wondering, I totally kept my cool when it came to the sink install. Be sure to watch the recap video above to see how it all went down.

I spent a raging good Friday night routing all the counters and preparing counters so that we could jump into tiling first thing Saturday.
Since I’m a perfectionist and stress case, I watched lots of tutorials on YouTube showing exactly how to tile and all the different methods of doing it so that I would feel ready to tackle any obstacle we faced.
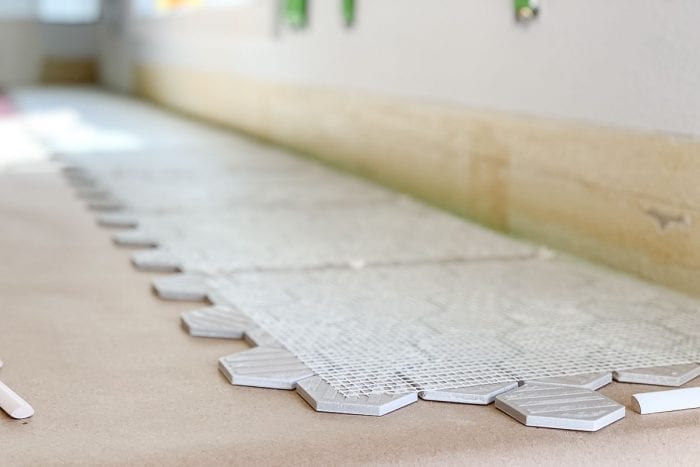
My mom graciously took our girls for the third Saturday in a row so we dove right into tiling and figuring out our groove. I actually really enjoyed tiling and loved using the tile saw.
I took a tile class at Haven Conference last summer from Jeffrey Court, ironically, and ever since then I’ve told Justin on many occasions we need to find a reason to tile. I didn’t quite expect our first time to be in our kitchen, but we don’t tend to do things half way, so why not?!
All day I would turn around and just stand in awe. I’m so, SO obsessed with the tile we chose!
Now that all the big projects are done, I’m tackling some of the more minor ones like our old dining table that used to be Justin’s office desk when he worked from home.

Yesterday I stripped it using Citristrip, sanded the heck out of it, filled cracks and holes, and then let it dry overnight. This morning I was back at it again with my sander and clean towels.
I still need to stain it, but I’m so excited to see how this table helps us enjoy meals around the table a little more practically.
It’s been such a busy week and I’m sure I forgot to tell you about something, but just know that we’re super stoked for all the progress and can’t wait to show you the final space soon.
Here’s the official updated project list…
PROJECT LIST
- Clear out kitchen
- Remove counters
- Remove bar counter
- Remove molding
- Strip all cabinets
- Sand cabinets
- Fill cabinet knob holes
- Clean cabinets
- Paint cabinets
- Rip down ceiling
- Rough in new lights
- Paint & install molding
- Install cabinet hardware
- Install countertops
- Install sink
- Install faucet & soap dispenser
- Seal butcher block
- Build & install half wall cap (it was built, but then we had to pull it up because we forgot our oven is tall, trying to figure out plan B)
- Refinish table (stripped and sanded, cracks/holes filled, waiting to stain)
- Install tile (+ grout, seal, and caulk)
- Make custom drawer organizer
- Wire and install island lights
- Install new flush mount
- Oil/condition counters
- Organize allllllll the things!
Thanks again to all our incredible sponsors who are making this renovation possible!
Jeffrey Court | FrogTape | Elkay | Lamps Plus | Liberty Hardware