Who doesn’t love picture on the wall? I do! We all have that heart for a gallery wall and showcasing art and our photos in them. I was thinking of something that would be useful to give an accent to my picture frames aside from hooks and strips. So, I came up with a picture ledge shelf.
Display your photo or memorabilia on photo ledges. It is a modern display that you can put in your entryway or living room.
Hundreds of amazing DIY projects can be done using plywood. Since we have a lot of plywood in the garage, I chose to use it as the main material for my picture ledge project. With the power of paint, it turned out the way I wanted it to be. This shelf project is for beginners and advanced DIYers. If you are into simple home decor, you’ve got to try!
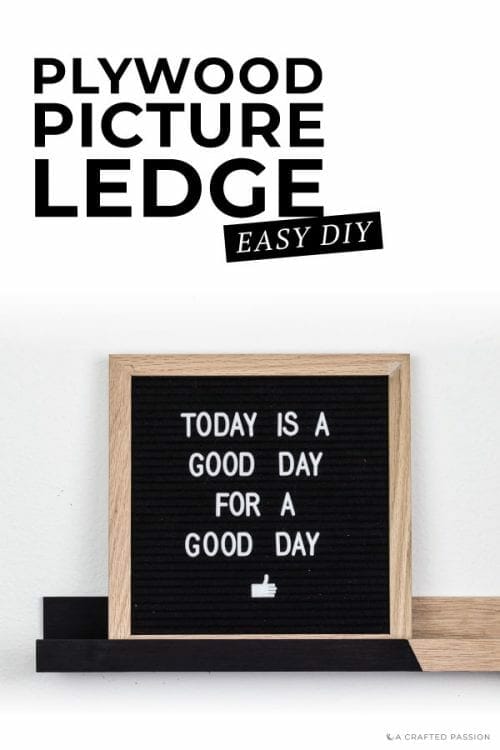
What you need to make a DIY picture ledge:
- 1/4″ birch plywood
- Wood glue
- Clamps
- Paint
- Painter’s tape
Instructions:
1. Cut Boards
First, cut the boards to size. You need a 22″ x 4″, 22″ x 3″, and 22″ x 1″ to make the full ledge. If you’re concerned about the plywood splintering, tape the wood where you’re going to cut before cutting.
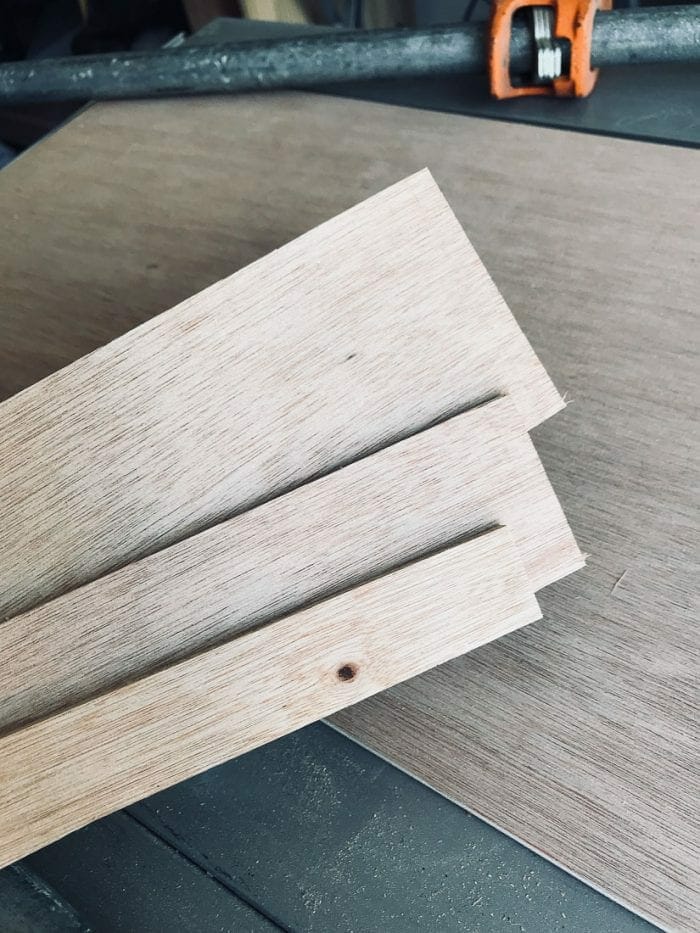
2. Glue
Add a thin line of wood glue to the front and back edge of the 22” x 4” board
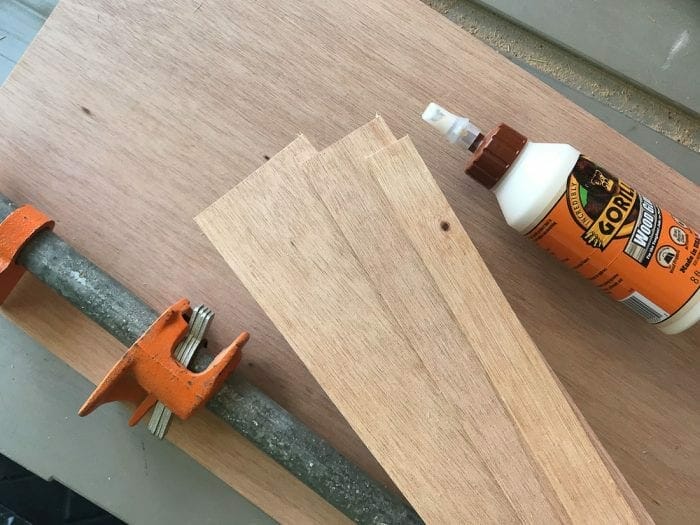
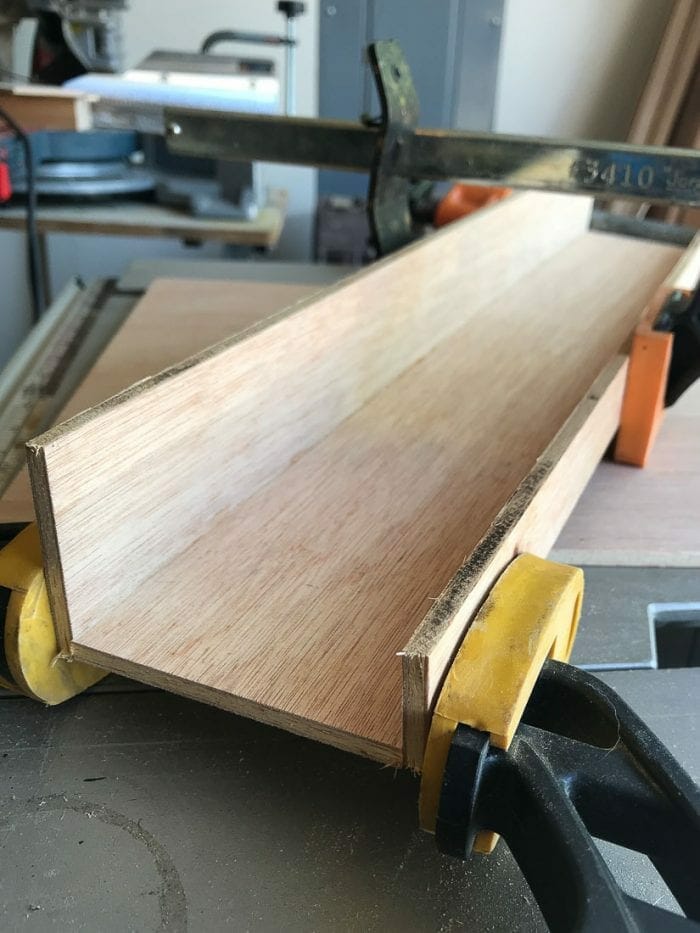
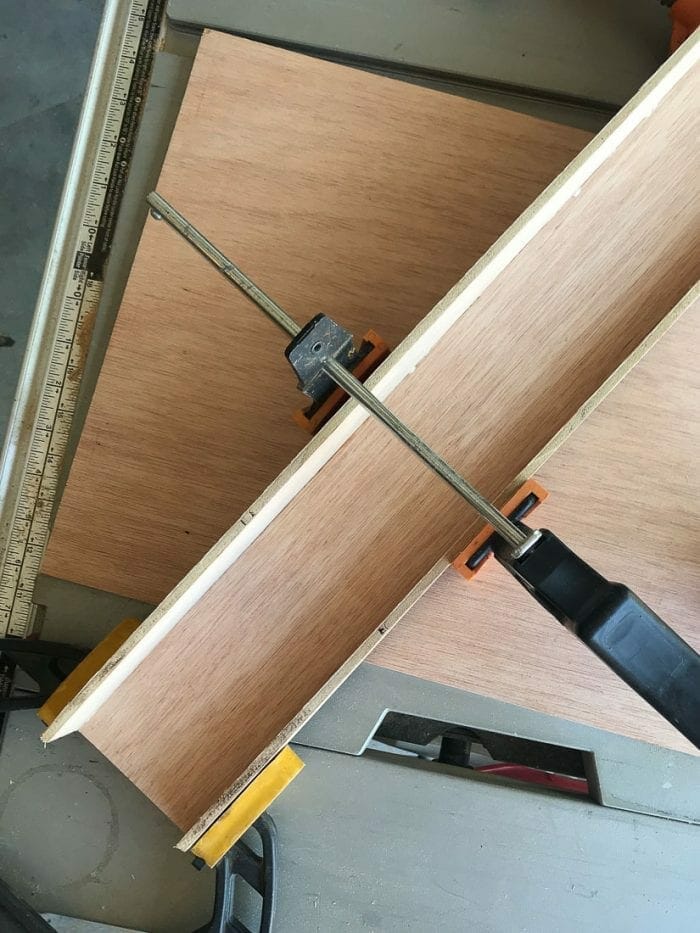
3. Clamp
On a flat surface, place the 22” x 1” against the front of the board and 22” x 3” in the back. Use clamps to hold it all together while the glue dries overnight.
4. Paint
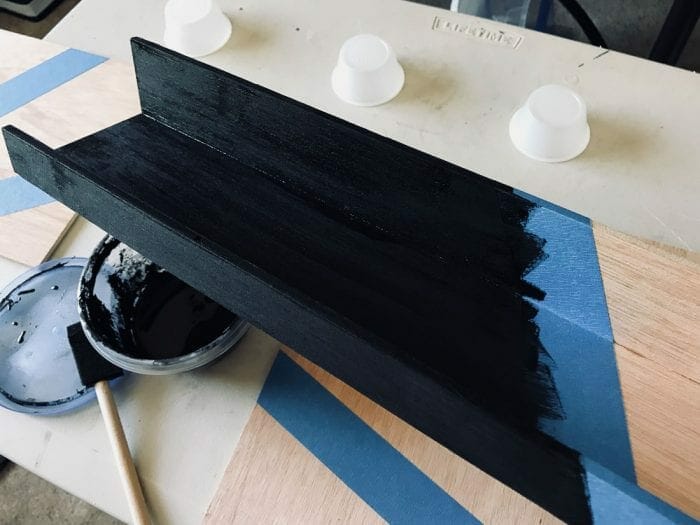
Use painter’s tape as necessary to paint a pattern on the shelf
5. Hang
Attach a sawtooth hanger to each corner on the back or screw it directly to the wall for a more secure hold.
That’s it! You can do a quick DIY picture ledge and display it with your photo frames anywhere you would love to display it.

I love how this little shelf turned out and is the perfect display for my letterboard. Get your own square letterboard here!


How to paint practical boards cabinets that have previously been stained with polyurethane?