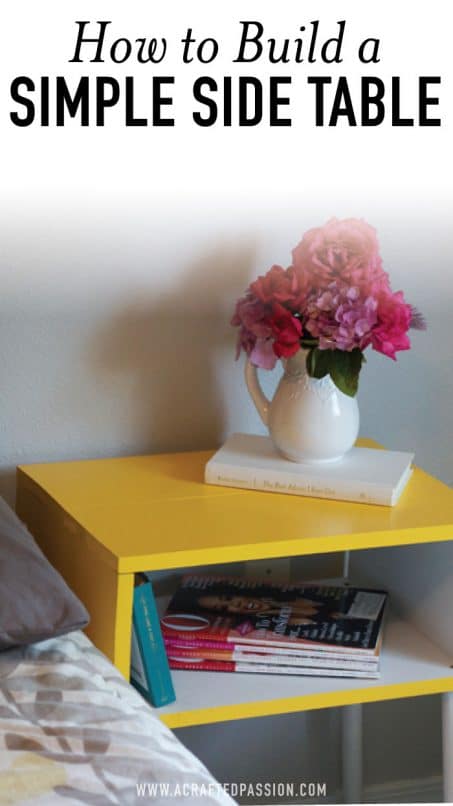
Build a simple side table for just $15 using these Target knockoff plans. This modern look is perfect to go beside your bed.
Okay I have a very serious question! At what point in your life did you get legit, grown up nightstands? When I moved into my first apartment my sophomore year of college I bought a cheap $20 side table and when I was putting it together I drilled through the wrong way and put a hole through the middle of the table top. So classy, and yet we’ve kept it all these years! Through four moves and a wedding we kept this ugly nightstand but we decided enough is enough! We wanted simple and modern and today I am excited to share with you the easy steps to create your very own DIY Target knockoff accent table!
SUPPLIES
1 8″x8′ pine wood
1 1-1/4 in x 72 in dowel
Paint
4 screws
TOOLS
Compound miter saw
Drill
Nailer
Micropinner
Paint brush
Foam brush
If you don’t have a saw, when you buy your wood, be prepared with your measurements and have the lovely guys at your local Home Depot or Lowe’s cut the wood for you. It’s free and doesn’t make quite the mess in your garage.
INSTRUCTIONS
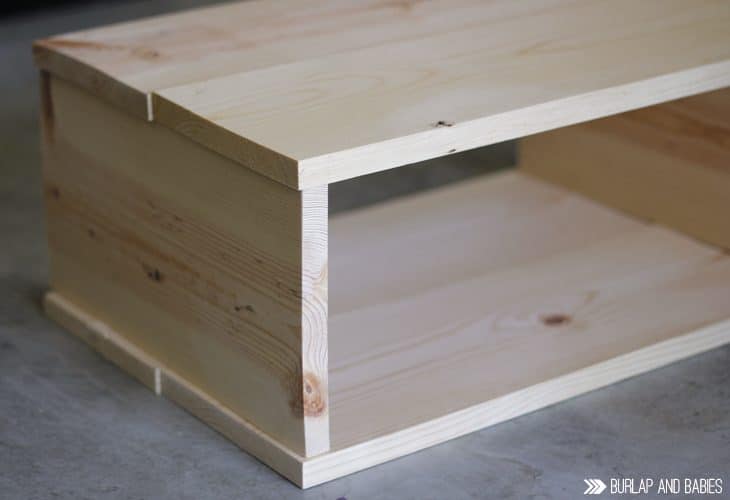
1. Cut all your boards to size. My nightstand top measured 14.5″ x 20″. For one accent table you need four boards cut to 20″ length and two boards 14.5″ for the side boards.
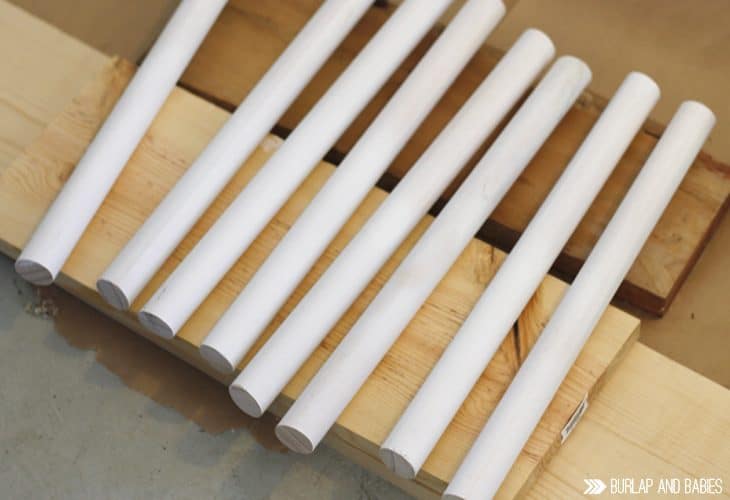
2. Set your compound miter saw at a 5 degree angle and cut all your dowels to 15 inches. Be sure you don’t twist your dowel when cutting or else your table might sit wonky with the angles set different ways.
3. Next paint one side of all of your boards the inside color. If you want to hide the wood grain like I did you’ll need multiple coats or a good primer. At this point you also want to paint your table legs. I found it was easiest to use a white spray paint for the legs to get a crisp coat around the curves.
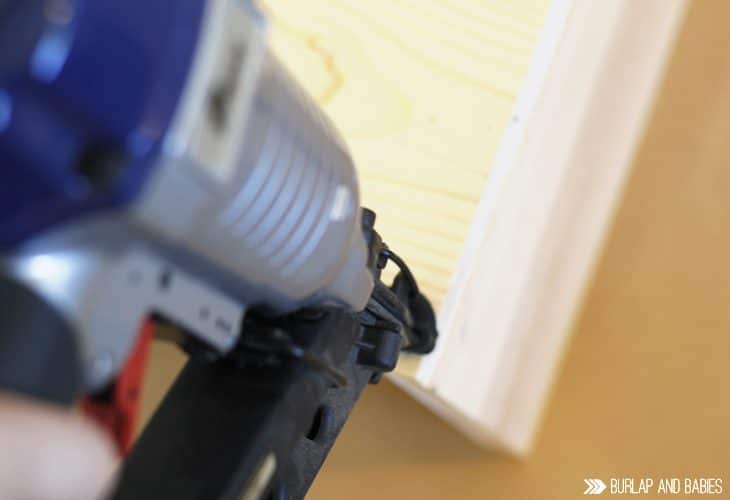
4. Once the paint is dry for the inside of your box, using a nailer or a hammer and nails, attach the cross boards to the side boards. Only do one side first because it will be 1000% easier to attach the legs before the top is on. Be careful when putting in the nails that they don’t go through the sides of your 1/2 inch boards. If you need to, have someone spot you to make sure you’re holding the nail straight up and down until you get the hang of it. Lesson learned now that I have a tiny little nail tip coming out the side of my table.
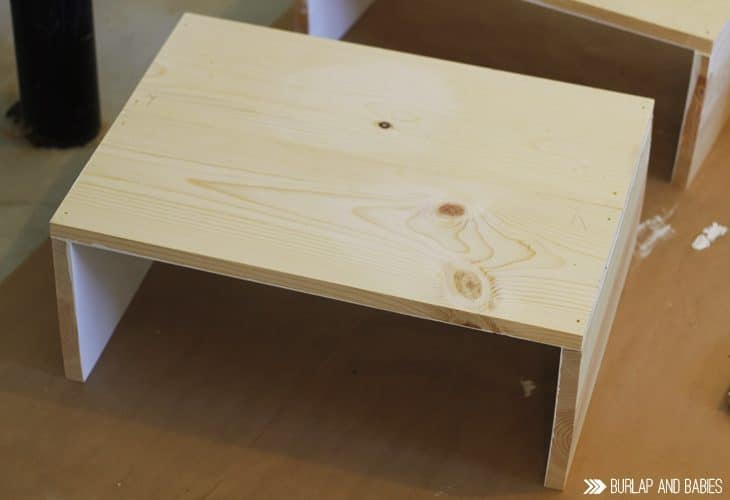
5. Okay now the tricky part. Decide which direction you want your table legs pointed. Logically, you have three options: forwards, to the side, or towards the corner. The direction you choose will give your table a different feel so I suggest taking a look at the other furniture in your room and mimic the legs of the other furniture or just go with whatever you think will look best. We choose to go to the side.
If you did a 5 degree cut like we did it might be a little tricky to figure out which way your leg is angled since it’s pretty subtle. To check, set your leg on a flat surface with something straight next to it. Now turn your leg slowly and see at what point is the leg closest to the flat surface next to it. Put an arrow to mark which way your leg is angled. If that doesn’t make sense, let me know and I’ll put together a more detailed picture tutorial.
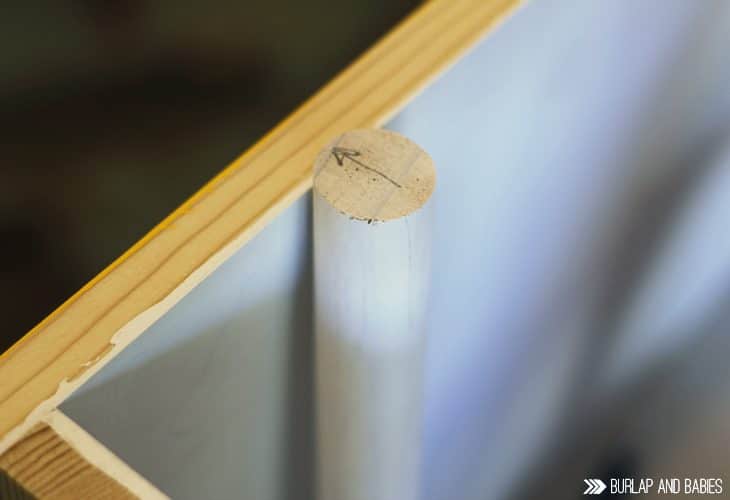
Now that you know which way your leg is angled, put your box without a top and 2 sides on a flat surface and decide how far away you want the leg to be from the edge. I did about half an inch from the edges. Take your leg that has the arrow on it and point the arrow which way you want the leg headed. Like we talked about earlier: to the side, front, or towards the corner.
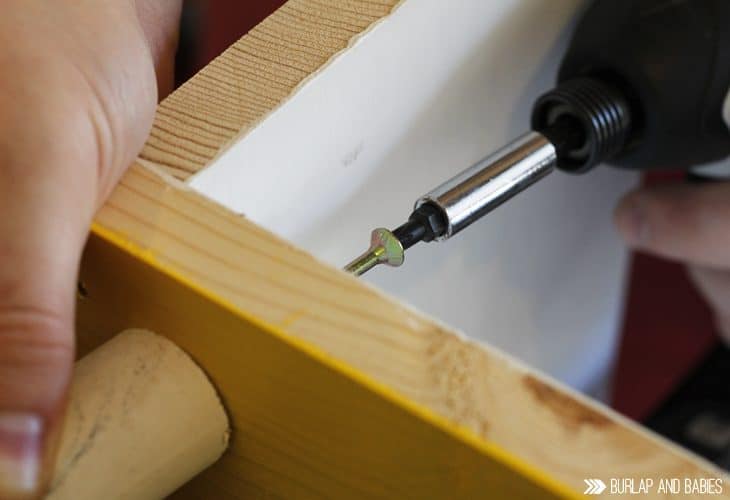
6. Using a small drill bit, pre-drill a hole through the table top and leg. Now attach the leg to the box with a screw. This will secure it nice and tight so the legs don’t wiggle.
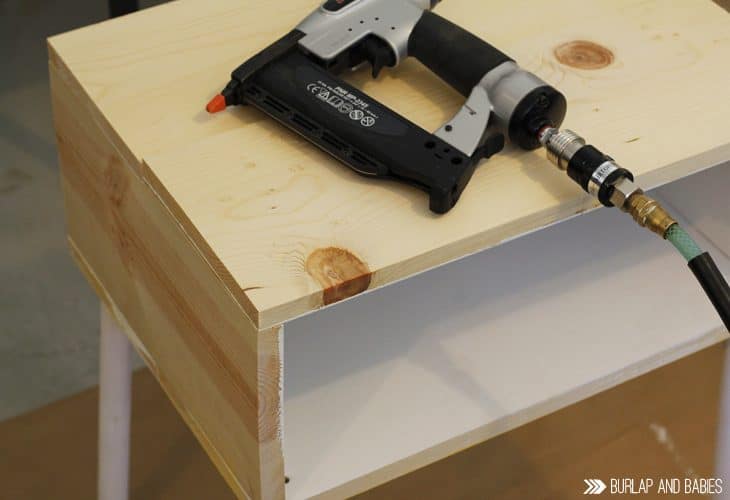
7. Once all your legs are attached, set your table upright and attach your top boards using a micro pinner to avoid big nail holes on the top of your pretty table.
8. Now that your table is all put together, paint the outside of the table the color of your choosing and you’re done! Like I mentioned earlier, to hide the wood grain I ended up painting four or five coats. I suggest painting the thin edges of the front and back using a small foam brush to avoid having brush bristles accidentally run on your white inside.
Once it’s painted, I highly suggest putting your stunning side tables in a safe corner to dry and cure for at least a week before putting anything on them. Once they are ready to be shown off though I am sure they will impress! I have already got so many compliments on ours!!
This is just a little peak into our bedroom, but we have some big plans for this poor neglected room. This is just the first of many DIY projects I have planned and I’m so excited to show you all the finished room sometime in the next few months.
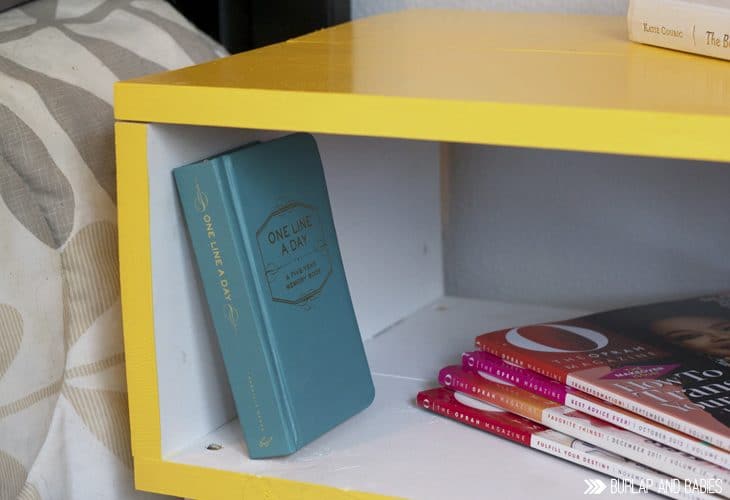
I love having a little place to keep my One Line a Day book and my latest reading material. Can I confess something to you, my dear readers? I have a slight obsession with Oprah. Like as a middle school and high schooler I used to rush home after school every day to watch Oprah. I know, that’s embarrassing!! One Christmas my mom bought me The O Magazine and I loved getting it each month and kept the issues to read when I need a little pick me up in my day.
All that aside though, isn’t this Target knockoff accent table awesome! I love the pop of color it brings to our bedroom and the flowers from our yard were the perfect touch!
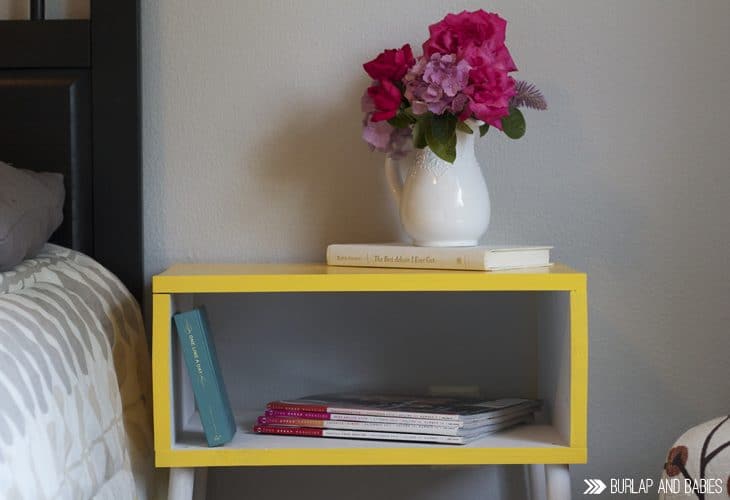
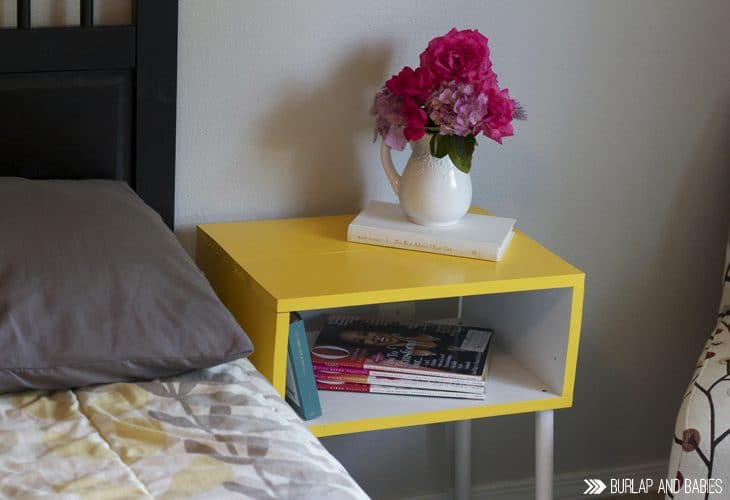
Think you want to try to build a simple side table?
If you loved this side table as mush as I do, I’d love for you to share it or pin it to your favorite board! Speaking of pinning, if you aren’t following me already on Pinterest, I’d love for you join me on Pinterest @acraftedpassion.



Love this! I wonder if we could morph this a bit to make a little kids desk. Hhmm. Either way, you did a great job on this project. One of our night stands is as TV tray my husband has had since college. So you aren’t the only ones with some less than desirable night stands. :) Thanks for sharing this DYI!
Thanks so much Kelli! You could make it longer and it would be a great desk!
This is such a cute table…you did a lovely job. I love the colors you picked too! Thanks for sharing!
http://www.diyjustcuz.com
–Brittany
What a cool project, I really like the yellow on yours!
Thanks Christine!
I love this idea! I’m just starting to upgrade to “grown-up” furniture, but I can’t totally accept grown-up furniture prices, so this is perfect for me!
Yes!! I totally get that. Thanks!
I wish I could use a power tool. I would love to do things like this.
Oh I’m sure you could! They’re so much fun to use!!
Love love the idea. Any IKEA Hack is a great one if you can do it, and you did it great :) Thanks for sharing!
This is so cute! I can already think of several places it will work in my house. You did such a nice job with it. I may even try one with shorter legs — I think it would make a cute toddler coloring spot, with a built in spot to store the coloring books and crayons.
What a great project that real has impact. I love that it can easily be tailored to a rooms colour theme, even if you change it a few years later.
Angela
this turned out amazing and I really love the colors you selected!!