Want an expensive look without the price tag? Makeover your bathroom or kitchen on a budget with this faux marble countertops DIY tutorial.
When you imagine your dream bathroom, what do you picture? I’ve always dreamed of crisp, clean marble countertops with bold accessories that pop in the glimmer of the counters.
When I was planning out our powder room makeover, I knew carrara marble was NOT in the budget and figured I would just have to makeover the rest of our powder room and put the counters on the “one day” list.
Well, what if one day could be today? I set to figure out how we could make the powder room more pretty while still sticking with our tight budget.
This is week 6 of the One Room Challenge and I’m excited to show you the progress we’ve made on the bathroom. Almost done!
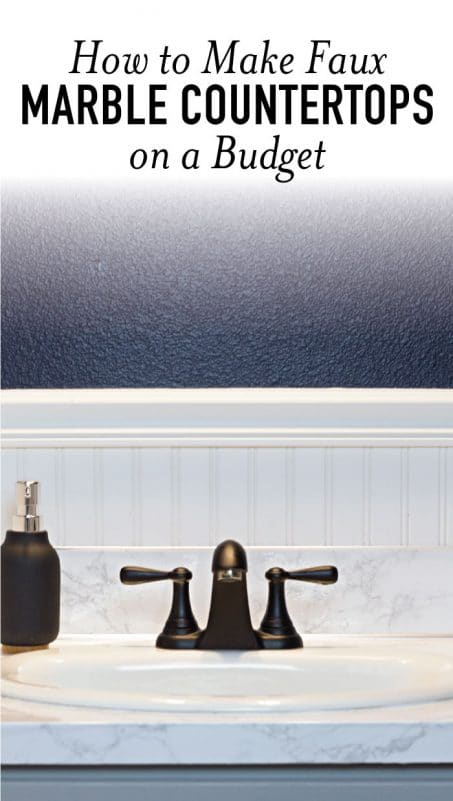
In week one I spur of the moment added to the list “update countertops?” with a question mark. I hadn’t planned on updating them, but it got me thinking. Maybe I could do something. Paint? Concrete over the top? Contact paper? YES! That would be easy and cheap.
I am SO EXCITED with how the faux marble countertops turned out while still staying on a budget. Let me show you how we did it so you can too!
What you need to make faux marble countertops:
- Marble contact paper (this is the marble contact paper I used and is thick and super durable)
- Straight edge
- Scissors
- X-acto knife or sharp utility knife
- 4 hands is ideal so grab your partner or a friend to help you out with this project
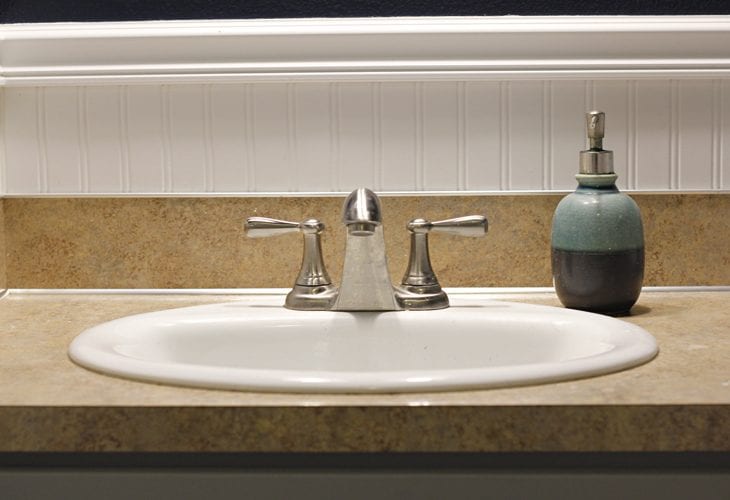
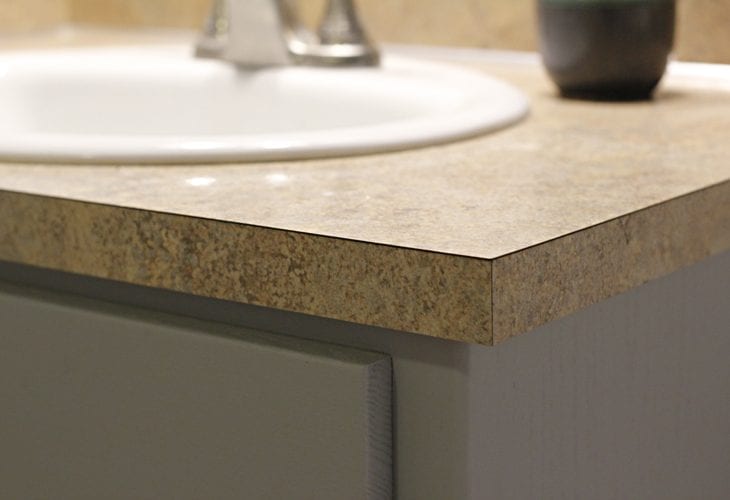
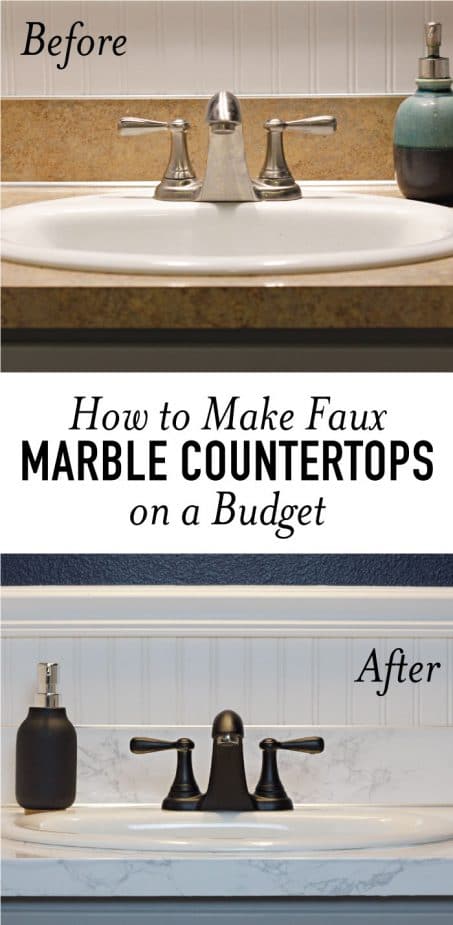
Just as a reminder, here are how the countertops looked before. Boring, tan, and dirty looking.
1 | Clean
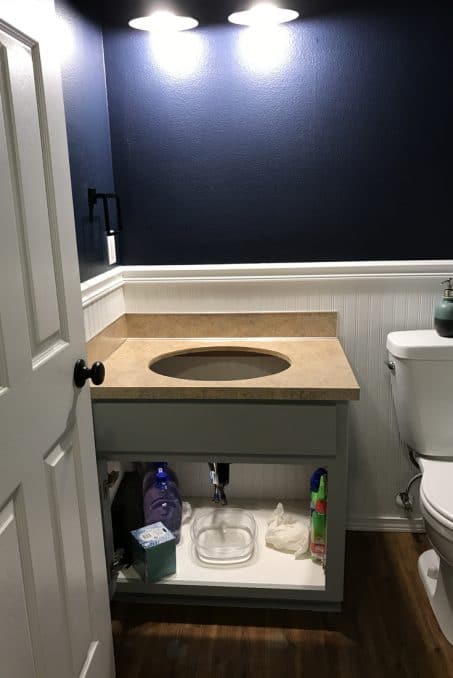
After you’ve removed the sink, clean your countertops well so the contact paper sticks well and nothing will protrude from under the paper once stuck.
2 | Cut
Start by cutting your contact paper so it’s a little larger than your surface. Remember to leave room to wrap the edges if you are able.
If your space is too large that you’ll need multiple pieces just cut it to a reasonable size to manage and then you’ll line up the edges. Don’t overlap the edges or else it will be more obvious.
3 | Peel
Decide which area you’re going to do first and pull the backing away from the contact paper in the corner that is easiest to line up.
As you can see the back left corner would be difficult to start in since you either need to get all the edges to line up perfectly or risk it not fully covering if you happen to place the first corner a little bit crooked.
4 | Adhere
Lightly place that first corner as the second person holds up the backing. Slowly use your scraper to push out any air bubbles as one person pulls the backing back from underneath.
We started in the front right corner and left plenty of overlap to wrap the full edge.
5 | Scrape
Continue pulling the backing off as one person watches for bubbles and scrapes along the top of the contact paper to make sure it all adheres well.
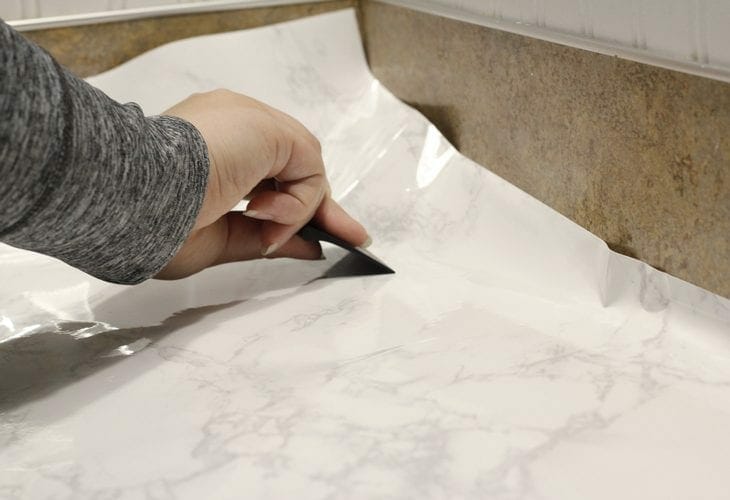
6 | Wrap
Once you get the top surface placed, cut a slit in the corner that aligns with the opposite edge and then wrap that edge under the other.
I forgot to take a picture of how we did the corner, but I hope that makes sense.
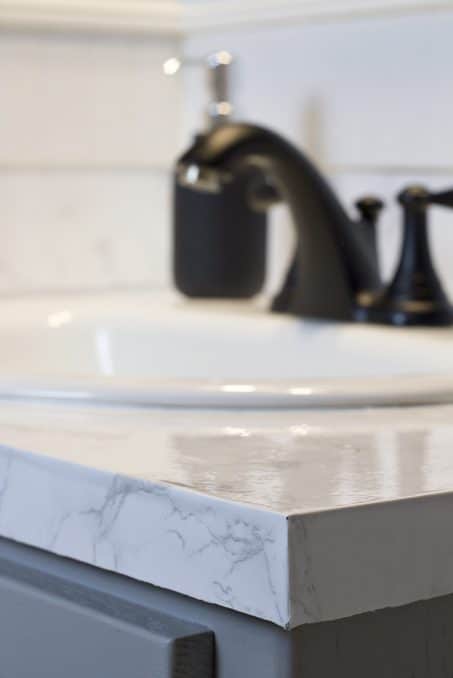
Then you’ll cut the other edge so it’s a straight line and push it all down.
Remember, every time you stick something to use the straight edge to push out air bubbles and help it stick to the surface well.
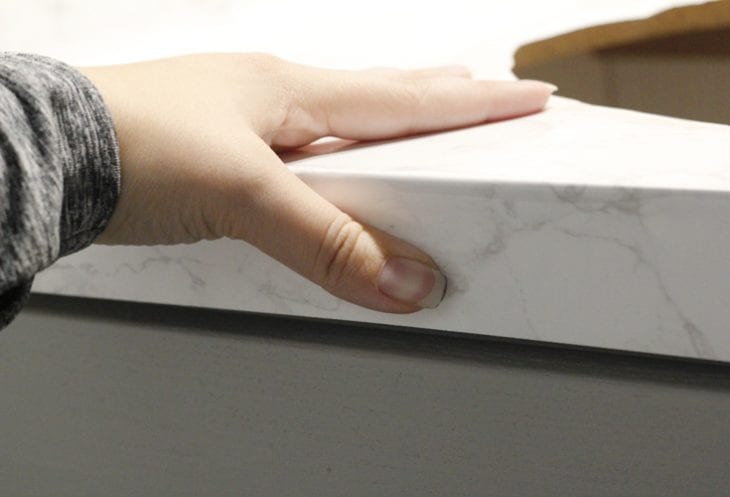
If you have plenty of extra at the bottom you can wrap completely under the edge. We didn’t have enough room and since the contact paper is so thick, the 1/4 inch wasn’t enough to hold the contact paper wrapped to the bottom so kept pulling up. No problem though!
Related: Are you making over your kitchen on a budget? Check out this genius peel and stick backsplash!
Grab your X-acto knife or sharp blade and carefully cut the contact paper so it’s leveled with the bottom of the counter. You can also do this in all the corner edges to get the clean line if you didn’t place it perfectly straight.
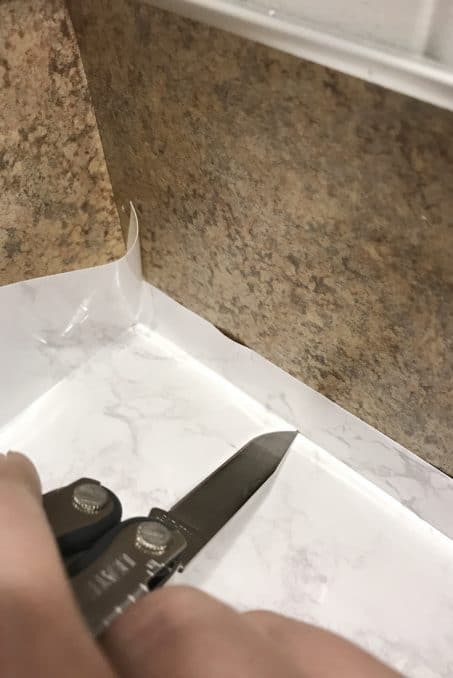
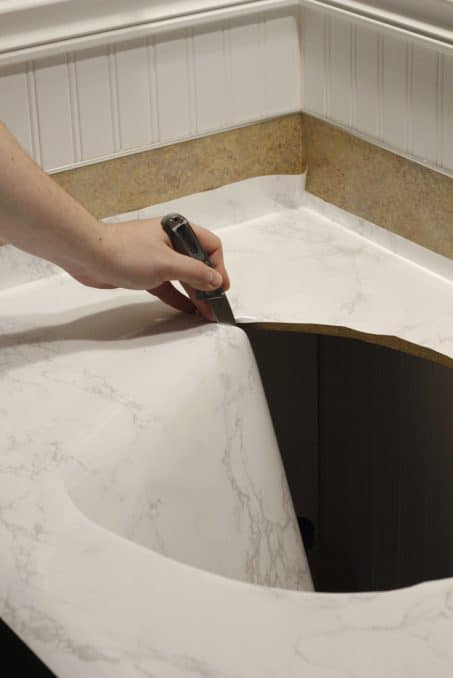
Our bathroom counter has a simple backsplash and small metal edges. It made it super easy to just place the contact paper the same way we placed the countertop. Once the contact paper was adhered then I just took a sharp blade and cut the edge right along the metal.
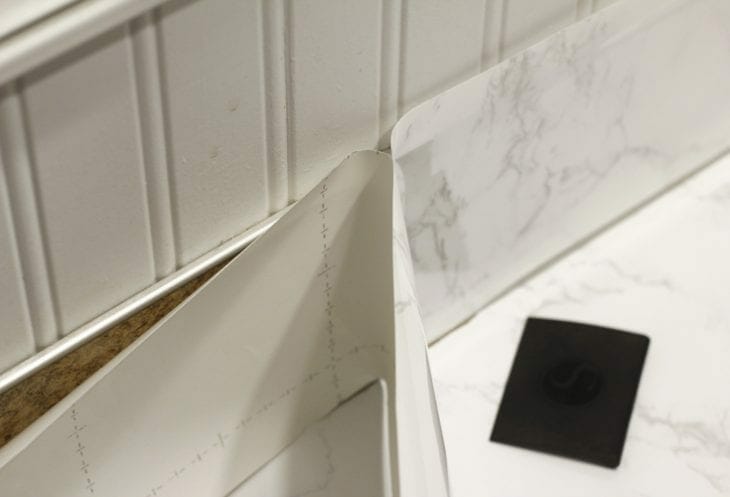
And that’s all there is to it! The biggest thing is to just watch for bubbles and push them out. And when you apply the paper, work slowly and check often to make sure things are lined up.
It’s really a simple project that has such a great impact! I love how ours turned out!!
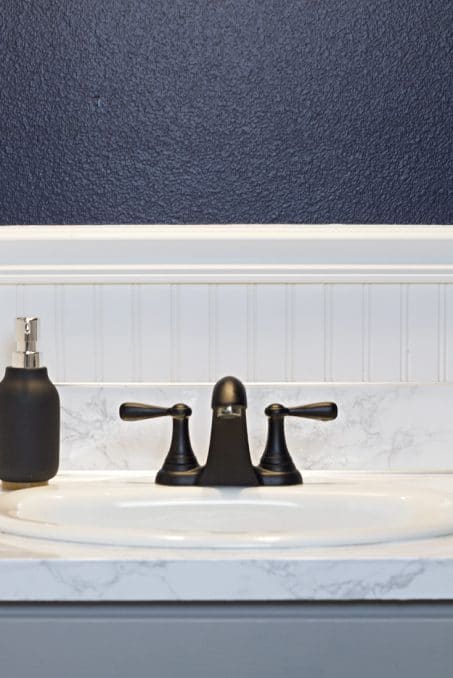
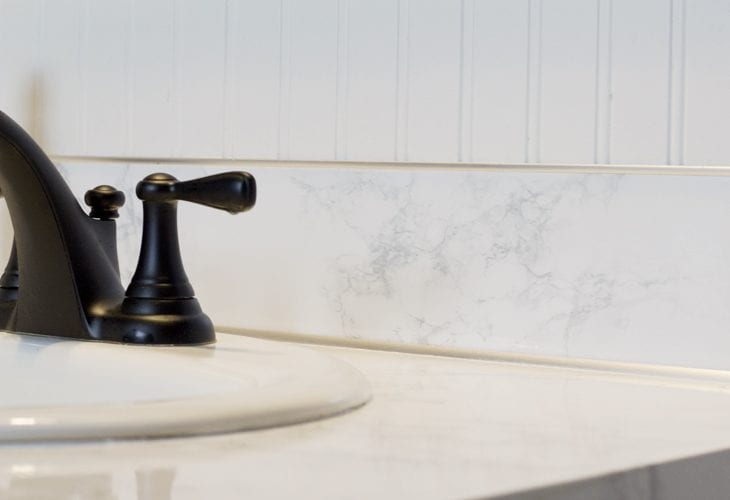
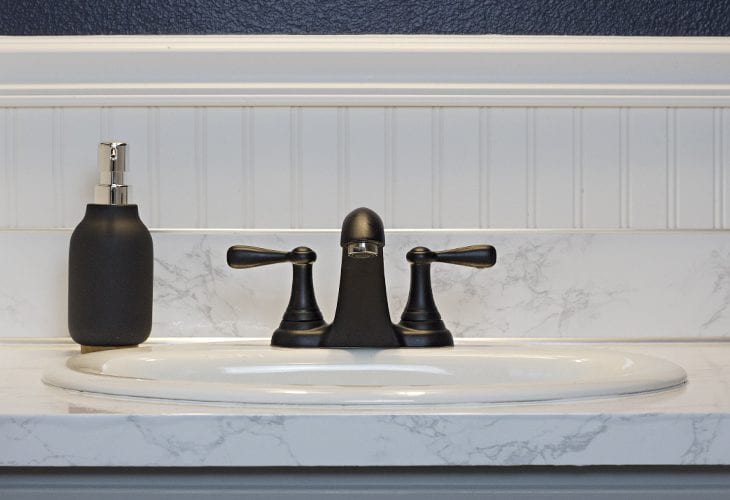
Didn’t those turn out AMAZING?! And for less than $30?! Total winner!
You can make these too. There are so many different types of contact paper out there I’m sure you’ll be able to find faux countertops that you pictured in your dream space while still sticking to your budget.
While we’re talking about making over rooms, I thought you might also like these posts…
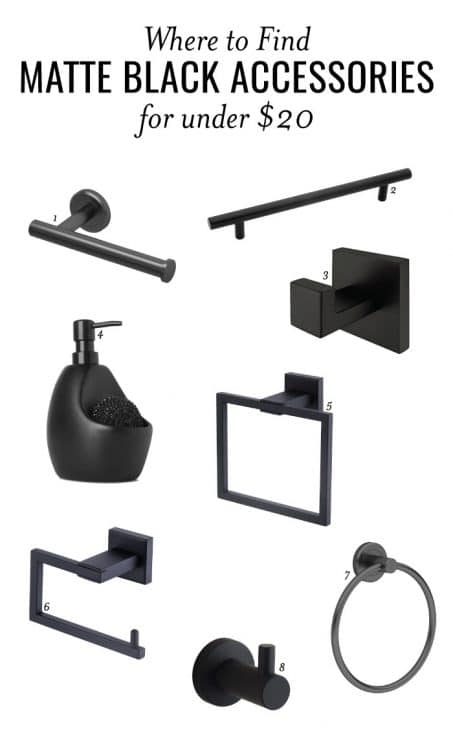
Where to Find Matte Black Bathroom Accessories for Under $20
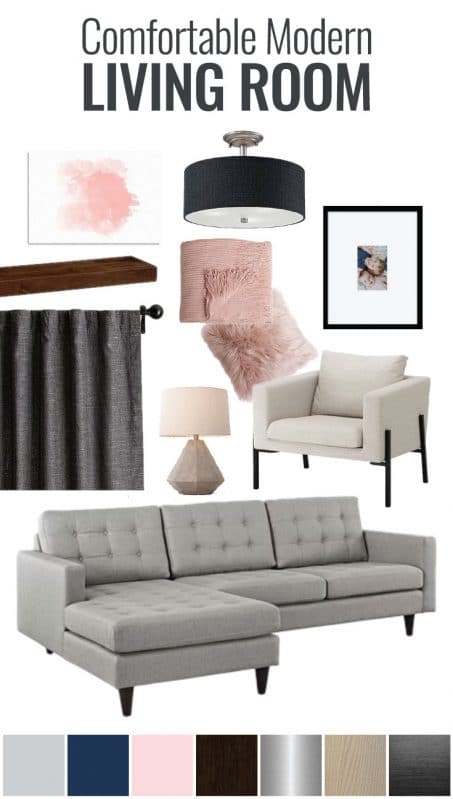
A Modern Living Room Mood Board
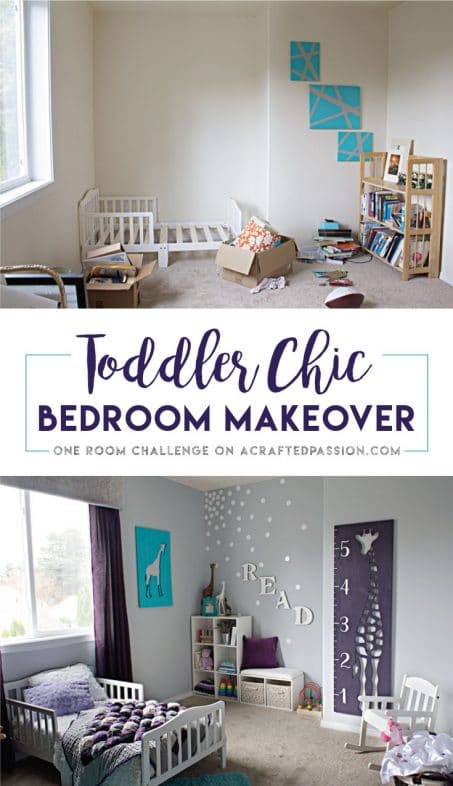
A Toddler Chic Bedroom makeover filled with many DIY decor ideas in a Montessori-inspired environment perfect for a little girl.



The counters look great! I LOVE marble, but totally get that it usually isn’t in the budget. This is a great alternative!