Confession — we keep cool whip in our freezer all year long so we can put a dollop in hot chocolate all year round. Is that weird? Please tell me I’m not the only one with a hot chocolate addiction…even in the middle of summer?! So, when I saw that you could decorate Easter eggs with cool whip I was stoked! I mean what?! How fun is that! Bonus, I already had everything on hand and you probably do too!
I knew my two-year-old would have a blast getting involved with cool whip involved. Unfortunately, I could not find awesome instructions on how to do it online, so I thought let’s figure it out. After 4 failed attempts, I’m excited to show you what works and how to decorate Easter eggs using cool whip and food coloring.
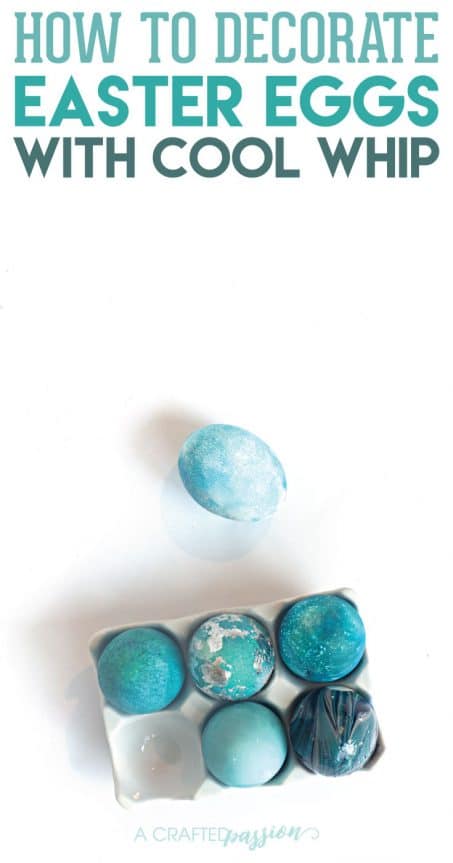
What you need to decorate Easter eggs with cool whip:
- 2 containers or plates
- 1 tub of cool whip
- Basic food coloring
- Stirrer stick — you can use the end of a spoon if you don’t have one available
- Spoon
- Paper towel
- Rubberband
- Container or plate
1 | Soften Cool Whip
Start by pulling your cool whip out of the freezer and let it thaw a bit so that it is easy to stir around.
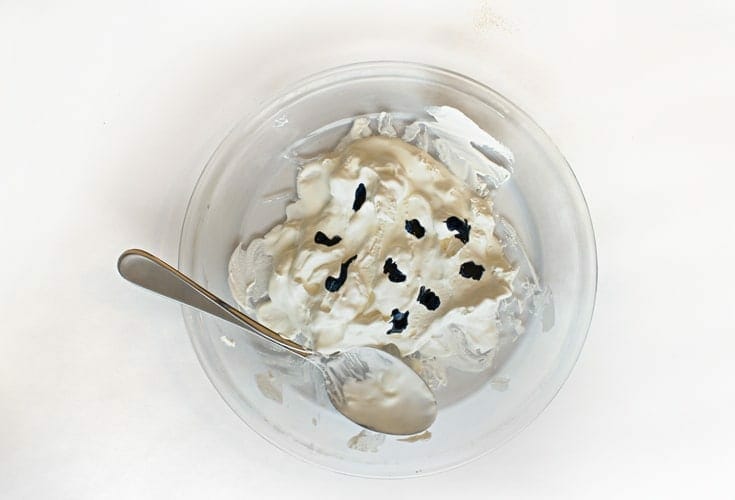
2 | Transfer
Next, move your cool whip to a container or a plate. I used a pie plate. You’ll want at least an inch of cool whip deep in your container.
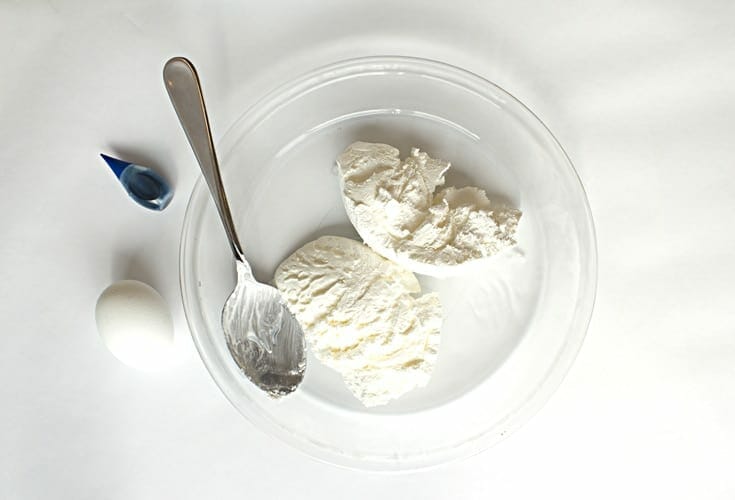
3 | Add Color
Now, add drops of food coloring on top of the cool whip. Leave about 1 inch or so between drops.
Some instructions I read said you need gel coloring, but I tried it with both and found that the basic liquid food coloring worked better as long as you wait the recommended time.
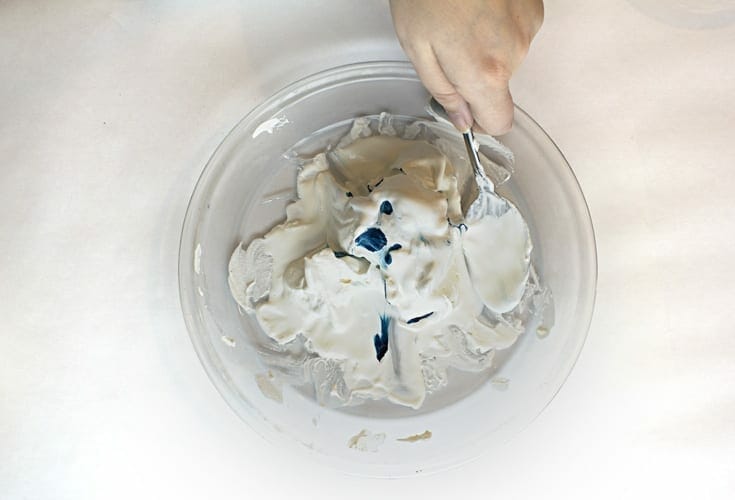
4 | Swirl Color
Take your stirrer stick (or the end of a spoon handle) and drag it through the food coloring and cool whip.
5 | Swirl Egg
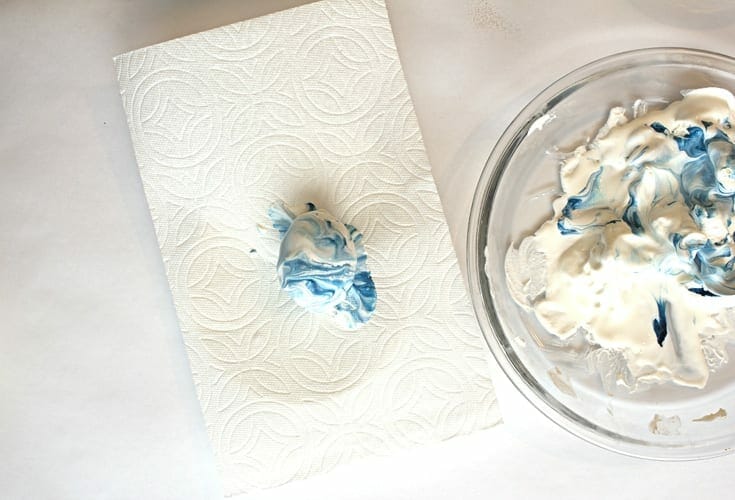
This is where the magic happens! Set your eggs in a pretty part of the cool whip colored design and, with a large spoon, turn the egg into the cool whip until it’s covered. Try and limit the turning as much as possible or else you risk the design looking really messy and less awesome.
Tip: Soak the egg in vinegar for about two minutes prior to putting it in the cool whip. The vinegar mixed with the eggshell helps give the egg a more saturated color.
Once the egg is covered in cool whip, let it sit for about 20 minutes in the mixture before moving it.
6 | Wrap
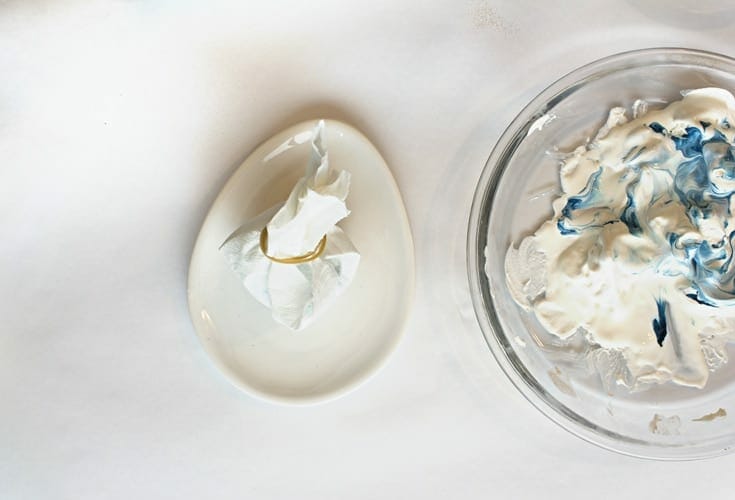
Now, pick up your egg with a paper towel and loosely wrap it. Use a rubberband to hold the paper towel to it. Don’t pull it too tight or you’ll risk smudging your pretty colored design.
7 | Rest
Set your egg aside for at least an hour and patiently wait while the color sets. If you use the gel coloring then the color is more concentrated so you only need to wait about 15-20 minutes. With the liquid food coloring you need to wait longer. Wait at least an hour, but if you’re more patient than me, set it in the fridge overnight. I wouldn’t wait longer than 8 hours or you’ll risk the cool whip getting too hard and stuck to the egg.
8 | Clean
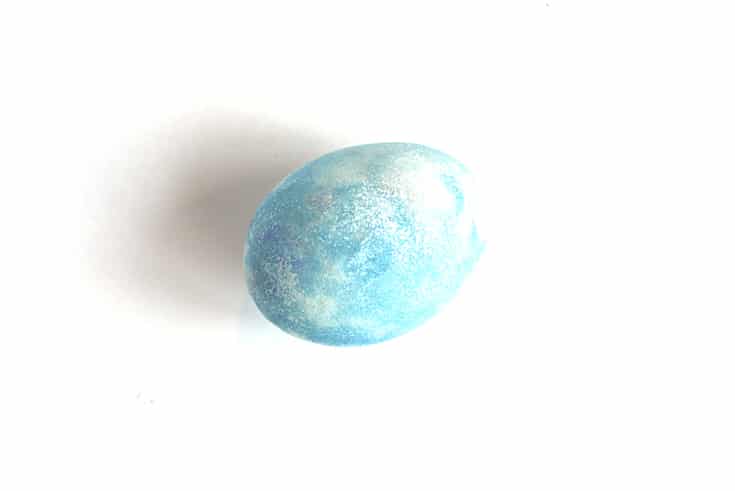
After you’ve waited long enough, take your egg and clean it with a paper towel being careful to not rub too hard. Do not rinse the egg under water or you risk the color washing off. If you’re having a tough time cleaning it you can put it in a container of water and lightly rub it to clean it off.
These eggs turned out so cute and you can do many different combinations of color to get a different look each time. Another idea would be to dip dye the egg a light color before rolling it in the cool whip. The possibilities are endless!
If you try this idea, I’d love for you to tag me @acraftedpassion on social media so I can check it out! Happy egg decorating!
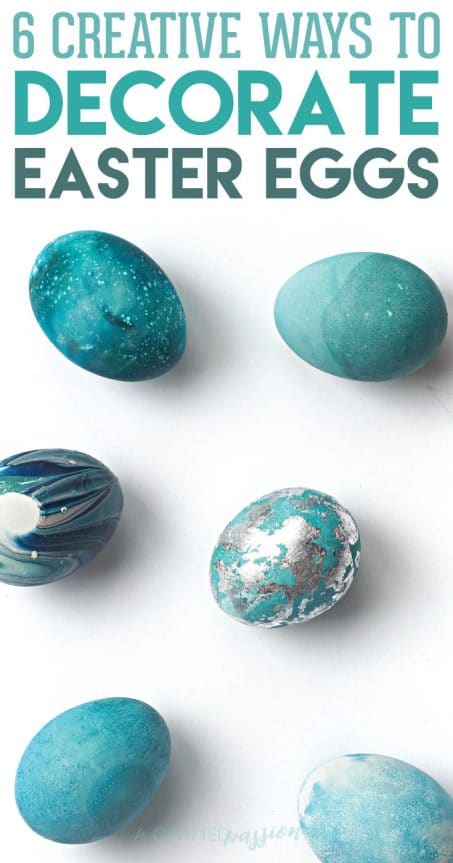
Looking for more ways to decorate Easter eggs? Check out 5 more ways here!



2 thoughts on “How to Decorate Easter Eggs with Cool Whip”
Comments are closed.