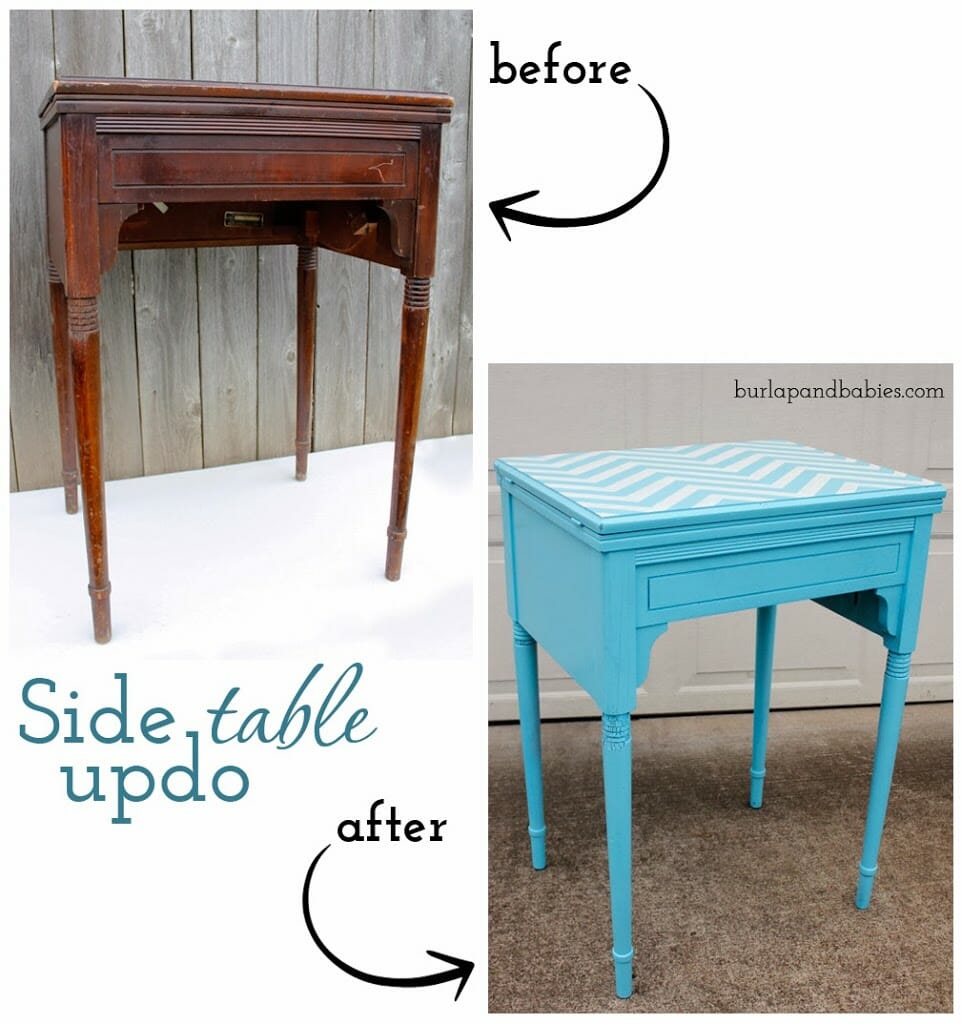
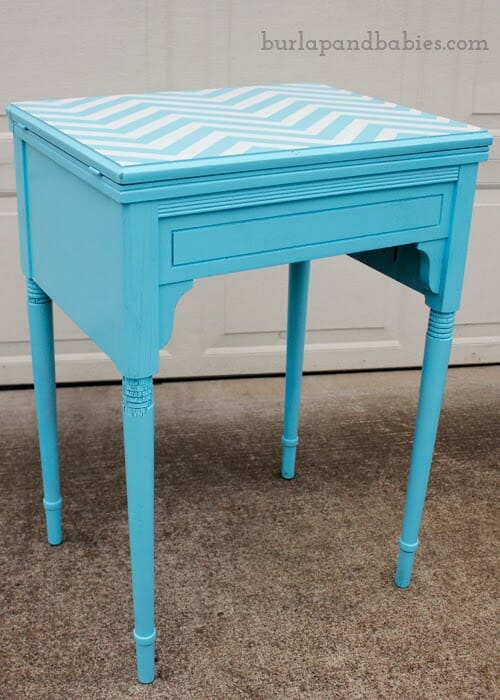
About a month ago I discovered a Goodwill Outlet Store less than one mile from me! Not going to lie, I’ve been there way too much over the last month to see what good things might pop up. Most of the warehouse is filled with bins of clothes and household items but tucked in the back far corner are tables and dressers. This are usually reduced in price every day they stay in the store. So far I’ve found a coffee table for $5 that is a work in progress, a huge frame that found a home in mr g’s office, and this beautiful, antique sewing table for a whole $5.
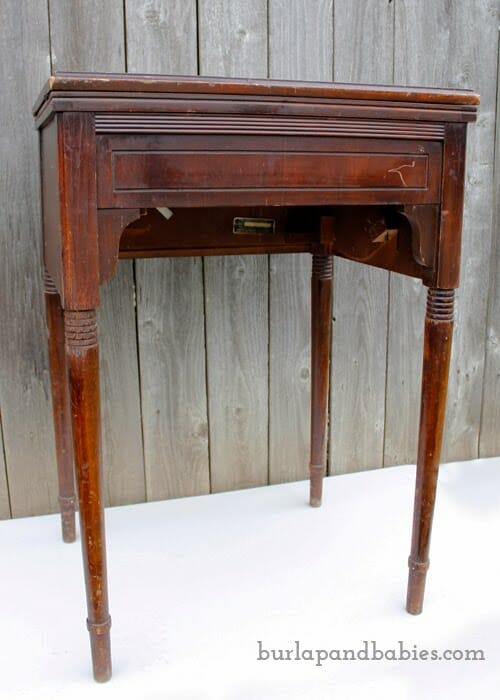
As soon as I saw it I knew it belonged in my hobby room. Yes, the room that you can see needs some serious help at the bottom of this post. I don’t do many huge sewing projects so it will be perfect for my sewing machine for now.
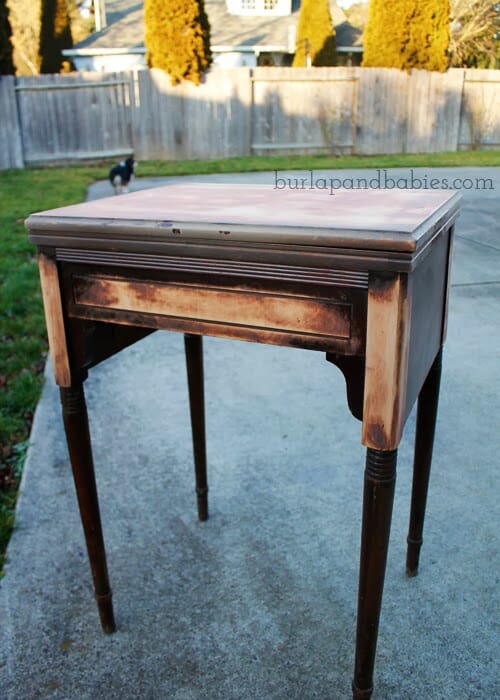
I started off by sanding the main parts of the table down to make sure it would hold the paint well. Honestly though, this was the extent of the sanding. I decided to go with a robin egg blue spray paint and wanted to go with a roughed up look so decided I didn’t need to spend a ton of time detail sanding down the old coat because it would add to the character.
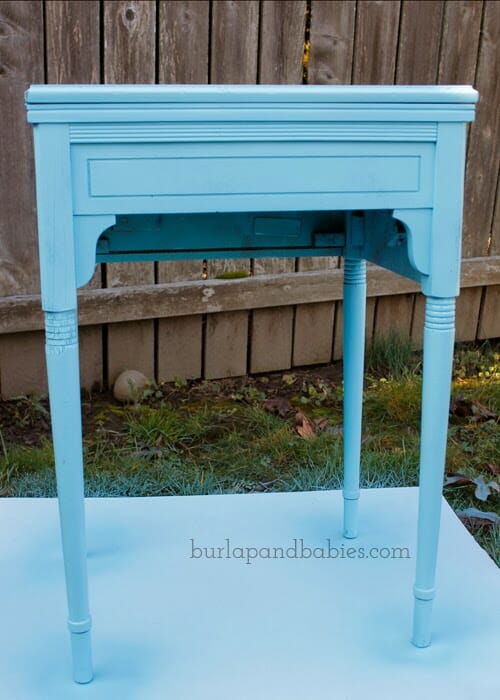
After the table was sanded to my liking I spray painted with robin egg blue spray paint. I let it dry for a few hours and had to go back through for a few more touch up coats before it looked right.
Once all the paint was dry then I got to work on my pattern. I knew I wanted to do a chevron design on the top, however, I also knew I didn’t want to spend a week just taping. One of my big New Year’s Resolutions is to be less of a perfectionist. I knew if I wasn’t careful I would measure the heck out of that table to make sure the chevron design was even and perfect and beautiful. But you know what I realized? No one is going to notice the little imperfections, except me. No one is going to care if one line is further away than the next, except me. No one cares if one ‘V’ is a little deeper than the next. So I decided to use a triangle I cut out of cardboard to start my chevron design and then from there I just eye balled it and put the tape down.

After moving a few pieces of tape, I just went with it and painted two coats of white paint on the top of the table. I used a foam brush – one of those .17 cent ones from Michaels. For this project, I decided those brushes were perfect. It left a streaky effect that matched the feel I was going for perfectly.

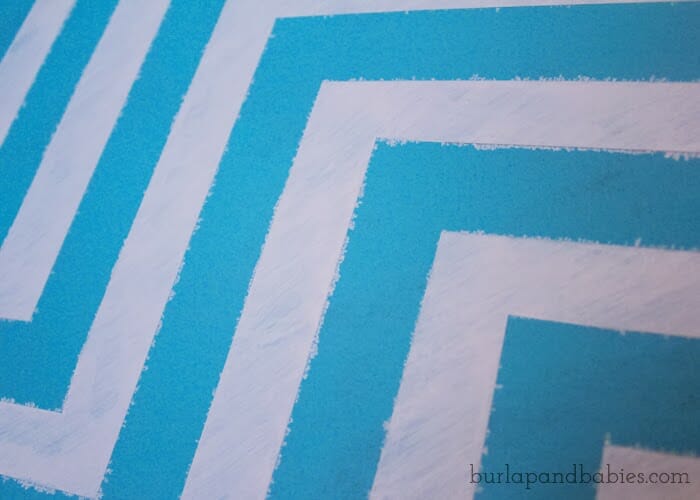
Once the white paint had a day to dry it was time for the big reveal. This is my either favorite or most hated part of making over furniture pieces. Terrifying!! This one turned out just alright….as in pretty awful. You can see below on the left that the paint really bled through but nothing that I couldn’t fix with some time and finesse. I had to channel my inner yoga being and be very patient and relaxed to use a small, fine tip paint brush to do touch up. Since the blue was spray paint, I just sprayed it onto a paper plate and then went quickly so it wouldn’t dry out.
It ended up taking a few nights to get all the touch up done but once it was complete it was like heaven. So perfect and beautiful! And me saying perfect really is a miracle! I love how it turned out!!
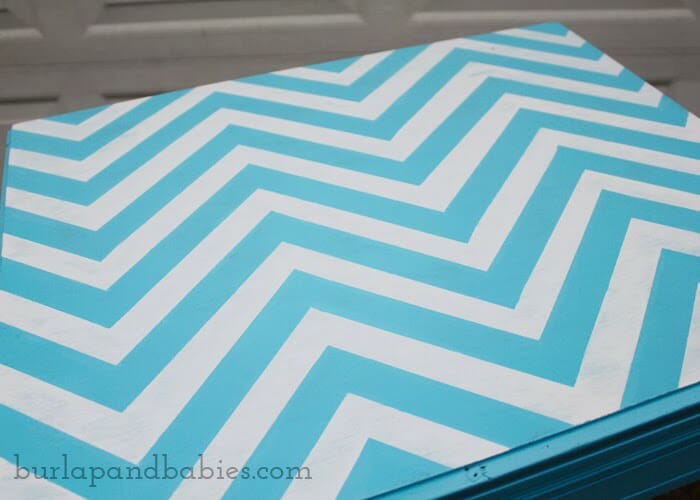
I’m excited to put this table to good use in my updated hobby room. On a sidenote: What I didn’t realize until I got this table home from Goodwill is that it used to be one of those cool, pop up sewing tables. The top flips open side ways, however, the spot where a sewing machine would usually sit in the middle is missing some pieces so I plan on just always keeping it closed.

I ended up putting two coats of polycrylic over the whole table and three total on the top to help protect the table. It also helps give the table a nice, finished look to it.
What do you think? Was the color too bold? It’s been about two weeks since I finished this project and I still love the way it turned out so I think that’s a good sign. Now I’m hoping it will all still go a long once I finish my hobby room.
What thrifty finds have you made over recently? I’d love for you to share it in the comments below.




I love how you painted it and I LOVE the Goodwill Outlet!!! Did you go to the one in Sellwood?
Thanks! I love it too!! :) I go to the one on TV Highway in Hillsboro.
Adorable! Sure would bring some cheery spring to the home!
That’s so cute! I have a hard time with painter’s tape too, and I’ve never found a brand that I really like. Great job! :)
So darn cute! And blue is my favorite color! Stopping by from SITS!
I love this! Great job!!