Standing around the table watching a line of glasses with eggs soaking in colored water is one of my favorite childhood memories. What about you? I loved coming up with cute ways to decorate Easter eggs each year and I’m so excited that we can start the tradition now that Clara is two years old. She may not quite understand the whole concept, but she loves pretty things and it’s precious watching her stare at all the eggs and say, “Oooh pretty mommy!”
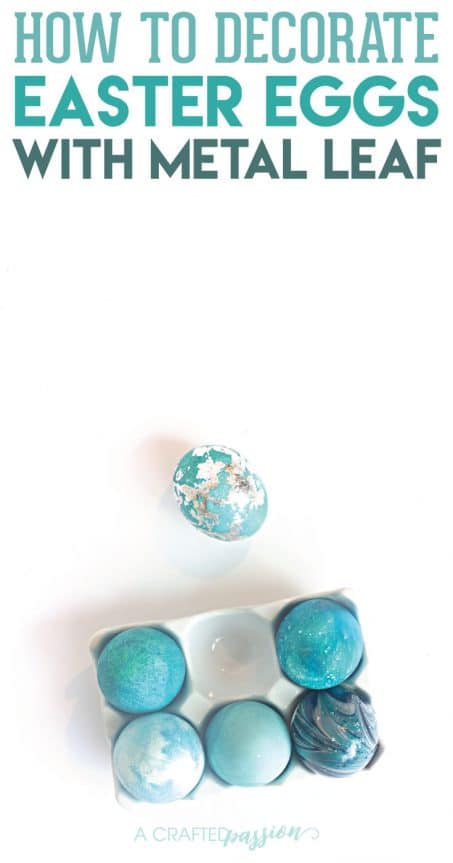
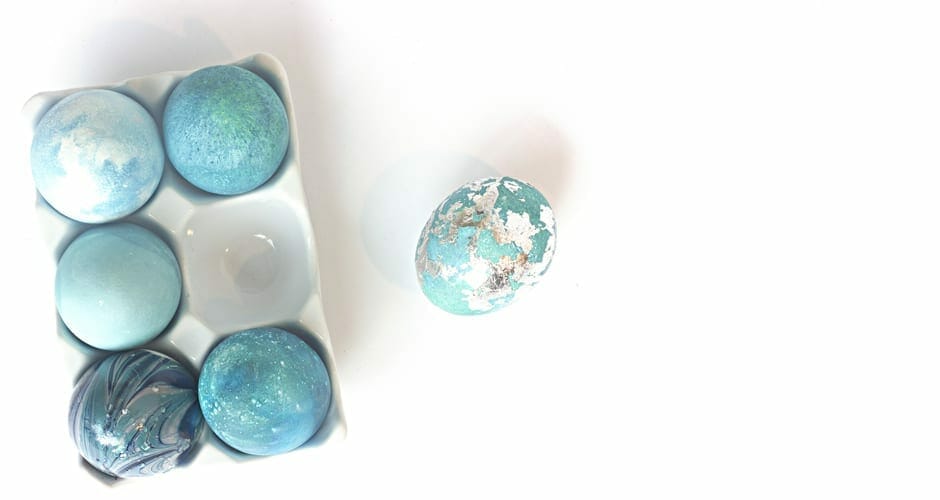
Out of all the eggs we decorated this season, this one has got to be my favorite. And it’s so simple I’m excited to show you how to decorate Easter eggs with metal leaf. They look fancy and like they cost a pretty penny from Anthropologie, but really you just need a few simple things and you’re good to go.
Let me tell you how to do it!
*This post contains affiliate links for your convenience. For more information, see my disclosure here.
How to decorate Easter eggs with metal leaf
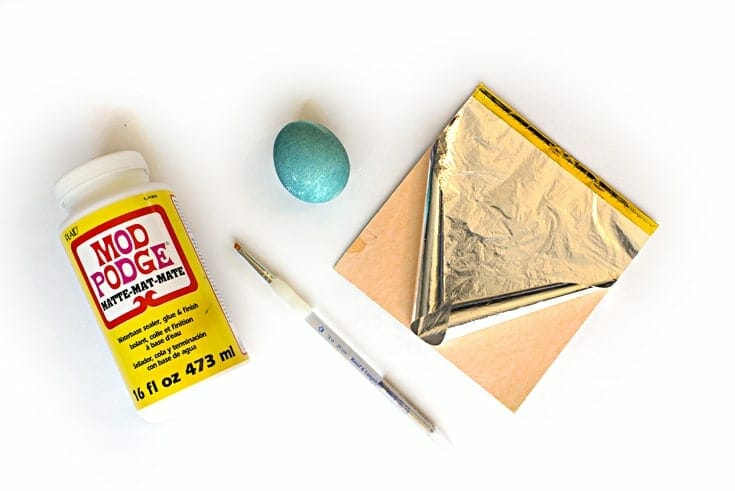
What you need:
- Colored Egg
- Metal leaf foil — it comes in gold, copper, or silver typically and you can grab some metal leaf foil here for just a few bucks
- Mod podge, or leaf foil adhesive pen
- Small brush
- Dry brush
- Container
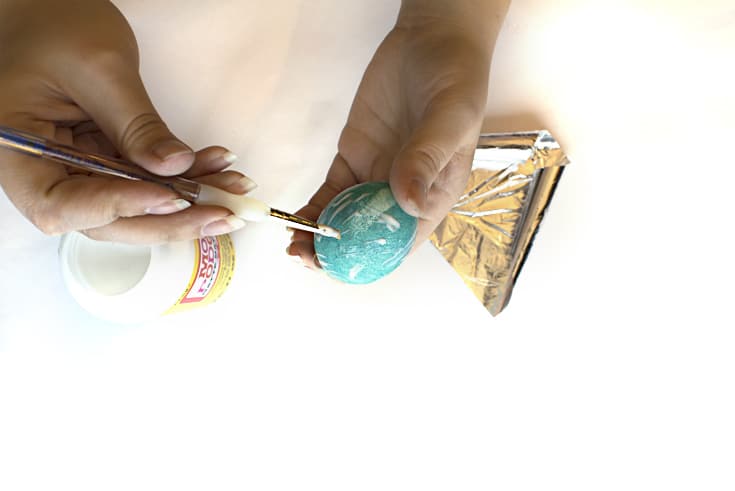
1 | Apply Adhesive
Start with your dip dyed egg in whatever color you want and apply mod podge randomly to the egg. Don’t cover the whole egg unless you want an entire foil covered egg.
 2 | Let Dry
Don’t wait too long, but let the mod podge dry for about a minute so that it isn’t too wet when you apply your metal leaf. You want it to still be pretty tacky though so don’t wait too long since mod podge dries quickly.
3 | Apply Metal Leaf
Now, take a sheet of metal leaf and wrap it around your entire egg. Don’t worry about overlap or creases because it adds to the character of the egg.
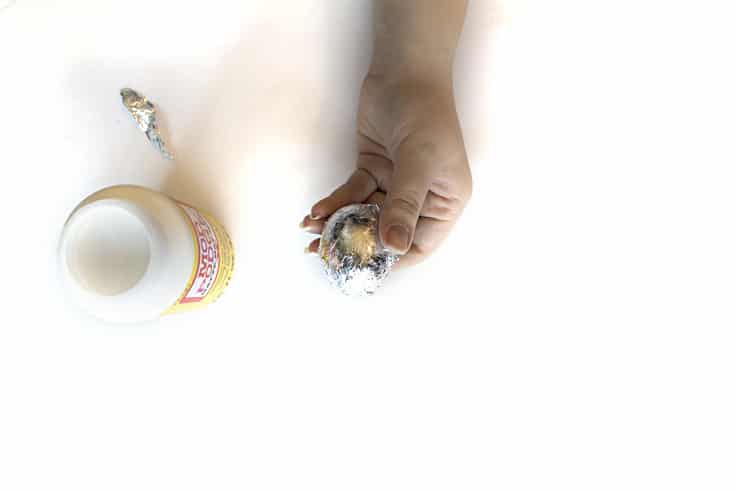
4 | Dry 5-10 Minutes
Once it is tightly covered in metal foil, let it sit for 5-10 minutes.
5 | Brush Off Excess
Once you feel the mod podge is pretty dry, grab your dry brush, and over an empty container brush your egg removing all the excess metal foil. This is going to pull off the extra foil from where you didn’t apply mod podge. The empty container helps keep the clean up to a minimum since metal leaf is really difficult to clean up.

And that’s all there is to it! If you have a metal leaf adhesive pen, you can certainly use that on your egg instead of mod podge, but I didn’t have one on hand so I just grabbed what I did have.
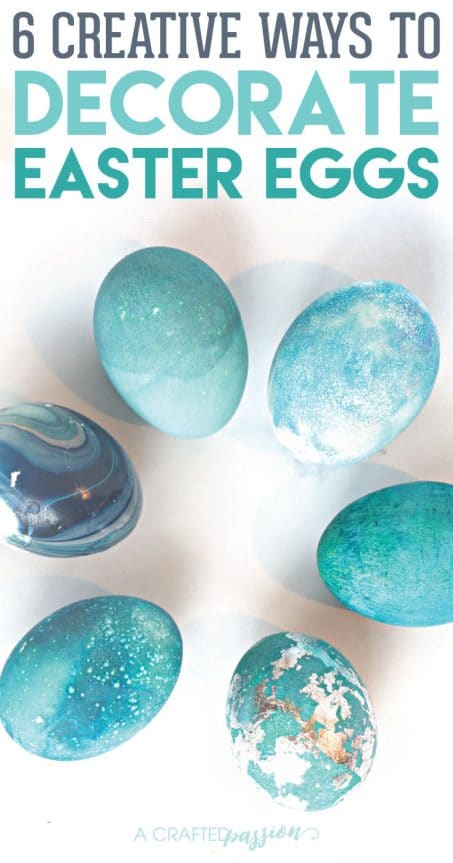
These eggs turn out gorgeous and might just be more popular than the tie-dyed Easter eggs I did last here. Check those out here!
If you decorate eggs with metal leaf foil, I’d love for you to tag me @acraftedpassion so I can check it out! Want to see some other creative ways to decorate Easter eggs? Check out 5 more ways here!


2 thoughts on “How to Decorate Easter Eggs with Metal Leaf”
Comments are closed.